Dave is a marketing expert with 15 years experience in the tech and SaaS world. He specializes in educating IT and channel audiences, with a focus on security, privacy, compliance, and marketing technology. With a talent for storytelling and a deep understanding of the industry, Dave transforms complex IT topics into clear, engaging, and impactful narratives.
How to color code emails in Outlook: The ultimate guide
TL;DR
To color code emails in Outlook, go to View > View Settings > Conditional Formatting, add a rule, set a condition (sender, subject, or keyword), and choose a font color.
This method works in classic Outlook for Windows.
New Outlook for Windows and Outlook on the web don't support Conditional Formatting — use Categories instead (right-click an email > Categorize) for a similar result.
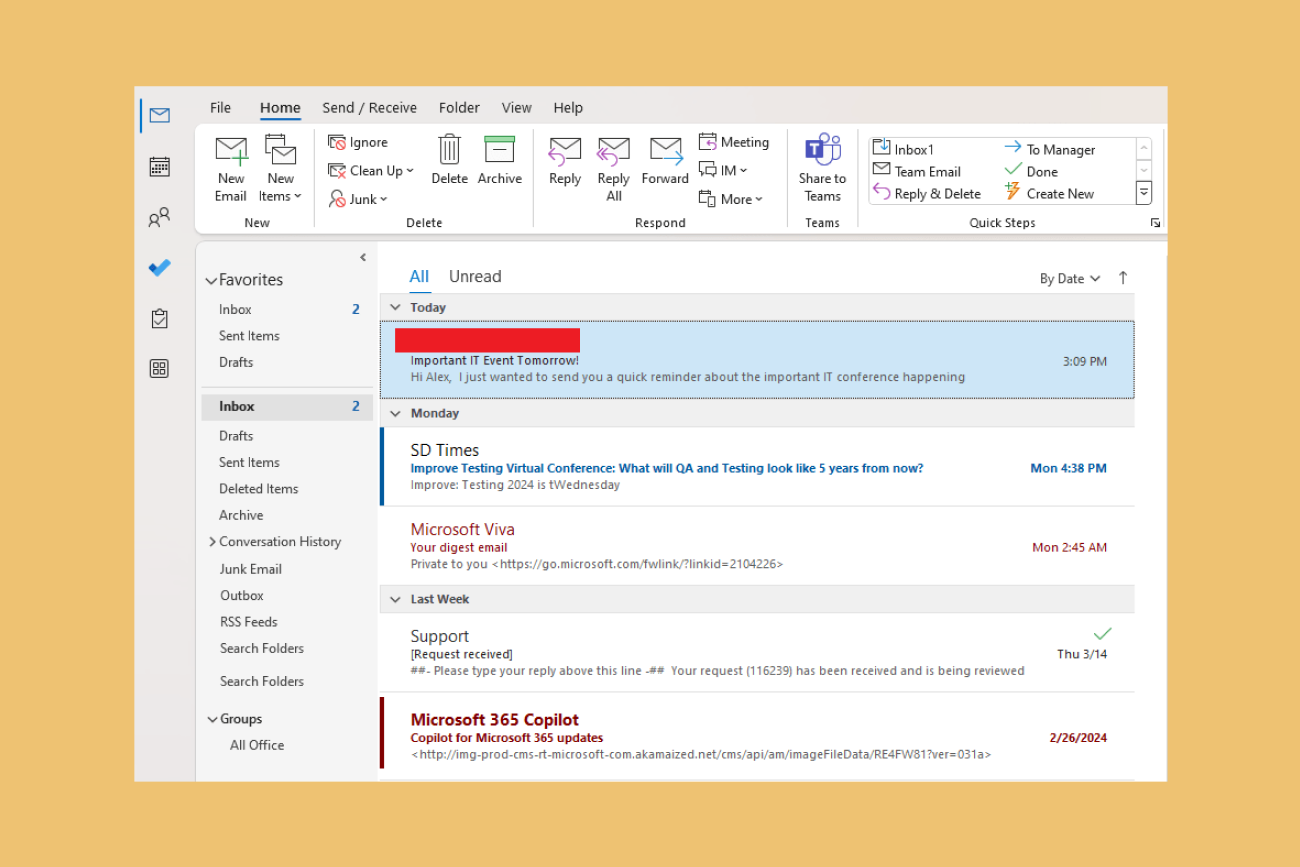
If you use Microsoft Outlook as your primary email client, you know how important it is to stay organized and efficient. With the abundance of emails we receive on a daily basis, it can be easy to get lost in the chaos if we don't have a system in place. One way to combat this issue is by using color coding in Outlook. Color coding lets you assign colors to emails based on the sender, subject, or keywords, so you can scan your inbox and prioritize messages without opening each one.
At Exclaimer, we help over 80,000 organizations centrally manage professional, compliant email signatures across Microsoft 365. In this post, we'll walk you through how to use color coding to streamline your inbox and stay focused.
Why does Outlook color code emails?
Outlook's color coding feature allows you to assign specific colors to emails based on various criteria, such as the sender, subject, or keywords. This visual cue helps you quickly identify and prioritize messages without having to read through each one. You can also color code folders in Outlook, making it even easier to navigate your inbox and find what you need.
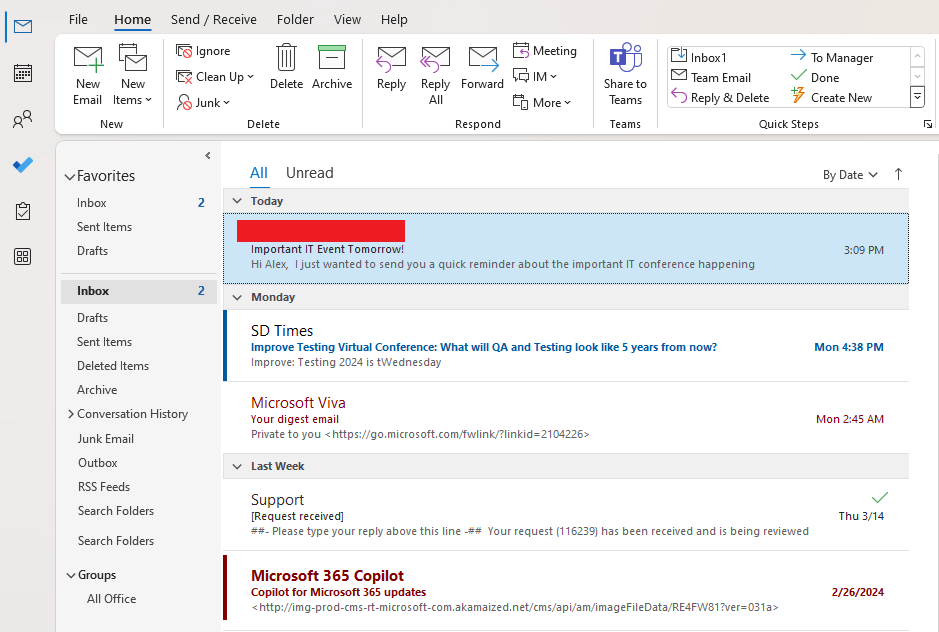
This feature is particularly helpful for those who receive a high volume of emails or have multiple email accounts. It allows you to stay organized and efficient, ultimately saving you time and reducing stress.
What are the benefits of color coding emails in Outlook?
Implementing a color coding system in Outlook offers several key benefits:
Enhanced organization: Efficiently categorize emails, urgent communications, or particular topics to prevent overlooking essential items.
Increased productivity: Use color-based prioritization to methodically address your inbox, focusing on the most critical messages first.
Improved visual navigation: Color coding helps you quickly locate specific emails or folders, saving time and reducing frustration.
Customization options: Tailor the color coding system to meet your individual requirements and preferences, whether based on sender, subject matter, or any other significant criteria.
Reduced stress: Implementing a color coding system facilitates quick access to necessary emails, reducing the stress associated with navigating through numerous messages.
How to set up color coding in Outlook
Setting up color coding in Outlook takes a few minutes. Follow these steps to get started:
Open Outlook and go to your inbox.
Navigate to View > View Settings.
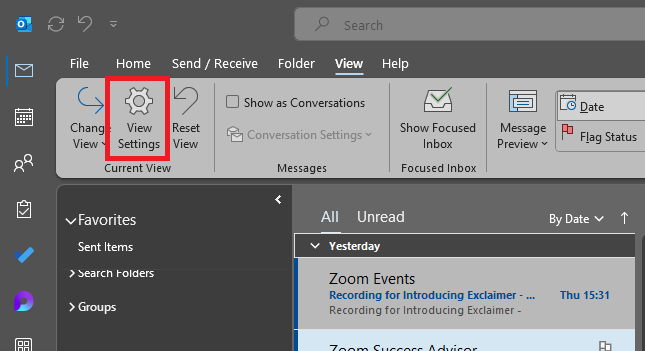
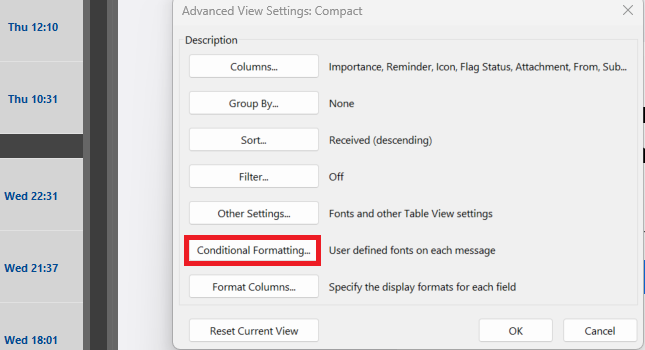
Choose Conditional Formatting.
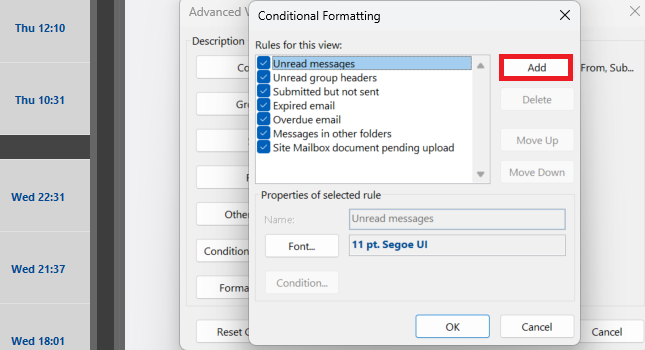
Select Add within the Conditional Formatting dialog box.
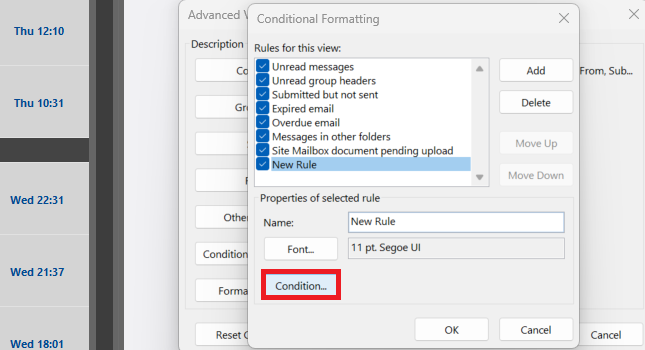
Provide a rule name in the Name: field, then choose Condition.
In the Filter dialog, configure your rule's conditions. Select OK.
Within the Conditional Formatting dialog, choose Font.
Choose the appearance for the affected emails.
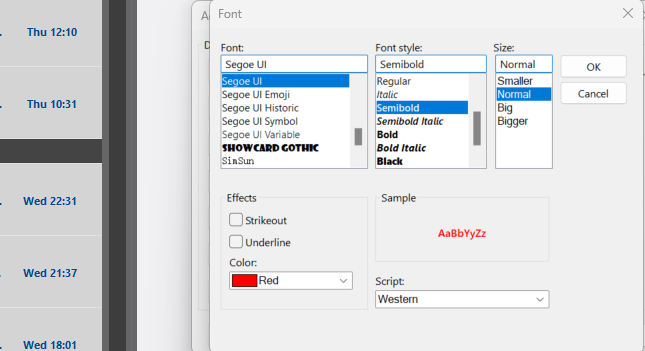
Select OK twice to confirm.
To color code by sender specifically: in step 6, set the condition's "From" field to the sender's email address instead of a keyword. Every message from that address will display in the color you chose, so you can tell who an email is from without opening it or checking the sender line.
How can you optimize color coding in Outlook?
A few tips make color coding more effective:
Be consistent: Establish a system and stick to it so that you can easily remember what each color represents.
Prioritize strategically: Use colors to prioritize emails based on their level of importance or urgency. For example, you can assign red to urgent emails and green to less pressing ones.
Use multiple criteria: You can combine different criteria when setting up rules for color coding, such as sender and keywords, for even more precise organization.
Regularly review and update: As your email communication changes, take the time to review and update your color coding system to ensure it remains effective.
Don't overdo it: While color coding can be a useful tool, don't go overboard with too many colors and rules. Stick to a few key categories for better organization.
What are alternatives to color coding in Outlook?
While color coding is a powerful tool, it's not the only way to organize your Outlook inbox. Some alternatives include:
Flags: You can use flags to mark important emails or set reminders for follow-up tasks.
Folders and subfolders: By creating folders and subfolders, you can categorize your emails based on topics, projects, or clients.
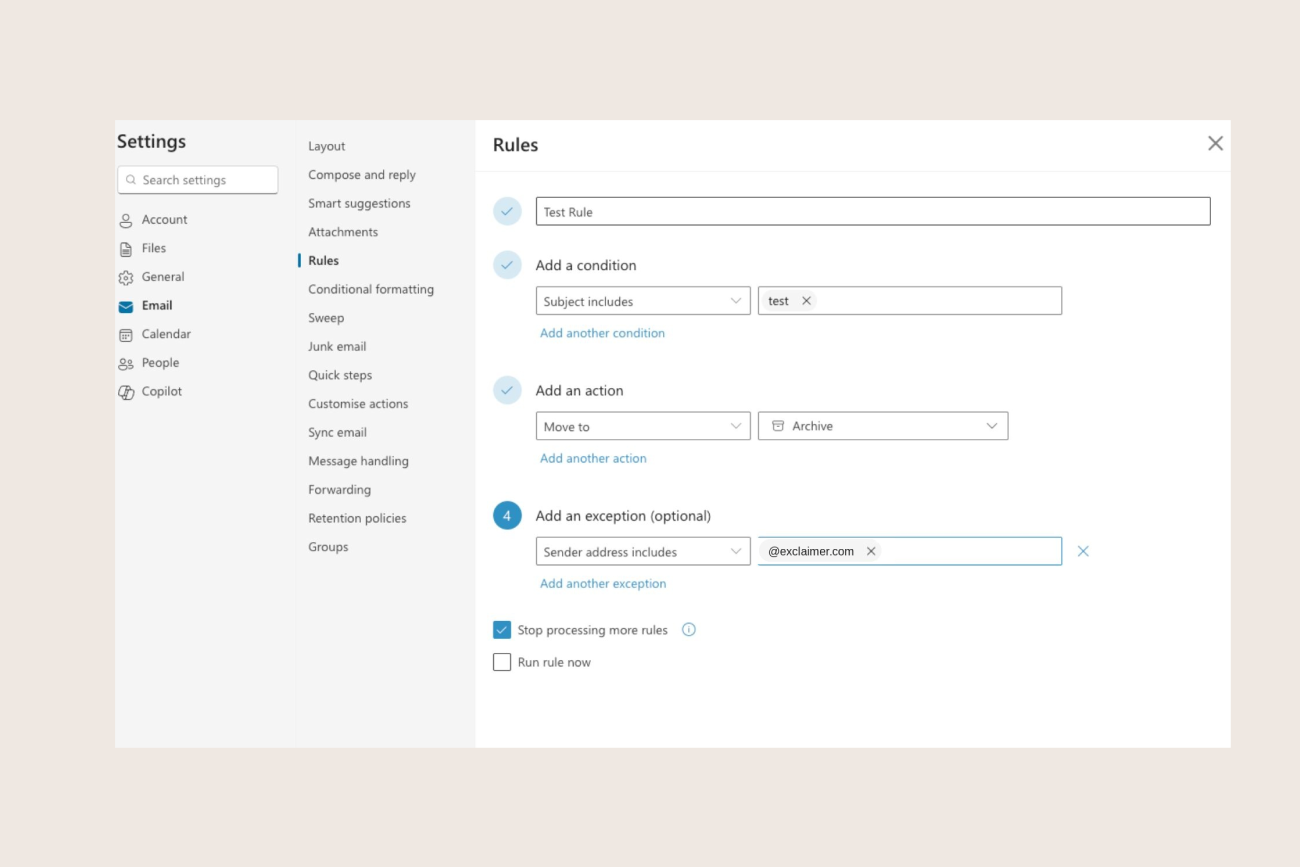
Rules and filters: Outlook allows you to set up rules and filters that automatically sort incoming emails into specific folders or flag them for follow-up.
Custom views: Outlook allows you to create custom views, which are essentially filters that display specific criteria in your inbox. For example, you could create a view that only shows unread messages from certain senders.
Categories: Assign categories to emails for another layer of organization beyond folders.
How does Exclaimer's email signature management complement Outlook color coding?
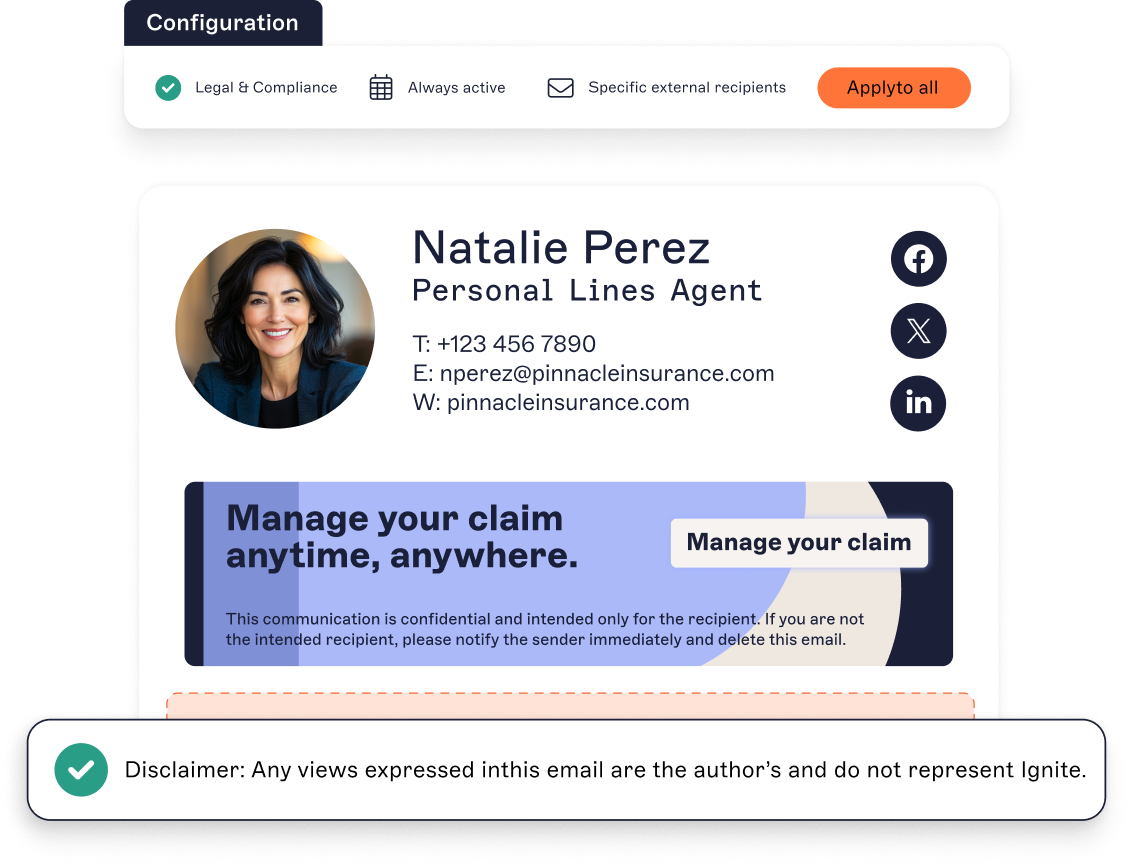
Color coding organizes how one person reads their inbox. Email signature management gives IT the same kind of control over how the whole organization looks going out.
That distinction matters more than it looks. Exclaimer's own Build vs Buy research found that 13% of IT teams have built their own email signature management tool in-house instead of buying a dedicated platform. Karl Bagci, Director of IT and Information Security at Exclaimer, has seen the pattern before:
“At a previous company, we built an ELK Stack for centralized logging in a twenty-four-hour hackathon. It worked so well we put it straight into production, and it did not scale. Someone had to keep patching and reconfiguring it, half a day here and there, maybe six days a year for that one tool. With five or six internal builds, that's a month of senior engineering time a year going on maintenance instead of product work.”

A shared signature template someone patches by hand is a smaller build than an ELK Stack, but it breaks down for the same reason: it works until someone leaves, a department restructures, or a rule needs to apply somewhere it wasn't written for.
How does Exclaimer keep signatures consistent without the manual upkeep?
Manually maintained email signatures carry the same maintenance load as any other self-built internal tool. Exclaimer's Build vs Buy research puts a number on it: 63% of IT teams spend 10 to 50 hours a month maintaining tools they built in-house, 91% say that maintenance reduces productivity, and half say it pulls them away from higher-value work entirely.
Signature Rules replace the shared template with centralized rules, so a department, role, or region change updates the signature everywhere it applies instead of needing someone to find and patch every copy by hand. Exclaimer's Device Deployment functionality then applies the correct signature the moment someone composes a message in Outlook or Gmail, so there's nothing left for an end user or IT to maintain per mailbox.
Exclaimer is used by 80,000+ organizations to manage email signatures across Microsoft 365, Google Workspace, and Microsoft Exchange.
Start a free trial or book a demo to see how centralized email signature management works alongside the inbox habits you already use.