


Dave is a marketing expert with 15 years experience in the tech and SaaS world. He specializes in educating IT and channel audiences, with a focus on security, privacy, compliance, and marketing technology. With a talent for storytelling and a deep understanding of the industry, Dave transforms complex IT topics into clear, engaging, and impactful narratives.
How to create an HTML iPhone email signature

TL;DR
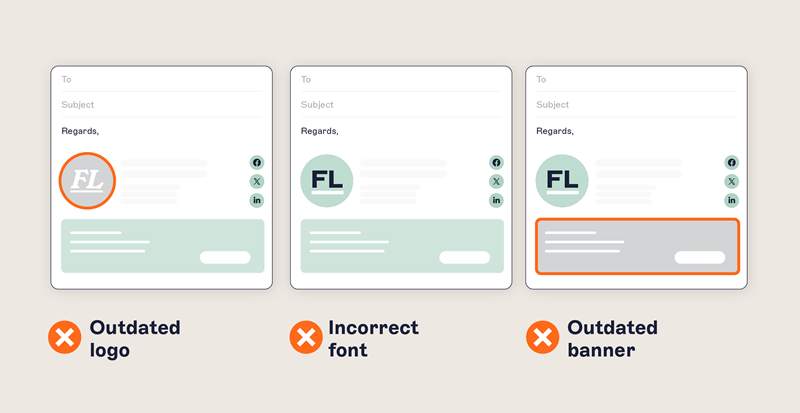
- iPhone email signatures are often outdated or inconsistent
- Formatting and logos break without HTML or hosted images
- Manual setup wastes IT time and leads to brand risk
- Exclaimer applies professional signatures to every device automatically
Introduction
Want to remove the default ‘Sent from my iPhone’ line and replace it with a professional email signature?
Whether you’re working from your phone or managing mobile devices across your organization, this guide walks you through the steps to update your iPhone email signature in just a few taps.
You’ll learn how to format a clean, branded sign-off in Apple Mail, how to use HTML signatures on iOS, and why iPhone email signatures often go wrong. Plus, we’ll show you how to stop managing email signatures one device at a time.
Tip: A consistent, branded iPhone email signature shows your attention to detail, especially when you're replying from a mobile device.
Do iPhone email signatures matter for professionals?
Even one poorly formatted email can make your business look unprofessional.
iPhones are everywhere in the workplace, but most people never update their default signature. That “Sent from my iPhone” line? It’s more noticeable than you think.
Here’s why updating your iPhone email signature is worth the few minutes it takes:
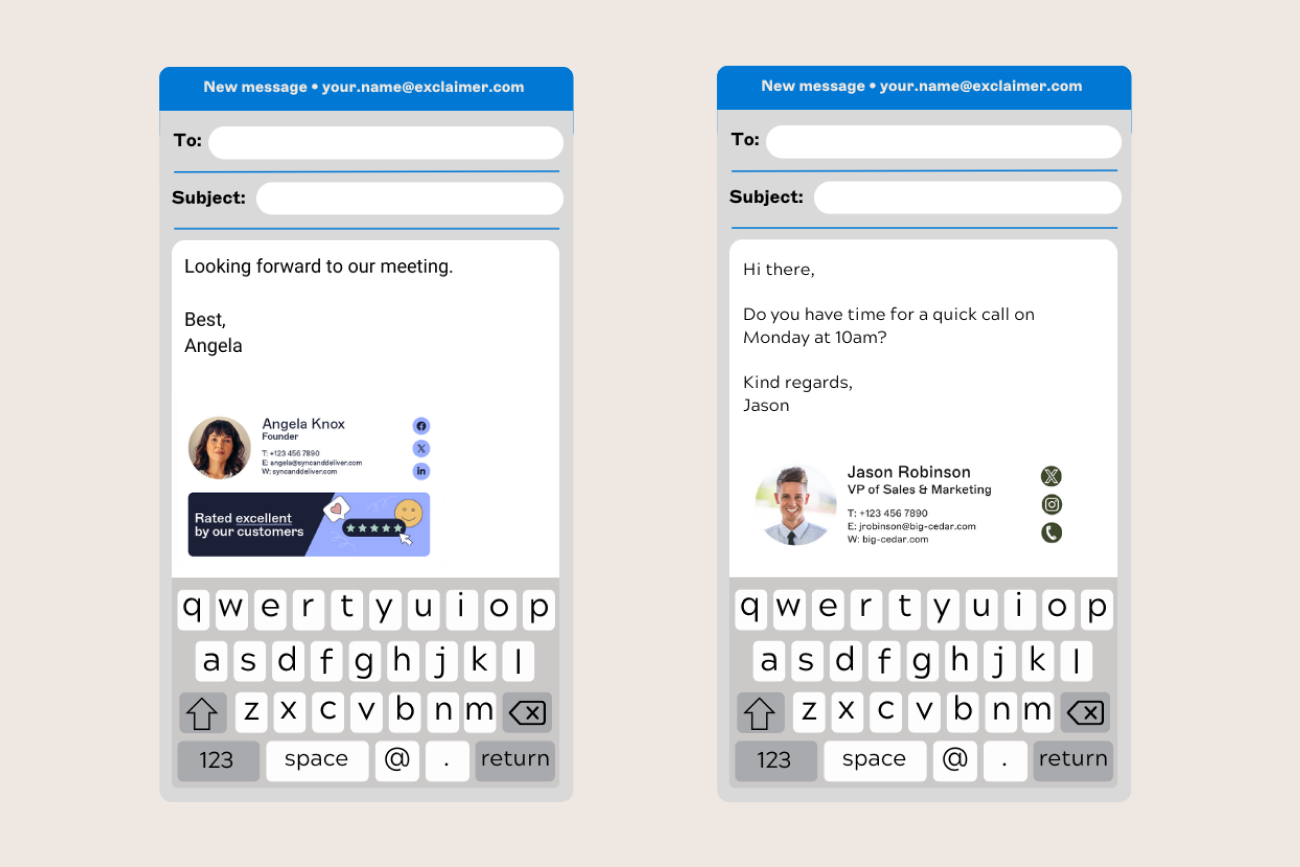
Brand consistency: A clean, branded signature shows that you pay attention to detail—even on mobile.
Professionalism: Including your job title, company name, and contact details helps the recipient know who you are and how to reach you.
Compliance: If you work in a regulated industry, legal disclaimers may need to appear on every email, no matter what device it’s sent from.
Mobile optimization: Signatures that look great on desktop can break on mobile. Tailoring your iPhone signature prevents formatting issues and missing logos.
Pro tip: If you're managing email across a team or department, it's faster and safer to apply signatures centrally—rather than configuring each iPhone manually.
How to change your iPhone email signature
Here’s how to replace “Sent from my iPhone” with your own custom iPhone email signature:
Step-by-step instructions to add a signature on iPhone
Open the Settings app on your iPhone.
Scroll down and tap on Mail.
Tap Signature in the Mail settings menu.
Under All Accounts or Per Account, delete the default signature, usually labeled as "Sent from my iPhone."
Type in your new email signature. This can include your name, job title, or contact information.
To add basic formatting like Bold, Italic, or Underline, double-tap the text you want to change.
Tap the BIU option that appears above the highlighted text and select your desired style.
Tap the back arrow in the top-left corner to save your changes. You’ll return to the Mail settings screen.
And that's it! You've successfully customized your iPhone email signature. Whether it's for personal or professional use, a well-designed email signature makes a great impression.
Tips for iPad users
If you use an iPad, follow the same steps as above using your device’s Settings and choosing Mail. However, instead of swiping down to see all options, scroll in the right pane until you find the Signature option.

How to add an image to your iPhone email signature
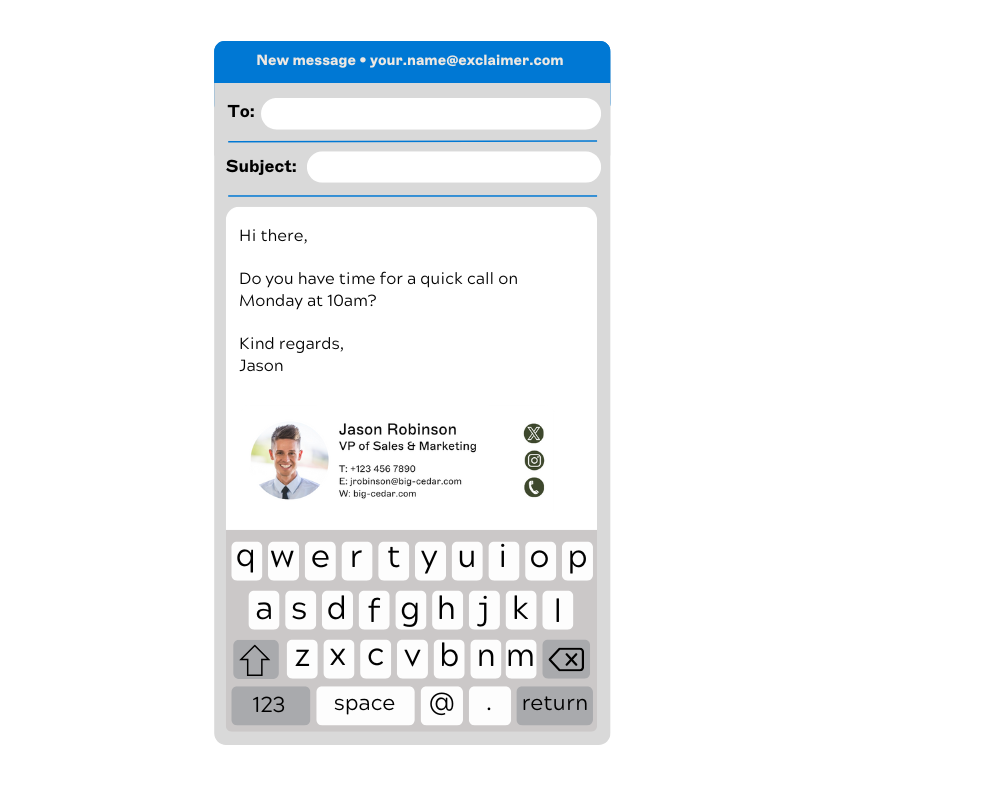
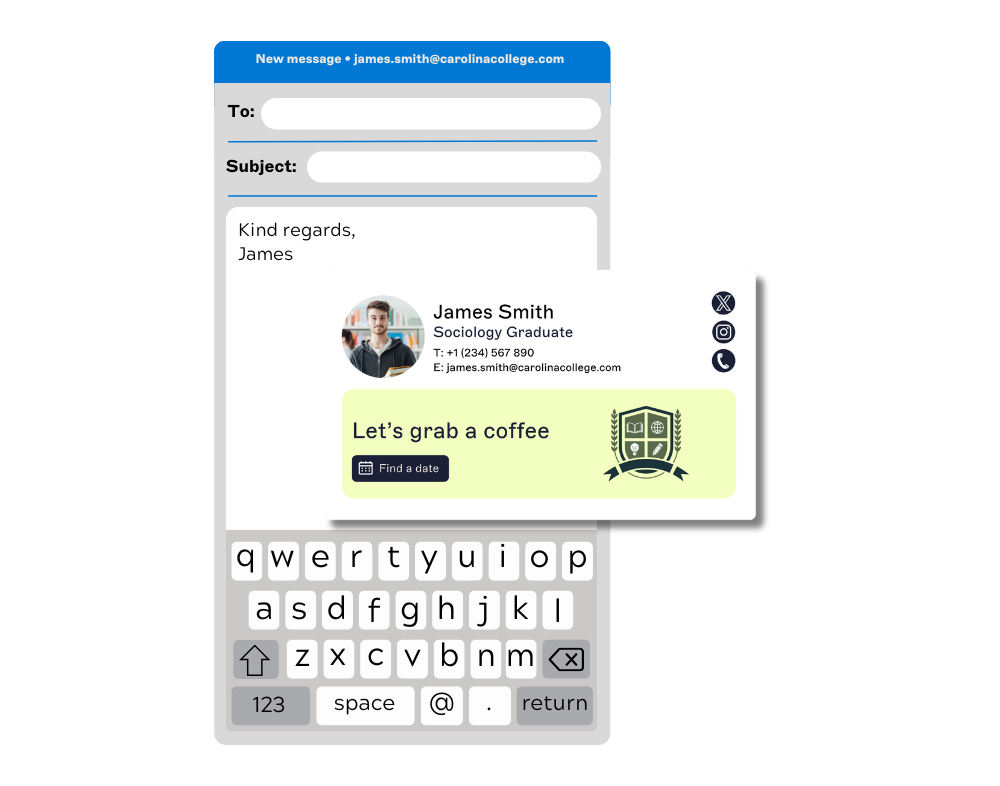
Looking to make your iPhone email signature more professional and eye-catching? Adding an image, like your logo or social media icons, can make your signature stand out.
Unfortunately, the default Apple Mail app doesn’t make it easy to include images. It only allows for basic formatting, and copying and pasting an image into the signature settings won’t work.
But don’t worry—there’s an easy way to add an HTML email signature template with images to your iPhone. Just follow these simple steps to create a professional email signature:
Step-by-step guide to add an HTML image to iPhone email signatures
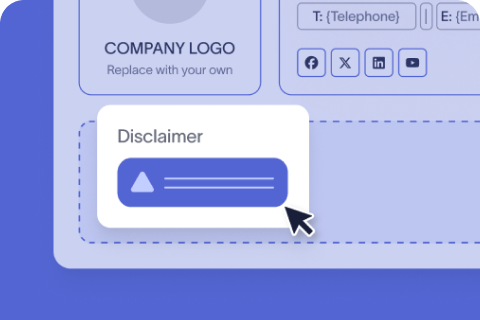
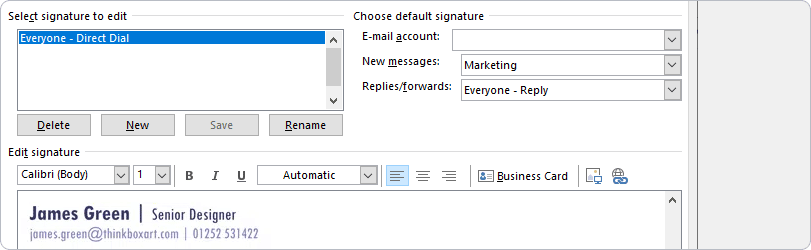
1. Create your HTML email signature template
Use an email client that supports HTML to design your iPhone signature.
Include important elements like your logo and social media icons for a polished look.
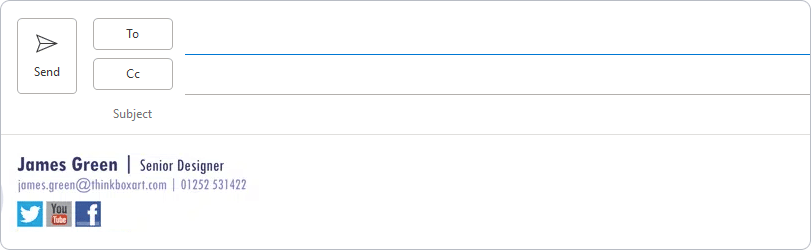
2. Send or save your signature
Compose a new email with your HTML signature.
You can either save this email as a draft or send it to yourself so you can access it on your iPhone.
3. Copy the signature to your iPhone
Open the email on your iPhone.
Highlight any part of the signature text that is not a clickable link.
Tap Select All, then Copy from the context menu.

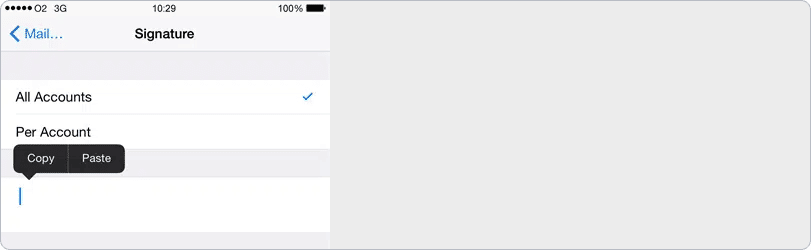
4. Paste into the iPhone signature settings
Go to your iPhone settings: Settings > Mail > Signature.
Delete any existing text.
Tap and hold the screen to bring up the menu.
Select Paste to insert your HTML iPhone signature.

5. Fix formatting with undo
After pasting, the formatting may look wrong at first.
Shake your iPhone to trigger the Undo Change Attributes option, then tap Undo. This step restores the correct HTML formatting.
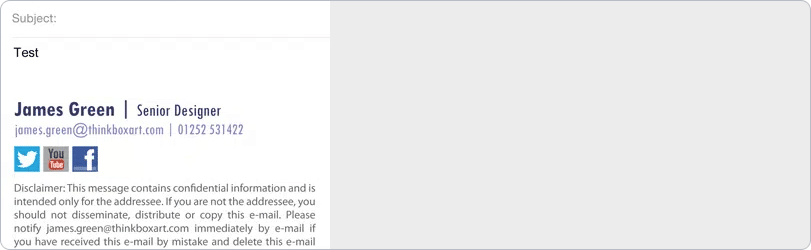
6. Save and test your signature
Tap the back arrow in the top-left corner to save your updated signature.
Send a test email to ensure everything displays correctly before using it.
Set different iPhone signatures per account
Open the Settings app on your iPhone.
Scroll down and tap on Mail.
Navigate to the Signature option.
Select Per Account to enable different signatures for each email account.
Delete the default "Sent from my iPhone" message.
Type or paste your new iPhone signature.
Exit the Settings app and open the Mail app to see your new iPhone signature.

Troubleshooting iPhone email signature issues
Running into problems with your iPhone email signature not displaying correctly? You’re not alone.
Here are common issues and how to fix them.
Signature looks “plain” or text-only
Fix: Copy the signature from a browser (not a plain text editor). Use Safari or Apple Mail, and avoid editing after pasting.
Images are missing or broken
Fix: Use HTTPS image URLs that are publicly hosted. iOS won’t render locally stored images or those behind firewalls.
Extra line breaks or spacing
Fix: Avoid hitting Enter multiple times. Use inline styles or tables when building your signature to manage layout.
“Sent from my iPhone” keeps reappearing
Fix: Check if you have multiple email accounts and updated them all. Restart the Mail app to refresh the settings.
Looking for an easier way? Exclaimer automatically applies compliant, branded email signatures across every device—iPhones included. See how it works.
How to centrally manage iPhone email signatures
Getting consistent email signatures on iPhones across your company sounds simple—until you try it.
Managing one iPhone is easy enough. But managing everyone's signature? That’s a whole different challenge.
The only way to effectively centrally manage multiple iPhone email signatures, is to use an email signature management tool like Exclaimer.
The dangers of unmanaged iPhone email signatures
Without a centralized email signature manager, someone might accidentally mess up the design, create their own version, or skip using it altogether. Not exactly ideal for maintaining a polished, professional brand image.
Even if employees manage to use the right signature, chances are your formatting won’t align with your brand guidelines. And don’t forget the missed marketing opportunities from not having centralized control over your iPhone email signatures.
But here’s the biggest issue: there’s no guarantee your iPhone email signature will display correctly. This can vary across different email clients. Each one interprets HTML differently, meaning your new signature could break when sending emails.
The Exclaimer choice
Looking for a simple way to create professional email signatures that look great on all devices, including iPhones?

With Exclaimer email signature software, you can easily design and manage consistent iPhone email signatures across your entire organization.
No more broken images, manual adjustments, or tricky iOS settings—just seamless, professional signatures for every iPhone email.
Take control of your corporate branding with Exclaimer, the trusted solution for email signature management.
💡
Simplify email signature management as you grow
Want to simplify email signature management for your growing organization? Exclaimer lets you centrally manage, update, and control every email signature without manual work or formatting issues.
Start a free trial and see how easy it is to automate and scale email signatures across teams and devices.