


by Dave Willis
Conditional Access policies in Microsoft 365: a setup guide for IT admins
29 May 2026
0 min read
TL;DR
What they are: Conditional Access policies are Microsoft Entra ID rules that allow, block, or add requirements to a sign-in based on who the user is, what they’re accessing, and the conditions of the request.
What you need: A Microsoft Entra ID P1 license covers standard policies and P2 adds risk-based conditions, and you’ll need a Conditional Access Administrator, Security Administrator, or Global Administrator role to create them.
Before you start: Always exclude a break-glass admin account from every policy, because a single rule applied to all users can lock you out of your own tenant.
The most common policy: Requiring MFA through Conditional Access gives you the granular control Security Defaults can’t, letting you enforce it by user, app, location, or sign-in risk.
Why it matters beyond access: Central, automated, policy-driven control is what good governance looks like across Microsoft 365, including how email signatures are applied, not just how access is granted.
Microsoft now enforces multi-factor authentication for Microsoft 365 admin center sign-ins, with enforcement already extended across the Azure portal, the CLI, and PowerShell. If you’ve turned MFA on, the next step is usually applying it with more precision.
That precision is what Conditional Access gives you. Instead of one tenant-wide rule, you decide exactly when authentication is required, who it applies to, and under what conditions. These policies live inside Microsoft Entra ID, they replaced the older Client Access Rules, and they’re the main tool IT teams use to control how users reach company resources.
This guide walks through the licensing and roles you need, how each policy control works, how Conditional Access compares to Security Defaults, and how to build a policy that requires MFA across your organization, expanding on the broader options for setting up MFA in Microsoft 365.
What are Conditional Access policies?
Quick Answer: Conditional Access policies are rules in Microsoft Entra ID that decide what happens at sign-in. Each policy looks at signals about the request, then grants access, blocks it, or requires the user to meet a condition first, such as completing MFA.
The model is an if-then statement. A policy might say that if a user outside your corporate network tries to open Exchange Online, then they must verify with MFA. Or that if a sign-in is flagged as high risk, then it’s blocked outright.
Conditional Access replaced the older Client Access Rules, which Microsoft fully retired in September 2025. The difference is reach. Client Access Rules governed access to Exchange, while Conditional Access governs access across your whole Microsoft 365 environment, and any application connected to Entra ID, from one place.
Many policies are reinforced by Continuous Access Evaluation, which works alongside them. Rather than waiting for an access token to expire, it revokes access in near real time when a critical event happens, such as an account being disabled, a password being reset, or a sign-in being flagged as high risk.
What you need before you start
Conditional Access isn’t available on every Microsoft 365 plan, and creating policies takes specific roles. It’s also powerful enough to lock you out of your own tenant, so you'll want to set up at least one emergency access account as a precaution.
Licensing requirements
Conditional Access requires a Microsoft Entra ID P1 license at minimum, which is included in plans like Microsoft 365 Business Premium, E3, and E5. P1 covers the standard policies most organizations use: requiring MFA, blocking legacy authentication, and controlling access by location or device.
A Microsoft Entra ID P2 license adds risk-based conditions. These let you build policies that respond to user risk or sign-in risk, the signals Entra ID Protection generates when it detects something like an impossible-travel sign-in or a password spray attack. A policy that requires MFA only when a sign-in looks risky is a P2 feature.
Required admin roles
You don’t need to be a Global Administrator to work with Conditional Access, and for day-to-day management you shouldn’t be. Three roles can create and manage policies:
Conditional Access Administrator: the least-privileged option, scoped to Conditional Access and nothing else. This is the right role for most people managing policies.
Security Administrator: manages Conditional Access alongside the rest of Entra ID’s security features, so it suits someone with a broader security remit.
Global Administrator: has full control over the tenant, Conditional Access included. Use it sparingly.
Assigning the Conditional Access Administrator role where you can follows the principle of least privilege, giving the right people policy control without broader tenant access they don’t need.
Don’t lock yourself out
A Conditional Access policy applied to all users applies to you too. If you build a policy that blocks access under conditions you later meet yourself, you can shut every administrator out of the tenant at once.
The safeguard is a break-glass account, also called an emergency access account. It’s a cloud-only Global Administrator account that you exclude from every Conditional Access policy, so there’s always one route back in if a policy misfires. Microsoft recommends creating at least one before your first policy goes live. Document it, store the credentials securely, and keep it out of scope for everything you build.
How Conditional Access policies work: the building blocks
Quick Answer: Every Conditional Access policy is assembled from the same set of components. You define who and what the policy covers, the conditions that trigger it, and the control it applies.
Learn these five parts and you can build almost any policy:
Users. This is who the policy applies to. You can target everyone, specific users or groups, directory roles, or guest and external users. When a policy covers all users, this is also where you add the exclusions that keep your break-glass account safe.
Target resources. This is what you’re controlling access to. The main option is cloud apps, meaning any application registered in Entra ID, from Exchange Online and SharePoint to third-party tools. You can also target specific user actions, like registering security information, or scope the policy to an authentication context.
Conditions. These narrow the policy to particular circumstances. The options include a user or sign-in risk level, specific device platforms such as Windows or iOS, named locations or IP ranges, client apps like browsers or mobile clients, and a device filter that separates company-managed devices from the rest.
Grant. This is the decision the policy makes. It either blocks access or grants it, and a grant can carry requirements: completing MFA, using a compliant or hybrid-joined device, or signing in through an approved client app.
Session. Here you control what a session looks like after access is granted. You can limit what users do inside apps with app-enforced restrictions, set a sign-in frequency that forces tokens to refresh on a schedule, end sessions when a browser closes, or turn on Continuous Access Evaluation for near real-time enforcement.
Once the components are set, you choose how the policy runs. Report-only mode logs what a policy would do without enforcing it, which is the safe way to test it against real sign-ins before you move it to on.
Security Defaults vs Conditional Access: which should you use?
Quick Answer: For ongoing MFA enforcement in Microsoft 365, the choice usually comes down to two options: Security Defaults and Conditional Access. Security Defaults is a free, all-or-nothing switch. Conditional Access is the granular alternative. Which one fits depends on the size and complexity of your environment.
Security Defaults is a single toggle that applies a fixed set of protections to everyone in the tenant. It requires all users to register for MFA, prompts for it when Microsoft detects risk, and blocks legacy authentication protocols that can’t support MFA. It’s free, available on every plan, and switched on by default for tenants created after October 22, 2019. For a small organization that wants sensible protection without configuration, it does the job.
What Security Defaults can’t do is accommodate exceptions. You can’t exempt a service account, require MFA only for a particular app, or relax a rule for users on a trusted network. It’s the same policy for everyone, all the time.
Conditional Access is where that flexibility lives. It requires a Microsoft Entra ID P1 license, but in return you define exactly who each rule covers and when it applies. You can’t run both at once: turning on Conditional Access means turning Security Defaults off.
Security Defaults | Conditional Access | |
Cost | Free, all plans | Requires Entra ID P1 |
Granularity | One policy for all users | Targeted by user, group, app, location, risk |
MFA control | On or off for everyone | Conditional, based on your rules |
Exclusions | Not supported | Break-glass accounts and other exceptions |
Best for | Small or simple environments | Organizations needing control at scale |
For most organizations past a handful of users, the move to Conditional Access comes down to a single exception. The moment you need one, you’ve outgrown Security Defaults.
How to require MFA with a Conditional Access policy
Quick Answer: Requiring multi-factor authentication at sign-in is the baseline Conditional Access policy, and the natural place to start. Here’s how to build one that covers all users while keeping your break-glass account safe.
Before you start, have a break-glass account ready to exclude, and confirm Security Defaults is turned off, since the two can’t run together.
Open the policy builder. Sign in to the Microsoft Entra admin center, go to Entra ID, then Conditional Access, then Policies, and select New policy.
Name the policy. Give it a clear, descriptive name like “Require MFA for all users” so anyone reviewing your policies later knows what it does.
Assign users. Under Users, include All users, then under Exclude, add your break-glass account. Don’t skip the exclusion.
Choose the target resources. Under Target resources, select Cloud apps and include All cloud apps, which applies the policy across your Microsoft 365 environment.
Set the grant control. Under Grant, select Grant access, tick Require multifactor authentication, and confirm.
Test in report-only mode. Set Enable policy to Report-only and create it. Leave it for a day or two and review the sign-in logs, watching for service accounts or app integrations that would break under the new rule.
Turn it on. Once you’re confident, switch the policy from Report-only to On. MFA is now required at sign-in for everyone except your excluded account.
With a policy this broad, report-only mode is worth the short wait. It shows you exactly how the rule behaves against real sign-ins before it can lock anyone out.
Other useful Conditional Access policies
Once MFA is in place, the same if-then logic extends to a range of access scenarios. These are practical next policies to build on top of the MFA baseline:
Block legacy authentication. Older protocols like POP, IMAP, and SMTP can’t support MFA, which makes them a common way around it. A policy that blocks legacy authentication closes that gap. If you’ve used Security Defaults before, this is already handled, but a dedicated Conditional Access policy gives you the same result with the option to exclude specific accounts that still need it.
Require compliant or hybrid-joined devices. You can restrict access to devices that meet your standards, whether that’s a device marked compliant in Intune or one that’s hybrid Entra joined. This keeps company resources on managed hardware rather than personal or unknown devices.
Restrict access by location. Using named locations, you can require MFA for sign-ins from outside your corporate network, or block access from countries where you don’t operate. Location-based policies are a straightforward way to reduce your exposure.
Block specific apps for certain users. Conditional Access can target individual applications. A common example is restricting administrative tooling, such as Microsoft Graph PowerShell, to admins only, so standard users can’t reach it. Be careful here: blocking apps broadly can interfere with third-party integrations that depend on them, so test before you roll out.
Build these one at a time and test each in report-only mode, and Conditional Access becomes a precise instrument for access rather than a blunt one.
From access governance to communications governance
Everything Conditional Access does rests on one idea: control applied centrally and automatically, by policy, rather than user by user. That principle isn’t unique to access. It’s the same logic that should govern how your organization communicates.
Before Conditional Access, enforcing access rules often meant per-user configuration, manual exceptions, and PowerShell scripts run mailbox by mailbox. Conditional Access moved all of that into one place, where a single policy applies itself across the tenant without anyone touching individual accounts.
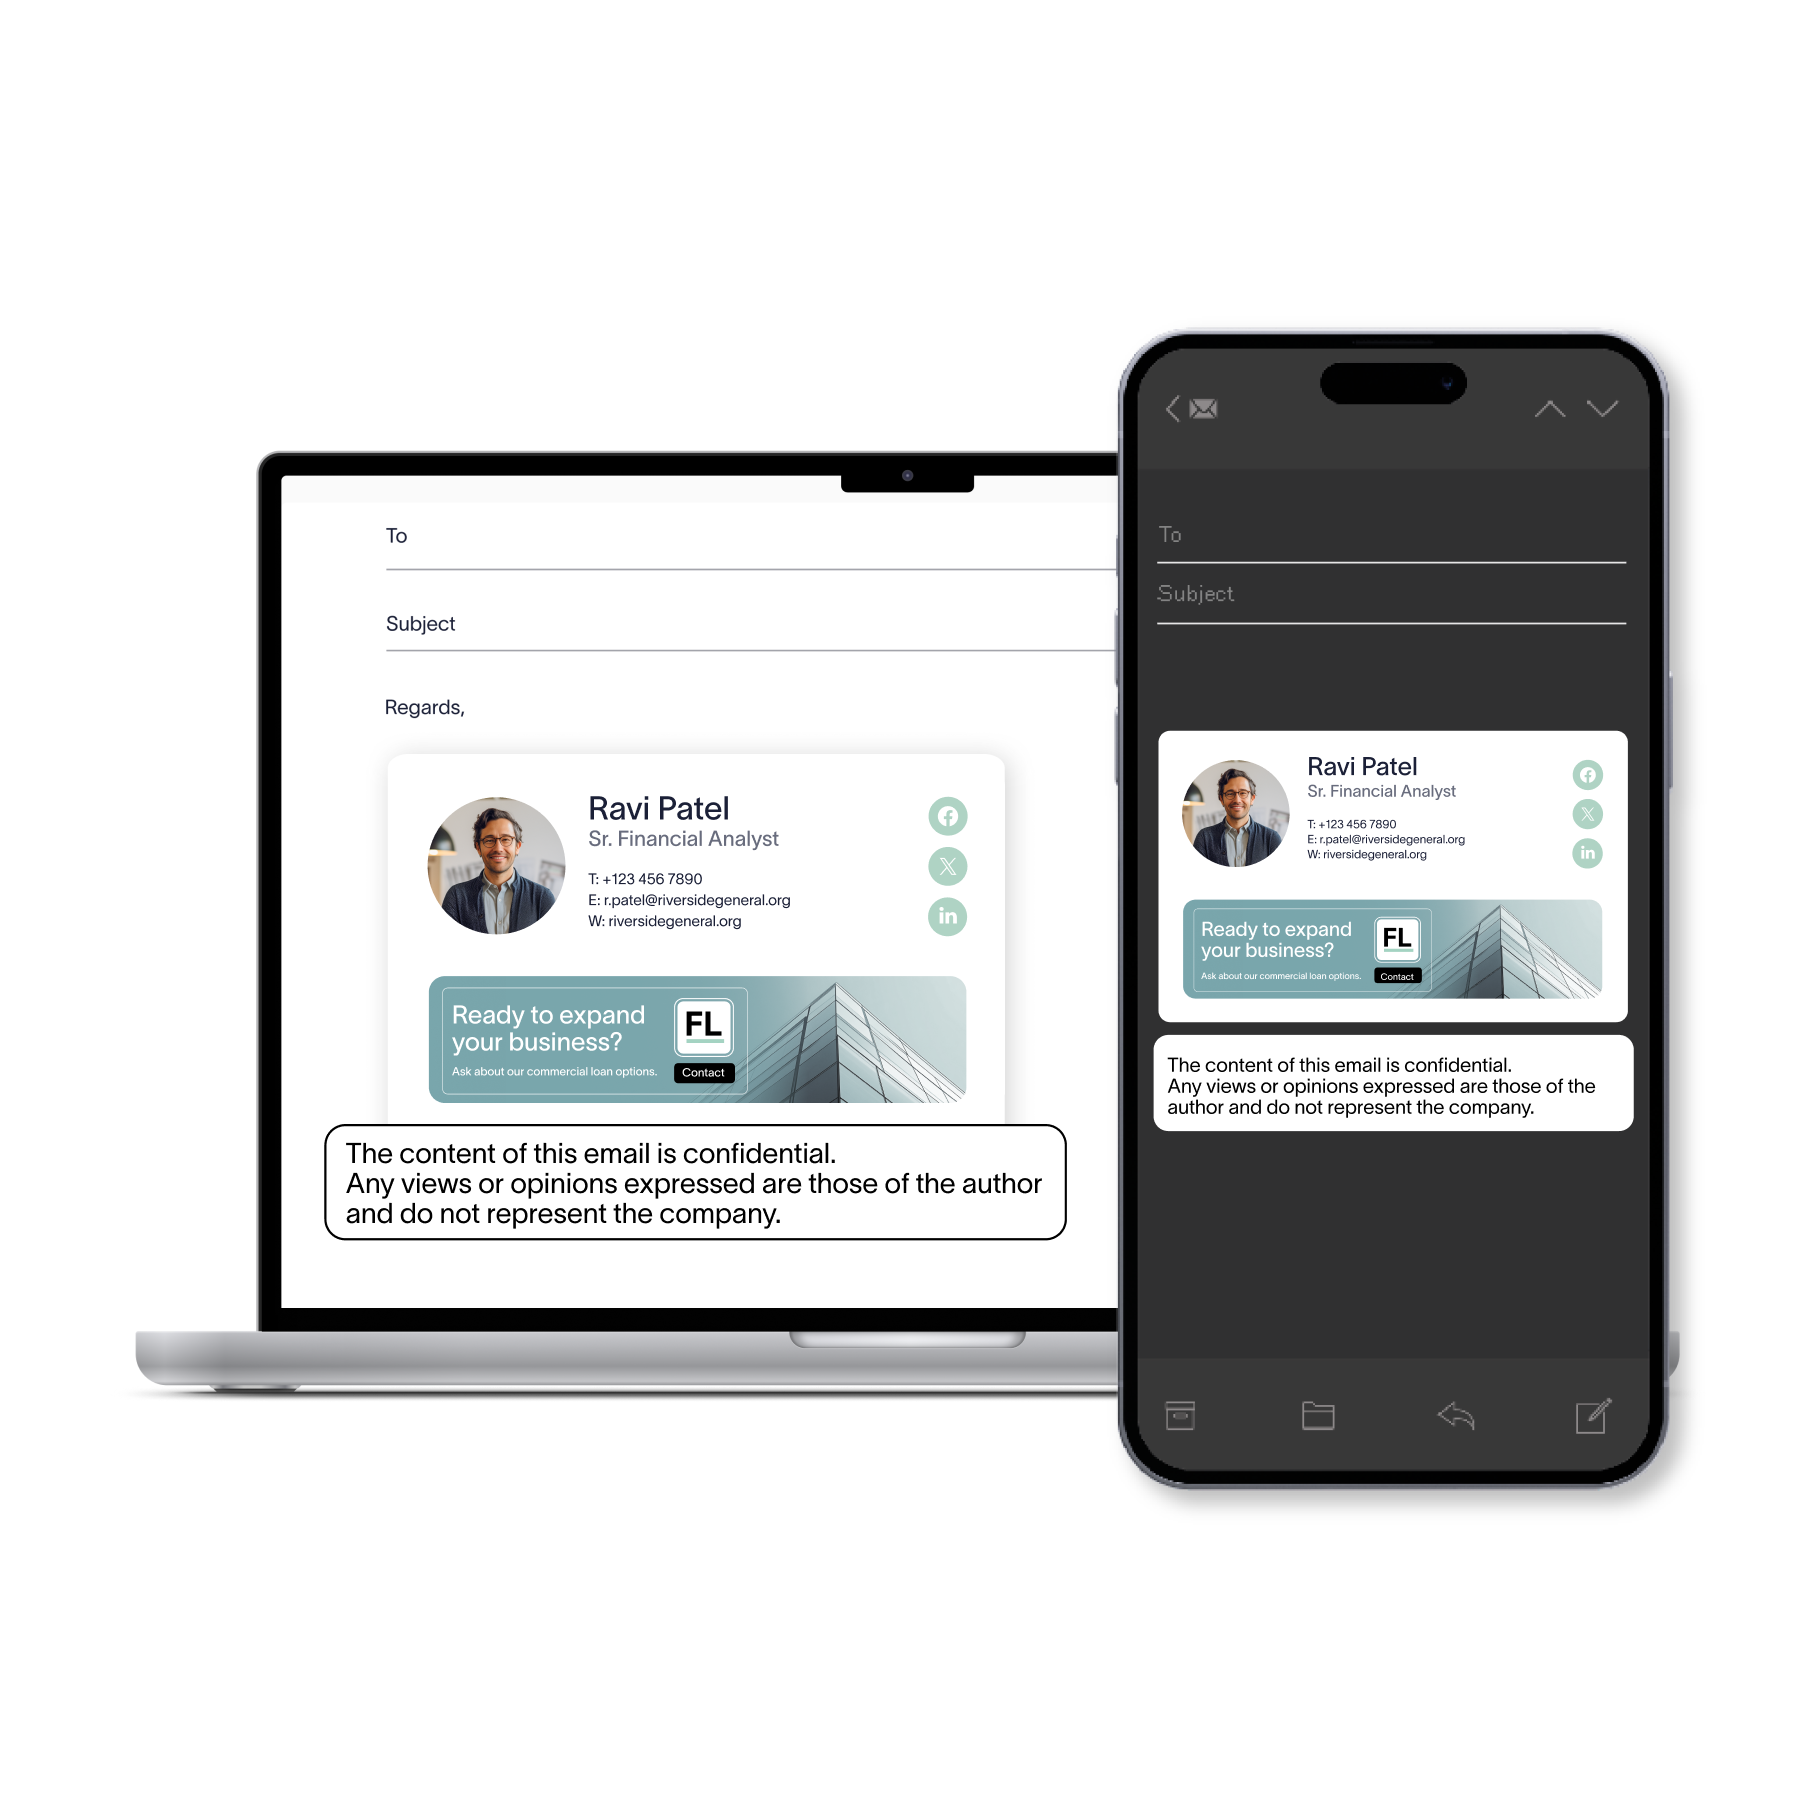
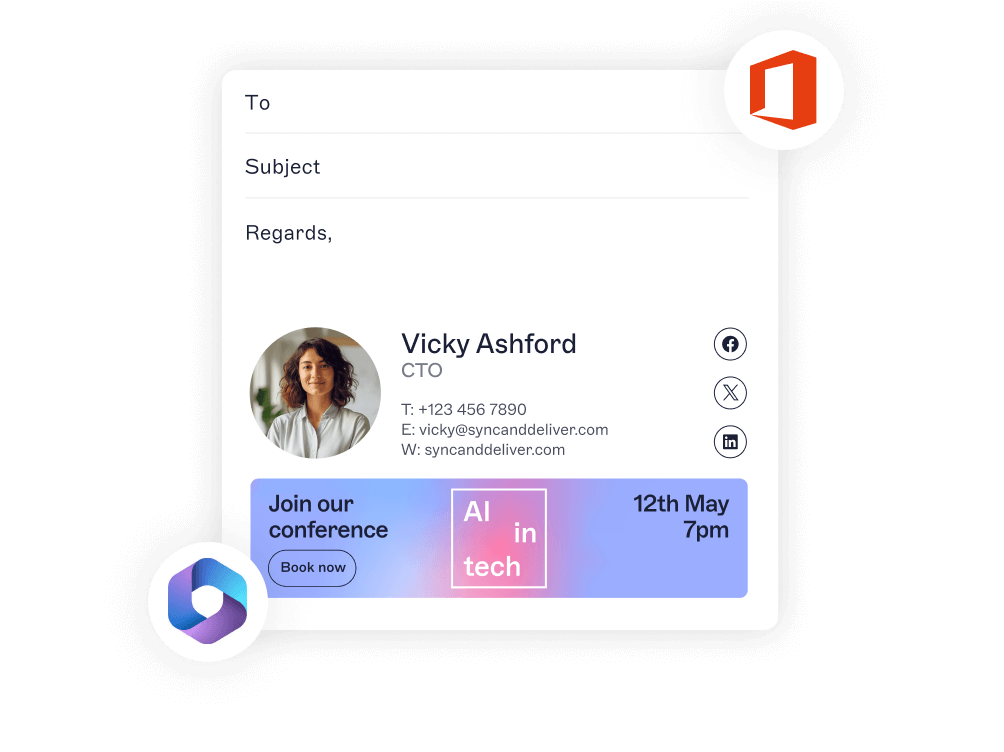
Email signatures sit roughly where access control used to. In many organizations, signatures are still set by individual users, copied from a template, pasted into Outlook, and left to drift out of date. The result is familiar: inconsistency, no central oversight, and a manual task that gets harder as the company grows. It’s the kind of problem that centralized, automated management solves, whatever the underlying task.
The scale of the gap is documented. Only 18% of organizations use centralized email signature management, even though 35% of IT teams name it one of their two most time-consuming tasks, according to Exclaimer’s State of Business Email 2025 research. It’s the same kind of governance gap Conditional Access closed for access.
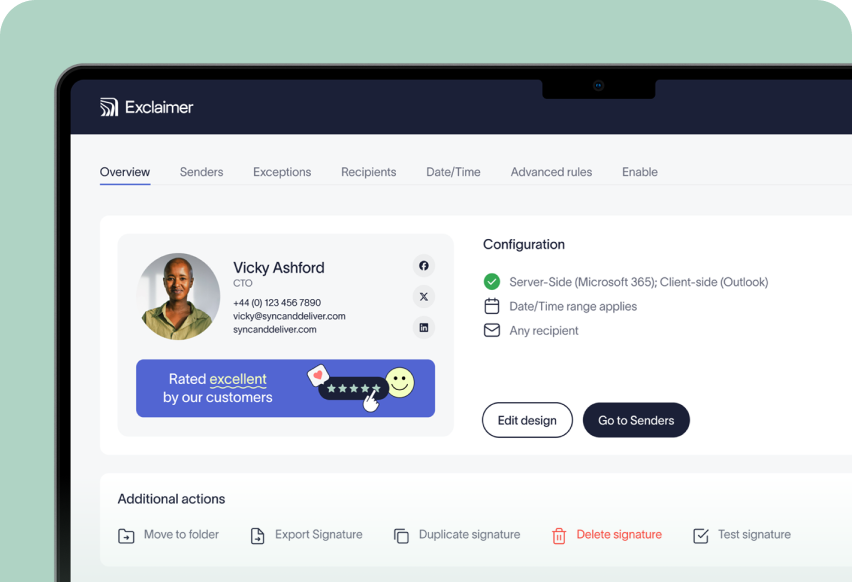
Centralized email signature management applies the same model. Signatures are defined once, governed by rules, and applied automatically to every email. No PowerShell scripts. No Group Policy objects. No reliance on users to “get it right." Exclaimer’s cloud solution does this directly for Microsoft 365, so the consistency you enforce over access extends to the email your organization sends.
The bottom line for IT teams
Conditional Access is how modern Microsoft 365 environments enforce access: centrally, automatically, and by policy rather than by hand.
Once you’ve seen the control that comes from enforcing policy centrally instead of per user, the manual processes left elsewhere start to look like governance gaps worth closing. Email signatures are one of the clearest. They carry your brand, contact details, and often legal disclaimers on every message your organization sends, yet they’re frequently the last thing left to individual effort.
 Close that gap by bringing email signatures under the same centralized governance you apply to access. Exclaimer has done exactly this for more than 20 years and is now trusted by over 80,000 organizations, applying signatures directly across Microsoft 365 and backing it with ISO 27001, ISO 27018, and SOC 2 Type II certification. For IT teams already governing access by policy, signatures are the next process worth putting under control.