


Dave is a marketing expert with 15 years experience in the tech and SaaS world. He specializes in educating IT and channel audiences, with a focus on security, privacy, compliance, and marketing technology. With a talent for storytelling and a deep understanding of the industry, Dave transforms complex IT topics into clear, engaging, and impactful narratives.
Centralized email signature management: A step-by-step implementation guide for IT

TL;DR
Manual updates lead to broken formatting, wasted IT time, and inconsistent branding
Centralized control gives IT a simple way to manage email signatures for every user and device
Exclaimer lets you apply the right signature to every email automatically
Updates take minutes and don’t rely on end users or manual fixes
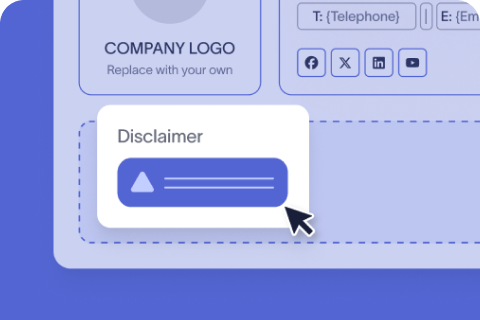
Without a centralized email signature management platform, trying to enforce brand consistency, formatting standards, and accuracy across potentially hundreds or thousands of employees is nearly impossible.
 Manually managing email signatures means relying on individual users to update their own templates, copying-and-pasting designs or implementing mail flow rules at the server level.
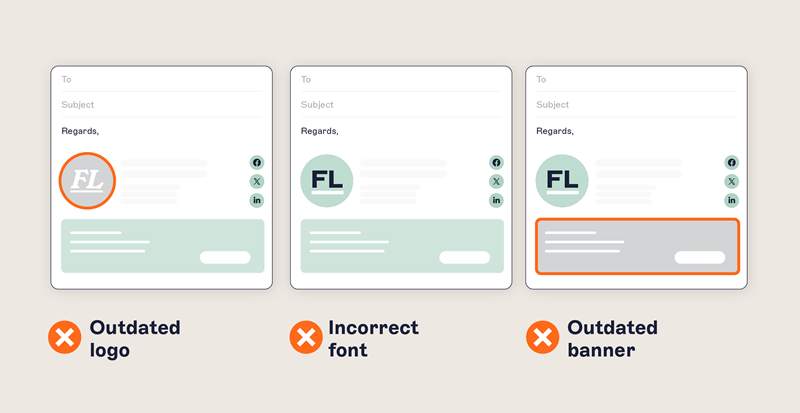
But let’s be honest, most employees won’t think twice about tweaking their signatures, and other manual processes cause email signature designs to break.
The result? A mix of inconsistent, non-compliant, and even risky email signatures floating around on corporate emails.
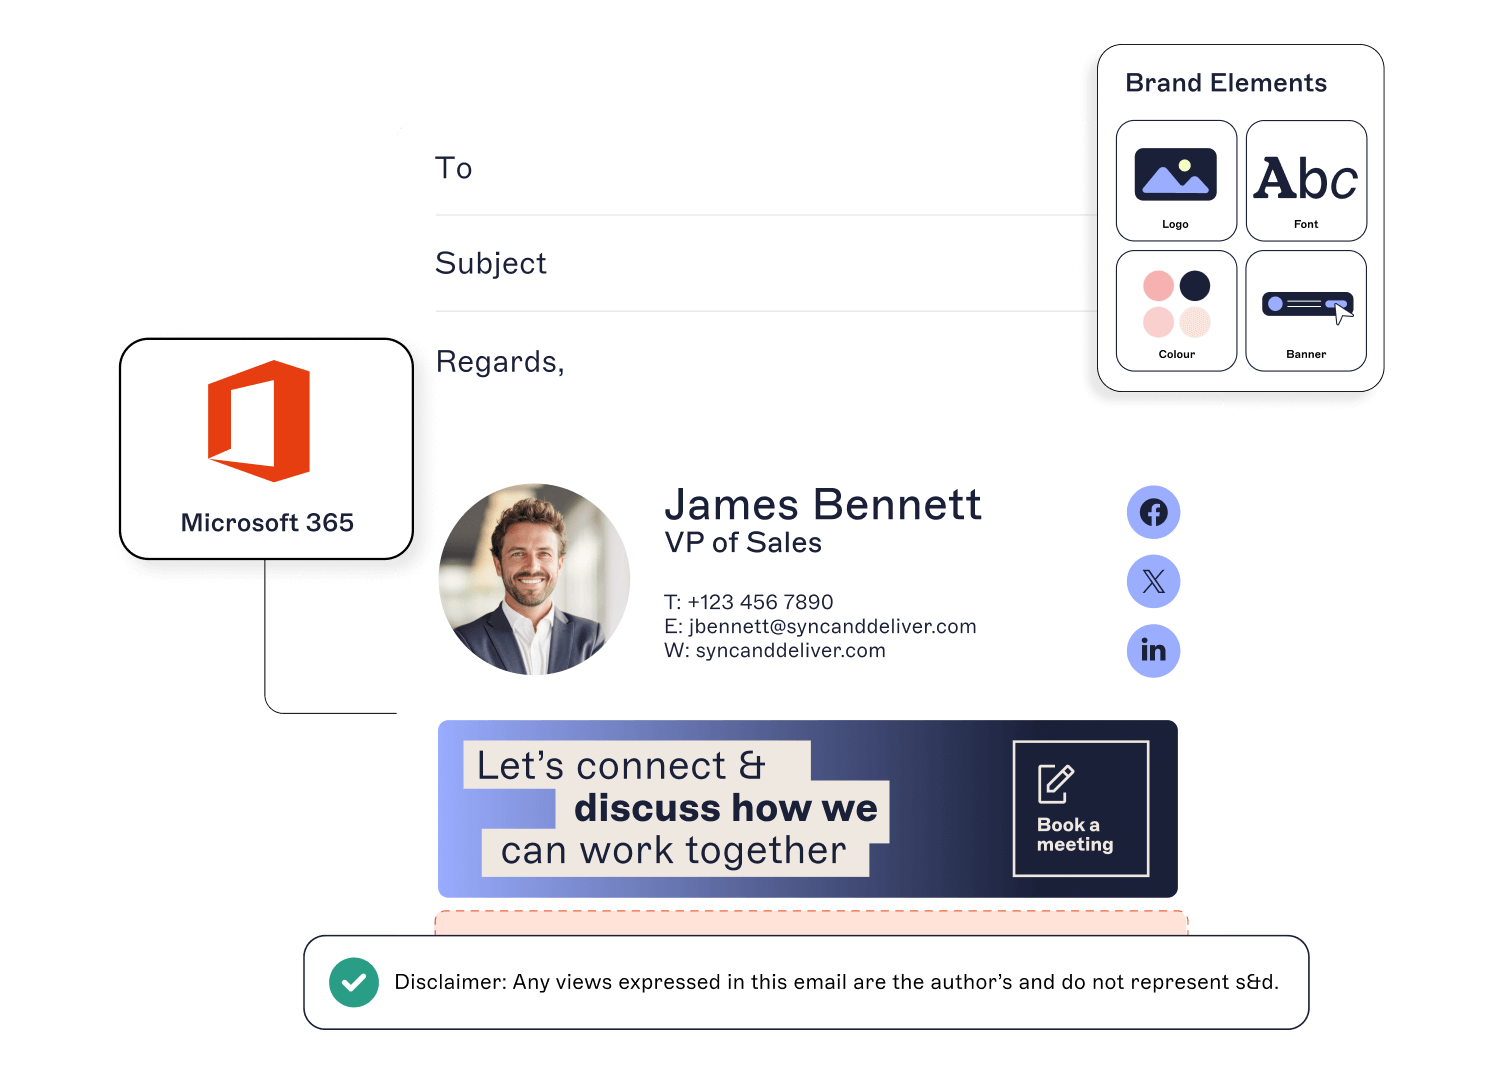
A centralized email signature management solution removes these problems by giving IT full control over signature design, deployment, and updates. This means every email follows brand standards, includes the right contact info, and looks consistent without relying on individual users.
In this guide, we’ll look at:
- How to set up centralized email signature management for Microsoft 365 (Office 365)
- How to set up centralized email signature management for Google Workspace (G Suite)
- Delegation and access control
Why IT teams need centralized control
Most mail platforms weren’t designed for email signature management. You patch together mail flow rules, group policies, or scripts, and signatures still don’t work across every device. Meanwhile, your support queue keeps growing.
Here’s what changes with centralized email signature management:
Apply email signature changes instantly across every user and device
Get out of the ticket loop for formatting, profile info, or signature swaps
Avoid maintaining scripts or mail flow rules that don’t always work
Free up time to focus on higher-priority IT initiatives
The result? Fewer tickets. Fewer inconsistencies. Less time spent managing fixes.
What centralized email signature management looks like
Without centralized control | With centralized email signature management |
|---|---|
Inconsistent branding across teams | Company-wide templates applied automatically |
Manual updates and one-offs | Global updates made in one place |
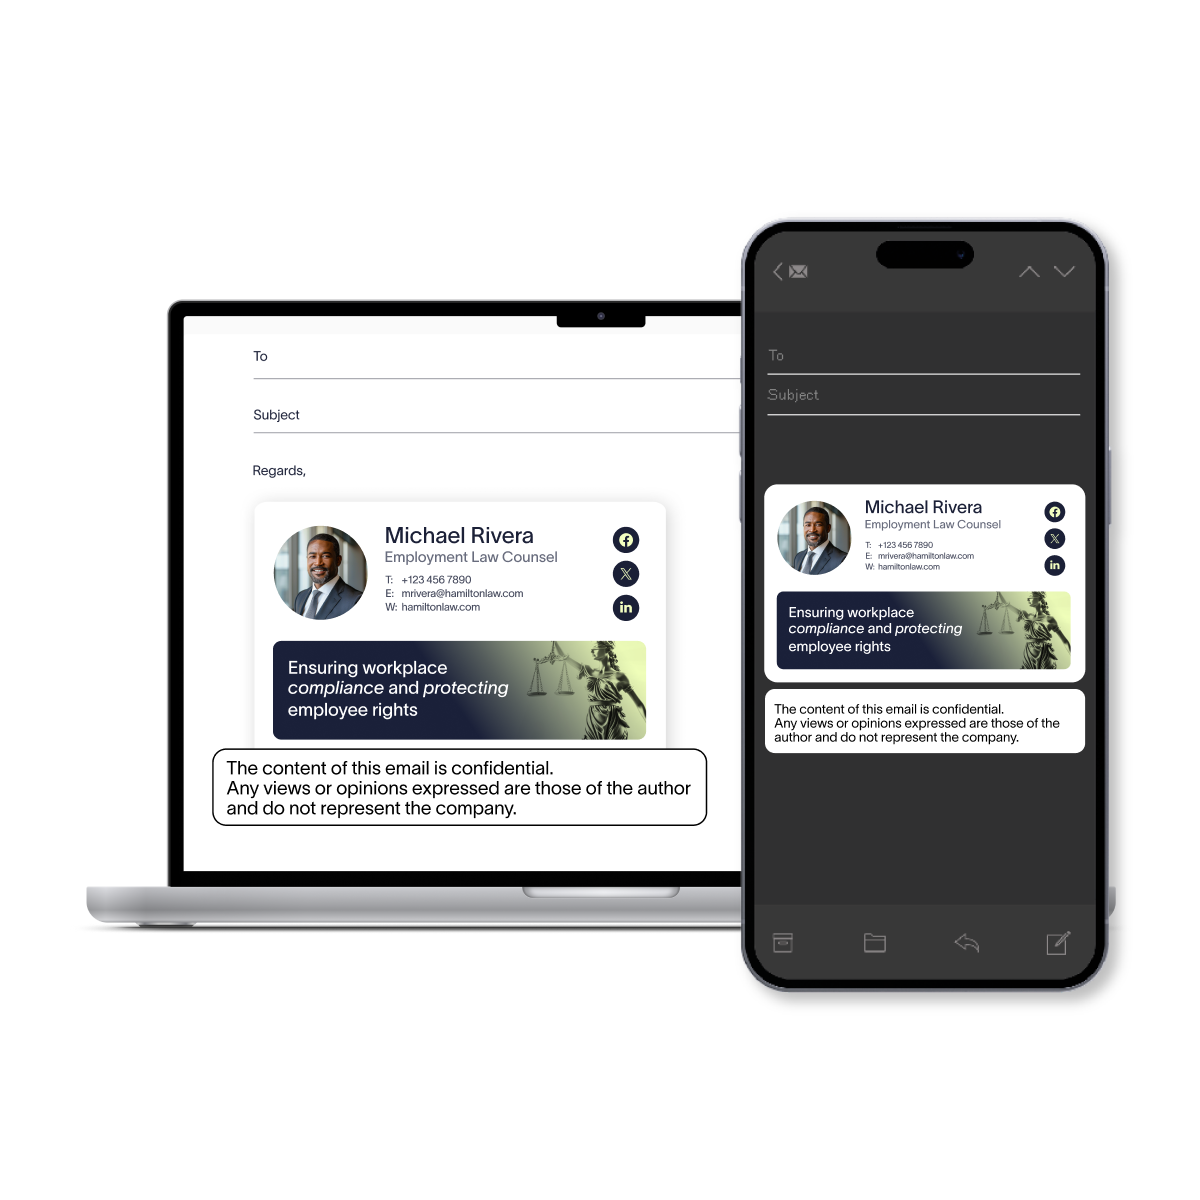
Formatting breaks across devices | Consistent layout on desktop and mobile |
No audit trail | Logged changes and admin access tracking |
Users edit their own signatures | Only authorized teams can make updates |
Built for IT, powerful for business
Centralized email signature management cuts down on admin and keeps teams aligned:
IT spends less time chasing down fixes
Marketing teams get consistent execution without raising tickets
Brand and content updates can be rolled out globally without IT
Everyone’s email signature stays accurate without doing a thing
And when you’re not firefighting email signature management issues, you’ve got time to focus on what actually matters.
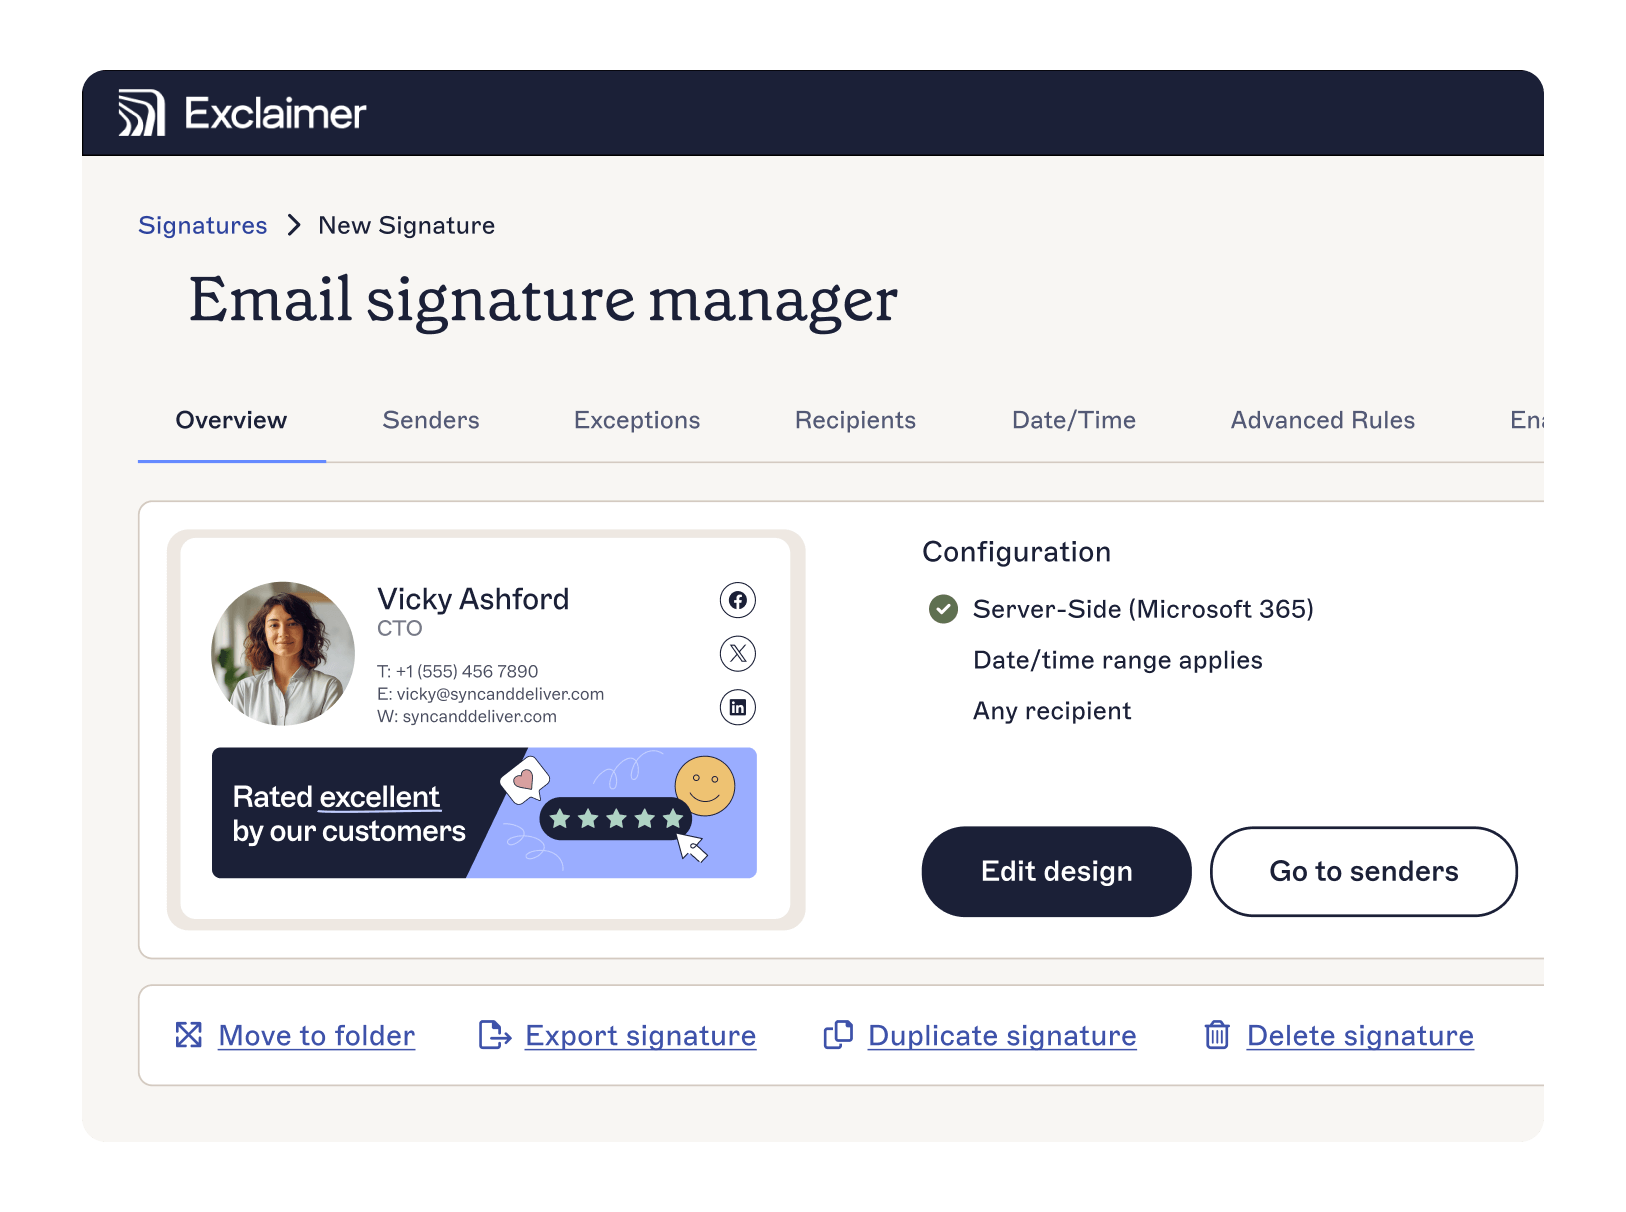
Meet the email signature platform built for IT
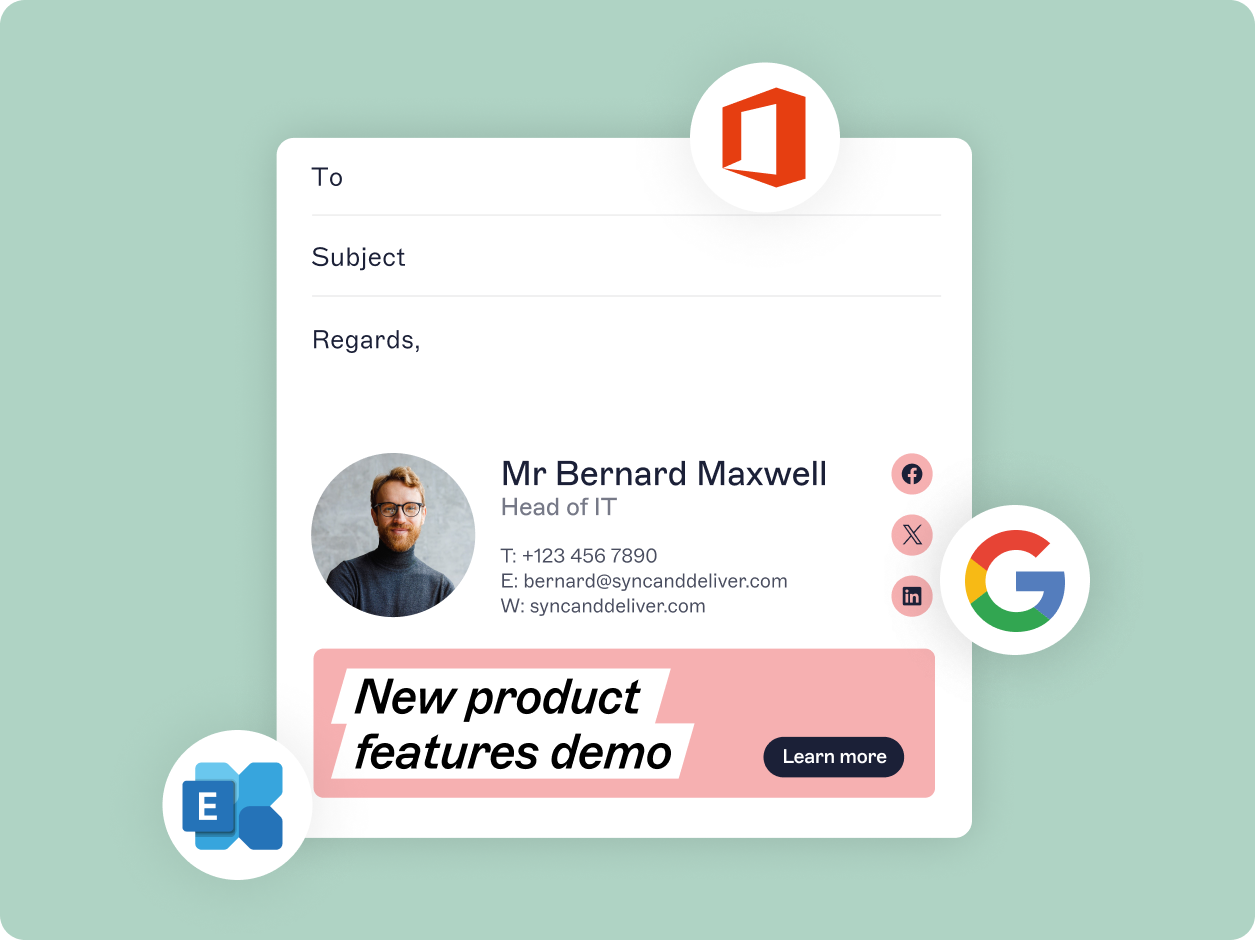
Exclaimer's email signature software gives IT teams a smarter way to manage email signatures without the manual work. It applies consistent, on-brand signatures to every message, across every user, department, and location.
 Used by more than 80,000 organizations worldwide, Exclaimer works with Microsoft 365 and Google Workspace to simplify how you control signatures at scale.
With Exclaimer, you can:
Standardize email signatures without relying on mail flow rules or user settings
Make global updates in minutes, not days
Decide who can edit what—and who can’t
Cut back on repetitive support requests and formatting fixes
Whether you’re rolling out a new brand, launching a campaign, or updating job titles across regions, Exclaimer gives you the speed and scale to do it without disruption.
Make email signature management simple
Start a free trial and see how easy it is to centralize and scale email signatures with Exclaimer.
How to set up Exclaimer’s centralized email signature management
This guide walks through the setup process for Microsoft 365 and Google Workspace, so IT teams can take full advantage of centralized email signature management.
6 steps to setting up centralized email signature management in Microsoft 365 with Exclaimer
With Exclaimer, Microsoft 365 users can automate and centralize email signature management, ensuring every email is branded, secure, and compliant—without user intervention.
 Here are the steps to implementing Exclaimer for Office 365:
Step 1: Prepare for Exclaimer integration
- Global Admin access to your Microsoft 365 tenant
- An Exclaimer subscription
Step 2: Connect Microsoft 365 to Exclaimer
- Log in to the Exclaimer Portal
- Click Signatures, then Start Setup
- Select Microsoft 365 and click Authorize
- Sign in using your Microsoft 365 Global Admin credentials
- Grant Exclaimer the necessary permissions to manage email signatures
- Wait for Exclaimer to sync users and apply configuration settings
Step 3: Configure signature rules and user assignments
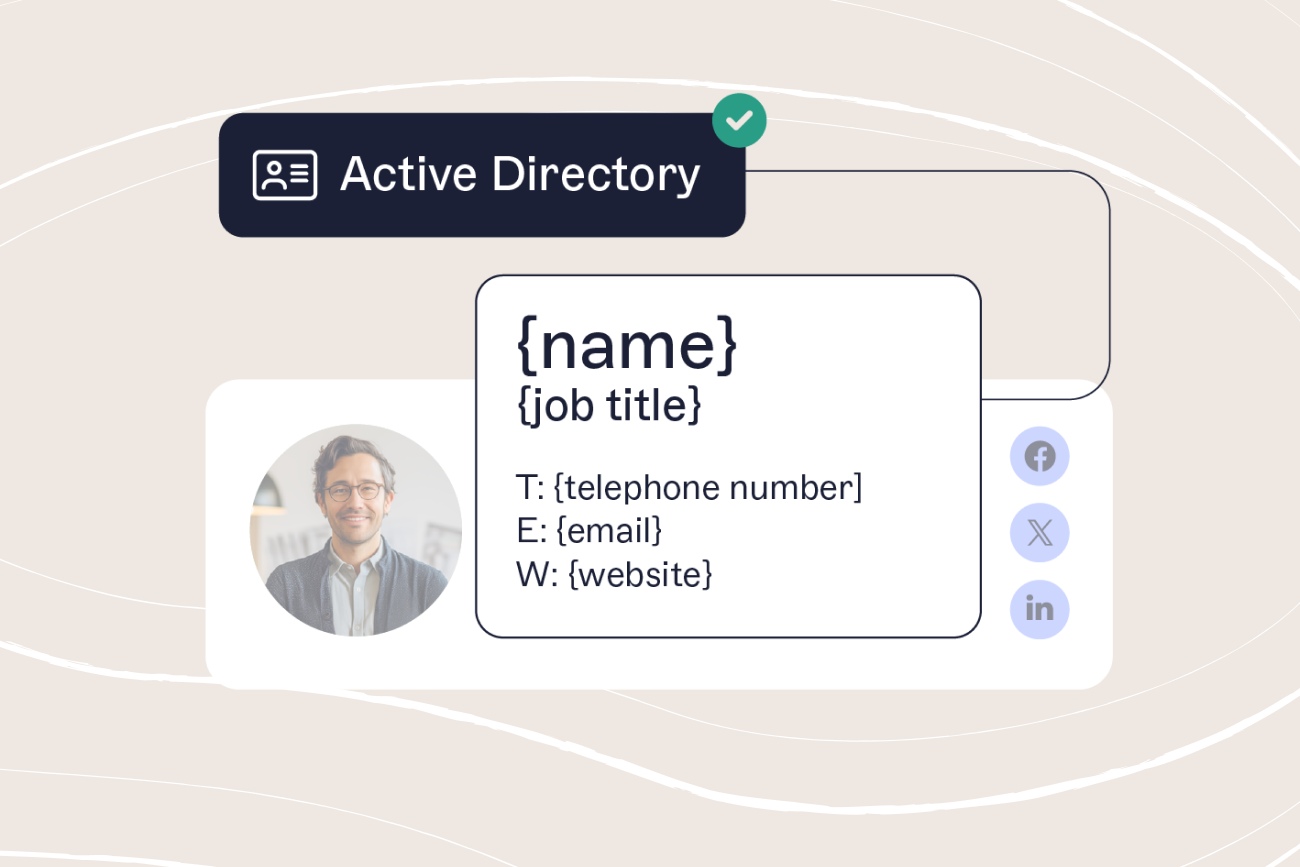
- Navigate to Signatures > Signature Designer
- Choose an existing template or create a new one using Exclaimer’s editor
- Use dynamic fields (e.g., Name, Job Title, Department) to personalize signatures
- Under Signature Rules, assign based on:
- Departments (e.g., HR, Sales, IT)
- Domains or email addresses
- Device or platform (Outlook, mobile, webmail)
- Click Save & Apply
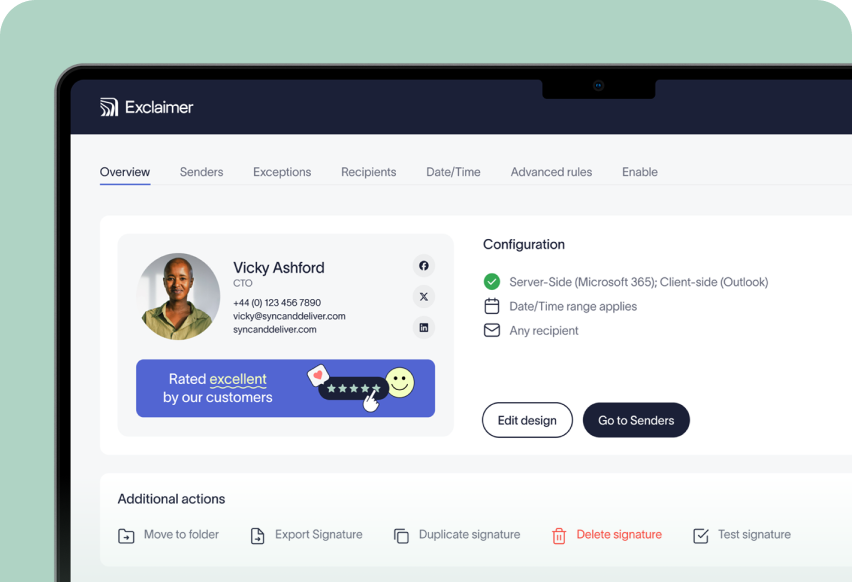
Step 4: Deploy Exclaimer across your organization
- Navigate to Mail Flow Settings in the Exclaimer portal
- Choose deployment method:
- Server-Side: Automatically applies signatures to all outgoing emails (best for compliance)
- Client-Side: Allows users to see and select their signature before sending
- Click Enable and test the configuration
Step 5: Test and verify your email signatures
- Send test emails from multiple devices (desktop, mobile, Outlook)
- Check that the correct signature appears for each user
- Confirm branding elements, contact details, and dynamic fields render as expected
Step 6: Ongoing management and optimization
- Monitor signature performance with analytics
- Apply updates instantly across the organization
- Automate onboarding & offboarding for new employees
- Need help? Visit the Exclaimer support page
How to set up centralized email signature management in Google Workspace with Exclaimer
With Exclaimer, Google Workspace users can centralize email signature management so that every email aligns with brand and security policies.

Step 1: Prepare for Exclaimer integration
- Google Workspace Super Admin access
- An Exclaimer subscription configured for Google Workspace
Step 2: Connect Google Workspace to Exclaimer
- Log in to the Exclaimer Portal
- Click Signatures, then Start Setup
- Select Google Workspace and click Authorize
- Sign in using your Google Workspace Super Admin credentials
- Grant Exclaimer API access to manage Gmail signatures
- Allow time for Exclaimer to sync user details and settings
Step 3: Create and assign email signatures
- Go to Signatures > Signature Designer
- Choose a pre-designed template or create a custom signature
- Use dynamic fields (e.g., {givenName}, {title}, {company}) to auto-fill user details
- Under Signature Rules, set conditions based on:
- Department or user groups (Marketing, Sales, Support, etc.)
- Google Workspace domains
- Devices (Desktop, Mobile, Webmail)
- Click Save & Apply
Step 4: Deploy Exclaimer signatures in Gmail
- Navigate to Gmail Signature Deployment in Exclaimer
- Choose between:
- Server-Side Signatures – Applied automatically when sending emails
- Client-Side Signatures – Users see their signatures before sending
- Click Enable Deployment
Step 5: Test and verify your signatures
- Send test emails from different devices
- Check that signatures appear correctly across Gmail, mobile apps, and webmail
- Confirm that names, titles, images, and fields populate correctly in every layout
Step 6: Ongoing management and optimization
- Make sure signatures follow your company’s brand and corporate standards
- Apply instant updates to all users
- Monitor email engagement if using banners and CTAs
- Need help? Visit the Exclaimer support page
Delegation and access control: How IT can empower wider teams without losing security
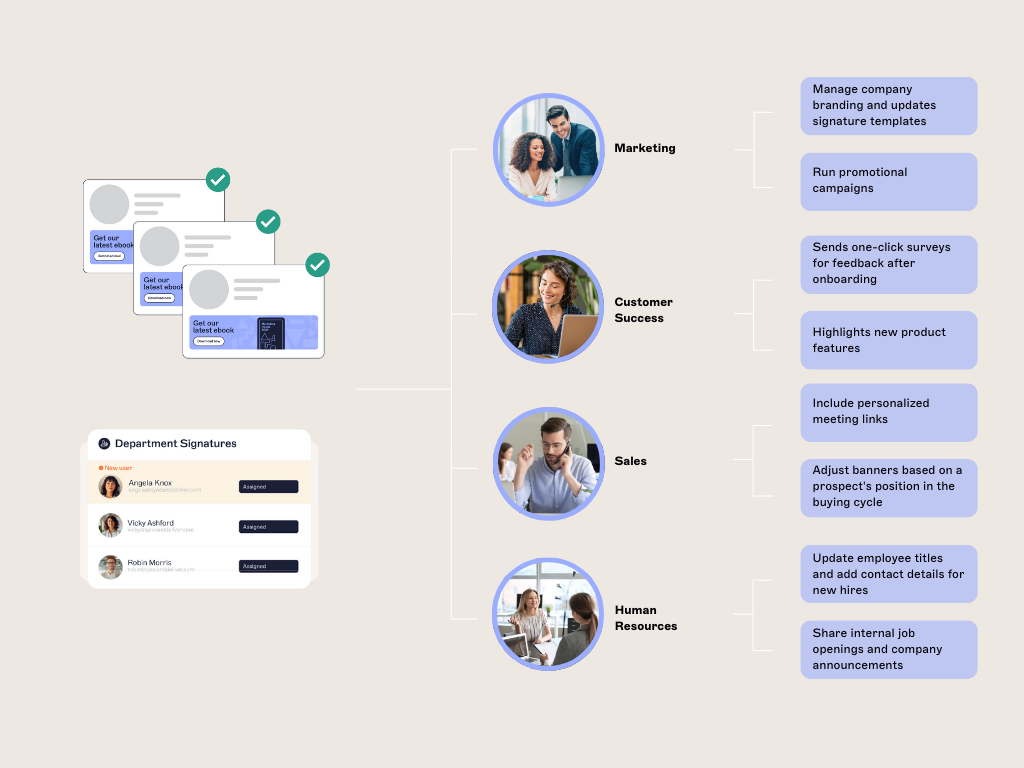
Marketing, HR, Sales, and Customer Success teams often need control over branding, email banners, or contact info updates. However, granting full access to IT systems can introduce security risks.
With centralized email signature management and role-based permissions, IT can delegate signature updates while maintaining security, compliance, and control, and here’s how it helps:
Reduces IT workload – IT no longer needs to handle every minor update.
Ensures branding consistency – Marketing can update signatures without waiting for IT.
Improves agility – HR can quickly deploy recruitment banners. Sales can easily tailor their signatures with booking links or content, based on the prospect’s funnel stage.
Enhances security – Permissions prevent unauthorized changes or misconfigurations.
Best practices for role-based access control (RBAC)
1. Define clear user roles and permissions
- IT admins – Full control over signature deployment, integration, and security settings
- Marketing and Brand – Can design and update signature templates but can’t modify IT settings
- Sales – Can customize signatures based on segment or campaign
- Customer Success – Can cross–sell and up-sell to existing customers, as well as deploy one-click feedback surveys
- HR – Can add standardized messaging for recruiting or internal initiatives
- Legal – Can add pre-approved content text but can’t change branding
- Department heads – Can preview signatures for their teams but not make changes
2. Implement role-based access in Exclaimer
Exclaimer offers granular permissions so IT can delegate control without compromising security.
- Log in to Exclaimer
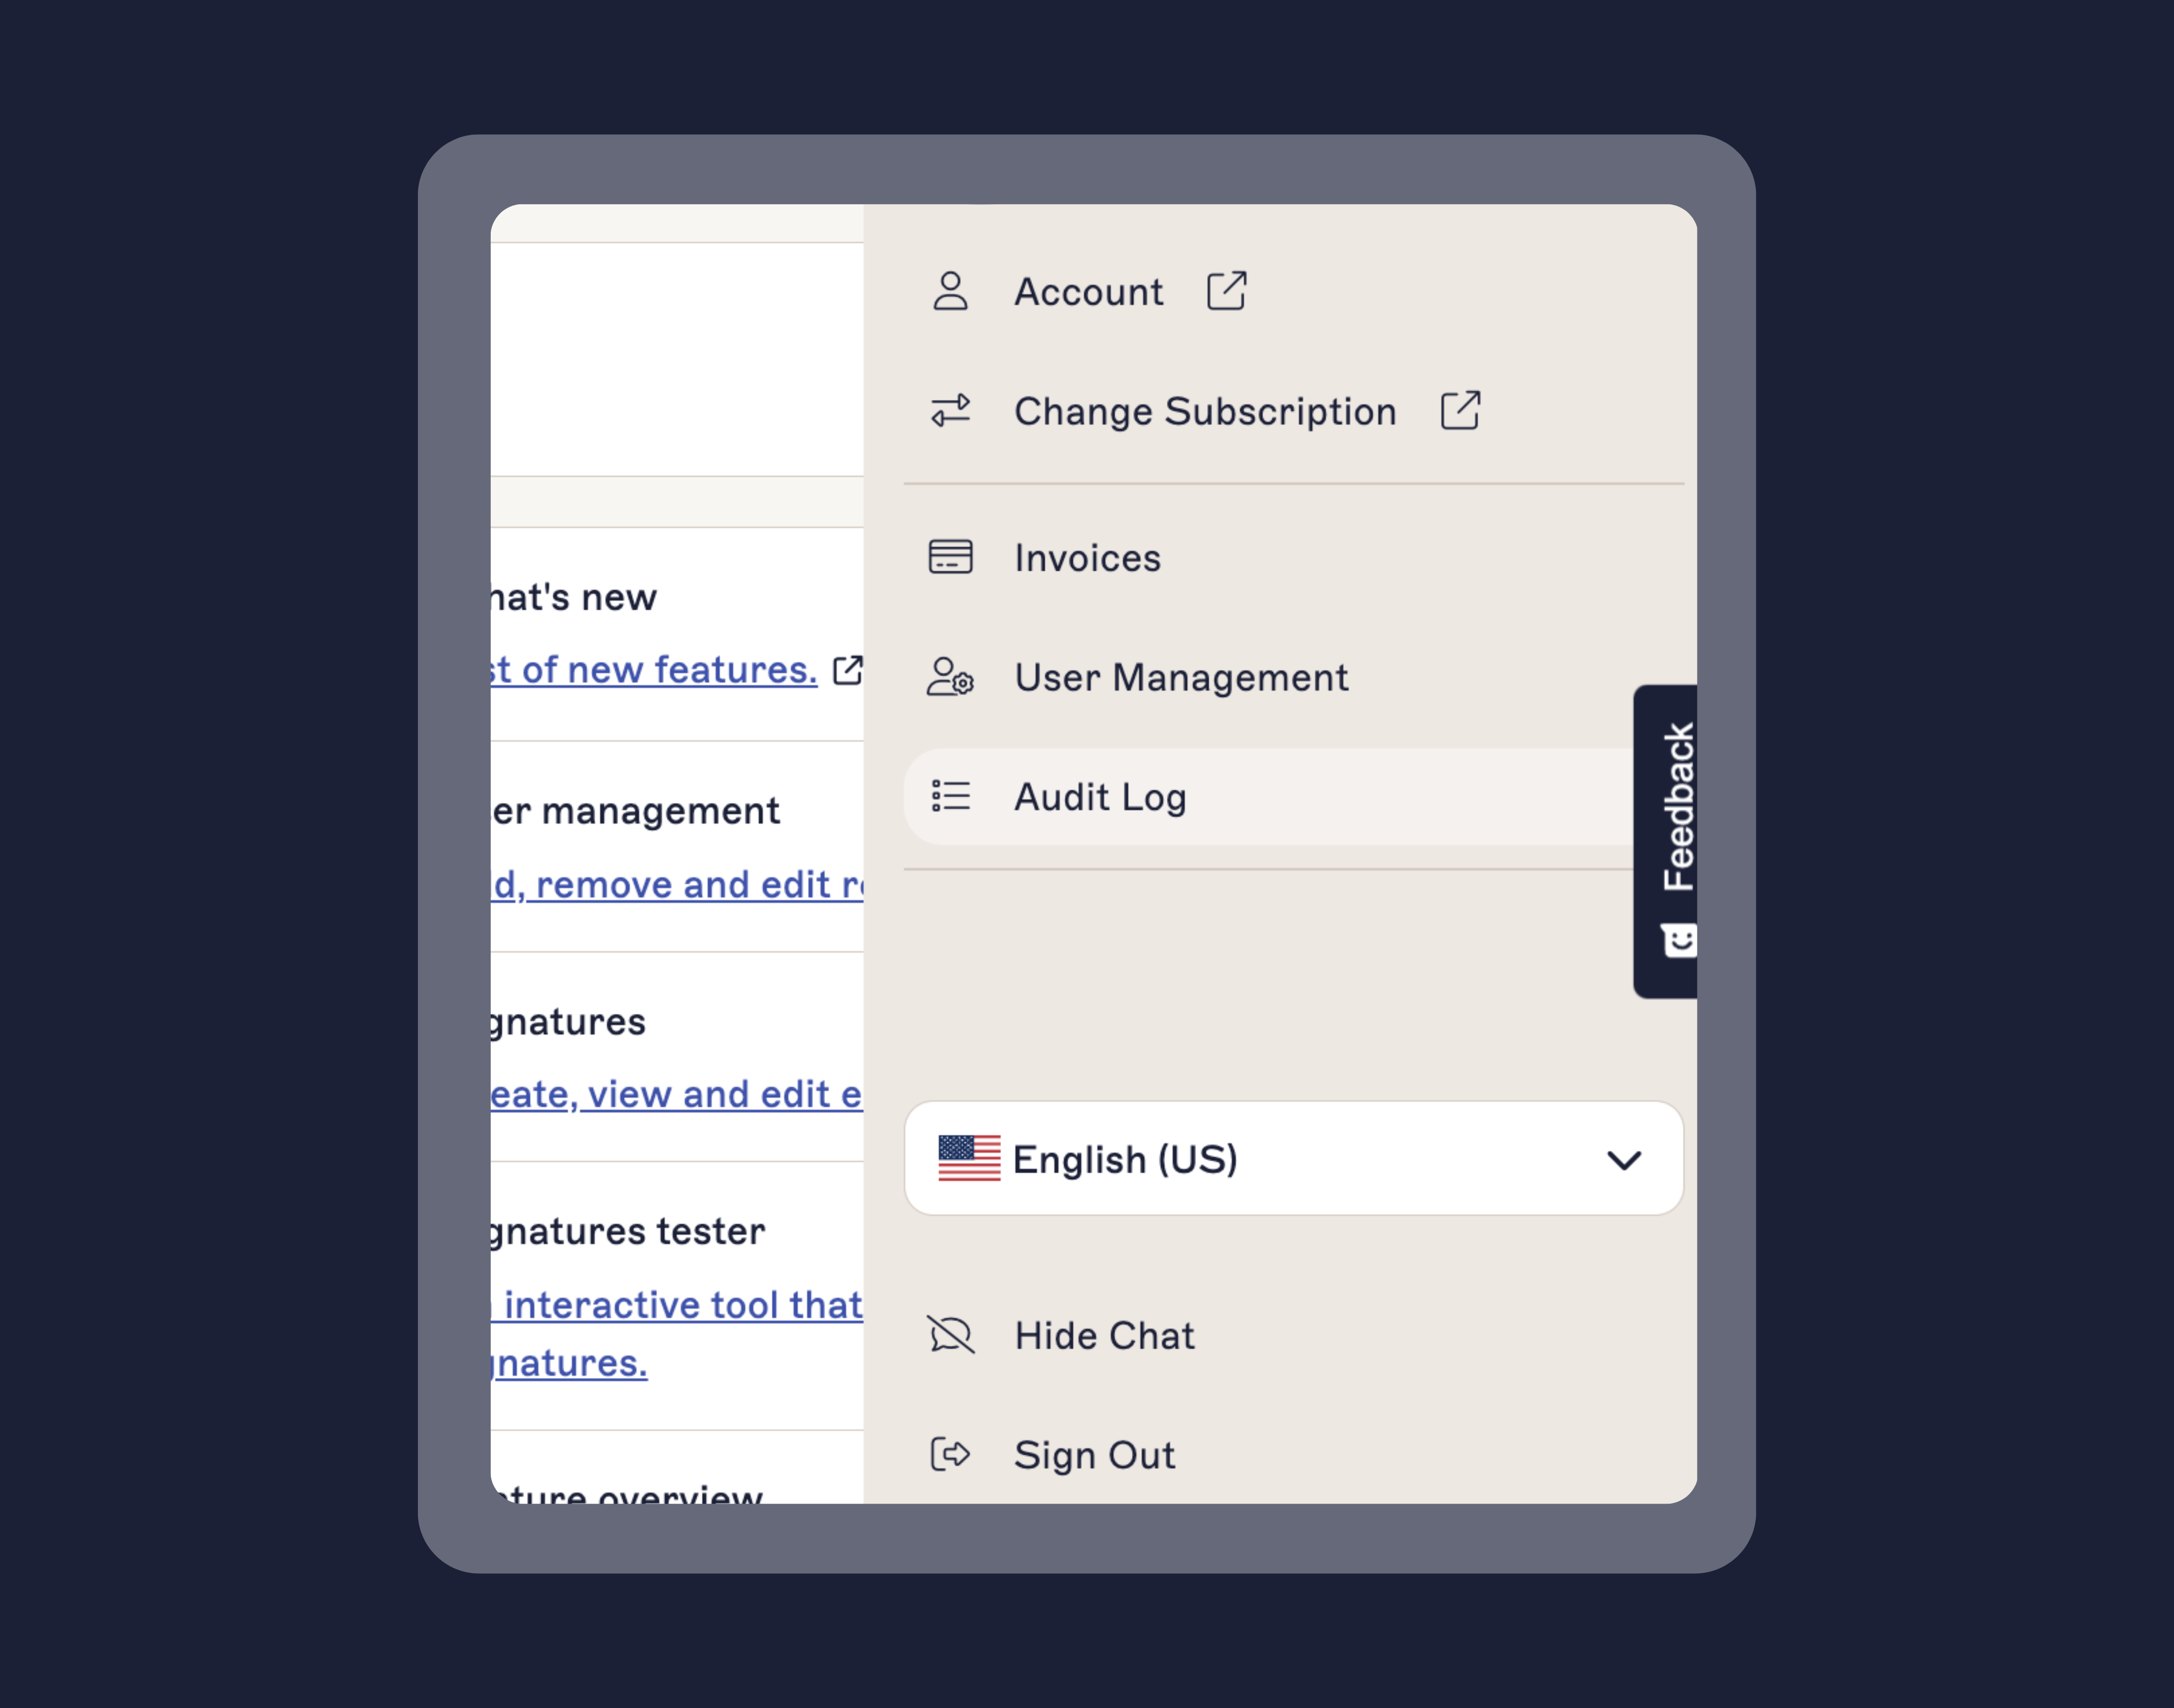
- Navigate to Settings > User Management
- Click Add User and assign the appropriate role:
- Admin – Full access to all settings
- Designer – Can edit signatures but not IT settings
- Viewer – Can preview signatures but not edit them
- Save changes and notify users of their new access
3. Restrict access to critical IT settings
- Limit Global Admin rights to IT personnel only
- Restrict access to mail flow rules to prevent security misconfigurations
- Enable Multi-Factor Authentication (MFA) for all users with access to Exclaimer
4. Set approval workflows for signature changes
- Marketing submits updates to branding elements
- Legal reviews content to match internal communication policies
- IT signs off on final deployment to ensure security isn’t compromised
5. Monitor and audit signature changes
- Use Exclaimer’s audit log to track who made updates and when
- Schedule periodic reviews to ensure signatures meet current policies
- Conduct security audits to verify permissions remain appropriate
Centralized email signature management made easy with Exclaimer
As organizations grow, manually managing email signatures becomes unsustainable. Without a centralized approach, IT teams face inconsistencies, compliance risks, and an increasing administrative burden.
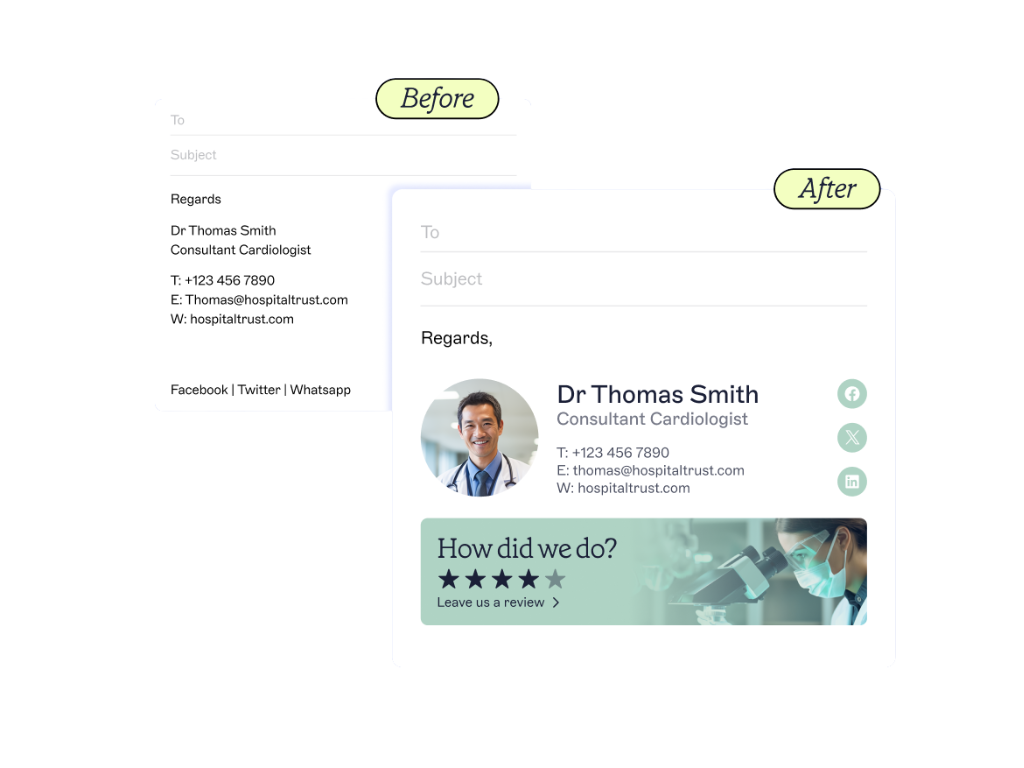 By implementing Exclaimer’s centralized email signature management platform, leveraging dynamic templates, and using role-based permissions, businesses can keep every email professional, brand-aligned, and error-free.
With Exclaimer in place, IT can reduce workload, empower other teams, and maintain full oversight over signature deployment across multiple locations, departments, and devices. Whether scaling from a single office to a global enterprise, an automated approach ensures every email signature remains consistent, secure, and optimized for business needs.
💡
Simplify email signature management as you grow
Want to simplify email signature management for your growing organization? Exclaimer lets you centrally manage, update, and control every email signature without manual work or formatting issues.
Start a free trial and see how easy it is to automate and scale email signatures across teams and devices.