


How to run marketing campaigns using email signatures in Exclaimer
8 April 2026
0 min read
TL;DR
Email signature campaigns turn everyday emails into a scalable marketing channel with banners that promote content, events, or offers
A strong setup includes a clear goal, targeted audience, simple banner, and defined timeframe to keep campaigns focused and relevant
Centralized management keeps campaigns consistent and reduces manual work, especially across large teams and multiple devices
Exclaimer makes this easier to run at scale, with centralized control, built-in targeting, and scheduling designed for email signature campaigns
Email signatures are often overlooked as a marketing channel. But each employee email is a high-visibility touchpoint. With Exclaimer, you can turn those everyday emails into targeted campaign placements without adding manual work.
This guide walks through how to plan, set up, and manage email signature marketing campaigns in Exclaimer, so you can run campaigns that are visible, controlled, and easy to update.
What is an email signature marketing campaign?
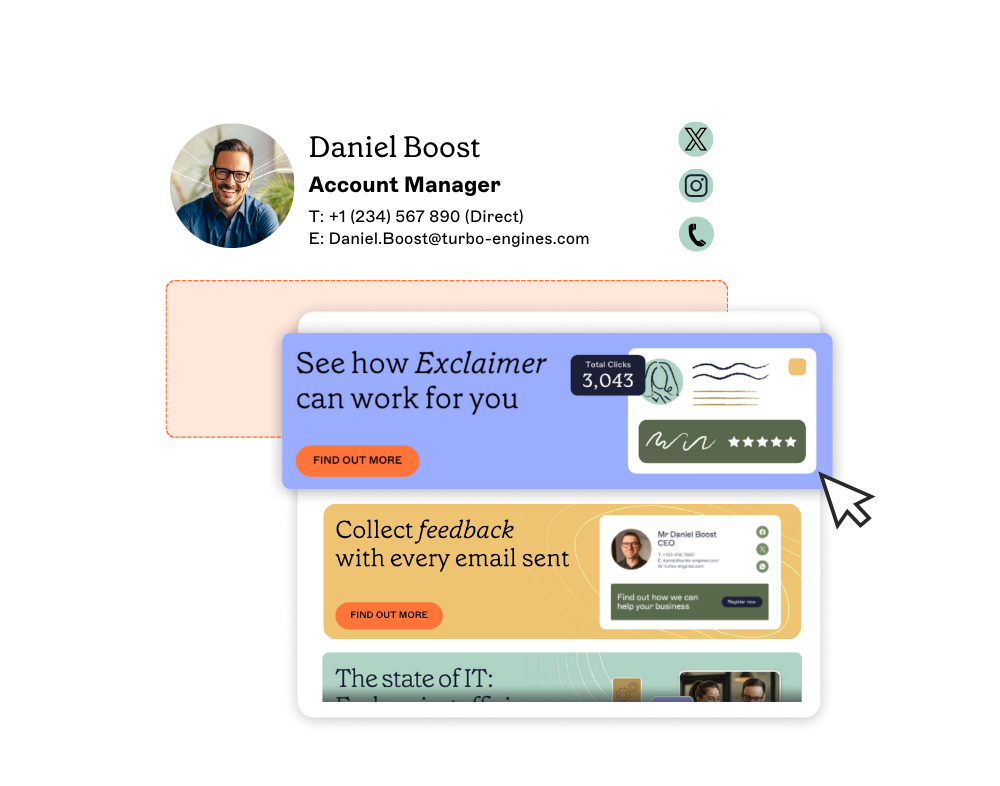
An email signature marketing campaign is a banner-based promotion added to employee email signatures to drive awareness, clicks, or conversions.
 It runs automatically across everyday emails, turning one-to-one communication into a scalable marketing channel.
This typically includes:
A visual banner placed within the signature
A clickable link to a landing page
Targeted delivery based on user or audience rules
Unlike traditional email marketing, these campaigns run continuously across one-to-one emails. Every message becomes a distribution point.
Why use email signatures for marketing campaigns?
Email signature campaigns work because they combine high visibility, low cost, and trusted communication.
 They appear in emails that recipients already expect and engage with, increasing the likelihood of interaction. With employees sending an average of 40 emails daily and business email volume projected to reach 408.2 billion daily by 2027, the reach potential is significant.
The benefits of this approach include:
Built-in reach across everyday emails – Employees send large volumes of emails daily, and each one becomes an opportunity to display campaign messaging without additional sends.
A low-cost, high-frequency marketing channel – There's no media spend or send cost, as campaigns run in the background attached to emails already being sent.
Trusted, one-to-one communication context – Recipients are usually already engaged with the sender, making the message more likely to be seen and acted on compared to mass campaigns.
Higher engagement rates – Email signature campaigns can achieve click-through rates of around 4%, compared to 2.5% for traditional mass email marketing.
Email signature campaigns vs. traditional email marketing
Factor | Email signature campaigns | Traditional email marketing |
Cost per click | Free (no media spend) | Paid |
Open rates | 90%+ (embedded in read emails) | ~21% average |
Trust signal | One-to-one communication | Broadcast messaging |
Management | Centralized, automated | List-based, scheduled sends |
Frequency | Continuous | Campaign-based |
What you need before starting
Before setting up your first email signature campaign, ensure you have:
An Exclaimer account with campaign access
Banner assets (JPG, PNG, or GIF, max 150KB, up to 600 x 600 pixels)
UTM tracking setup for measuring campaign performance
Target audience segments defined (departments, roles, or locations)
Clear campaign goals and success metrics
How to plan your email signature campaign
Planning an email signature campaign involves defining your goal, audience, message, and timing before setup begins. This helps you avoid rework and improves campaign performance.
Define your campaign goal
Start with a clear objective:
Drive event registrations
Promote a product launch
Increase content downloads
Book meetings or demos
Your goal will shape your design and targeting.
Identify your audience
Decide who should carry the campaign in their signatures. For instance:
Sales teams for outbound campaigns
Customer Success teams for upsell or renewal messaging
Region-specific teams for localized campaigns
Choose your CTA and destination
Every banner should lead somewhere:
Landing page
Event registration
Booking link
Keep the CTA clear and aligned with the campaign goal.
Align timing with your campaign
Email signature campaigns often work best when they’re time-bound:
Pre-event promotion
Product launch windows
- Seasonal campaigns
Plan start and end dates upfront, so you don’t wind up promoting an event, launch, or offer that’s no longer relevant.
Quick summary: Campaign setup steps |
|
Step-by-step: how to set up a marketing banner campaign in Exclaimer
To set up a marketing banner campaign in Exclaimer, you create a campaign, upload a banner, define timing, and apply rules to control who sees it.
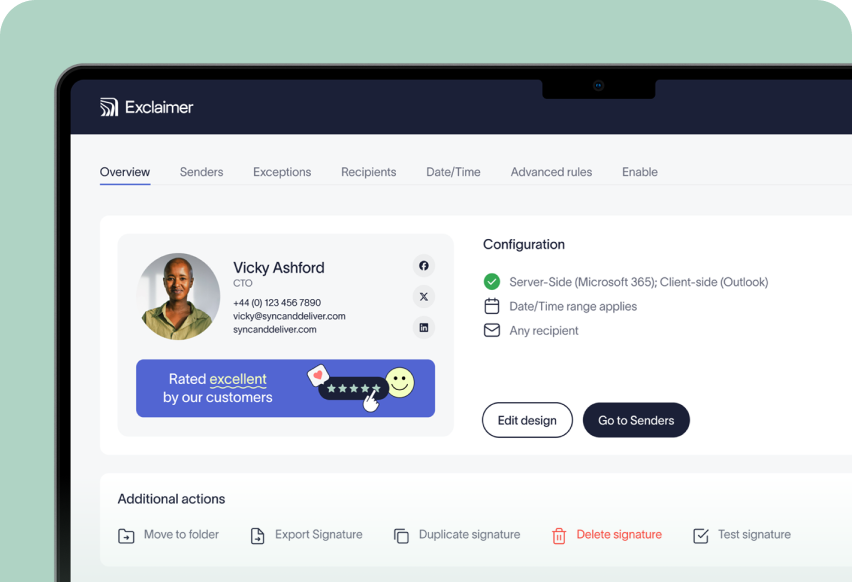
Step 1: Access the Campaigns feature
Log in to Exclaimer and select Campaigns from the sidebar.
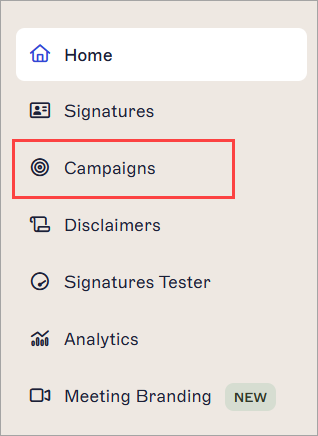
This opens the Campaigns dashboard, where all active and scheduled campaigns are managed.
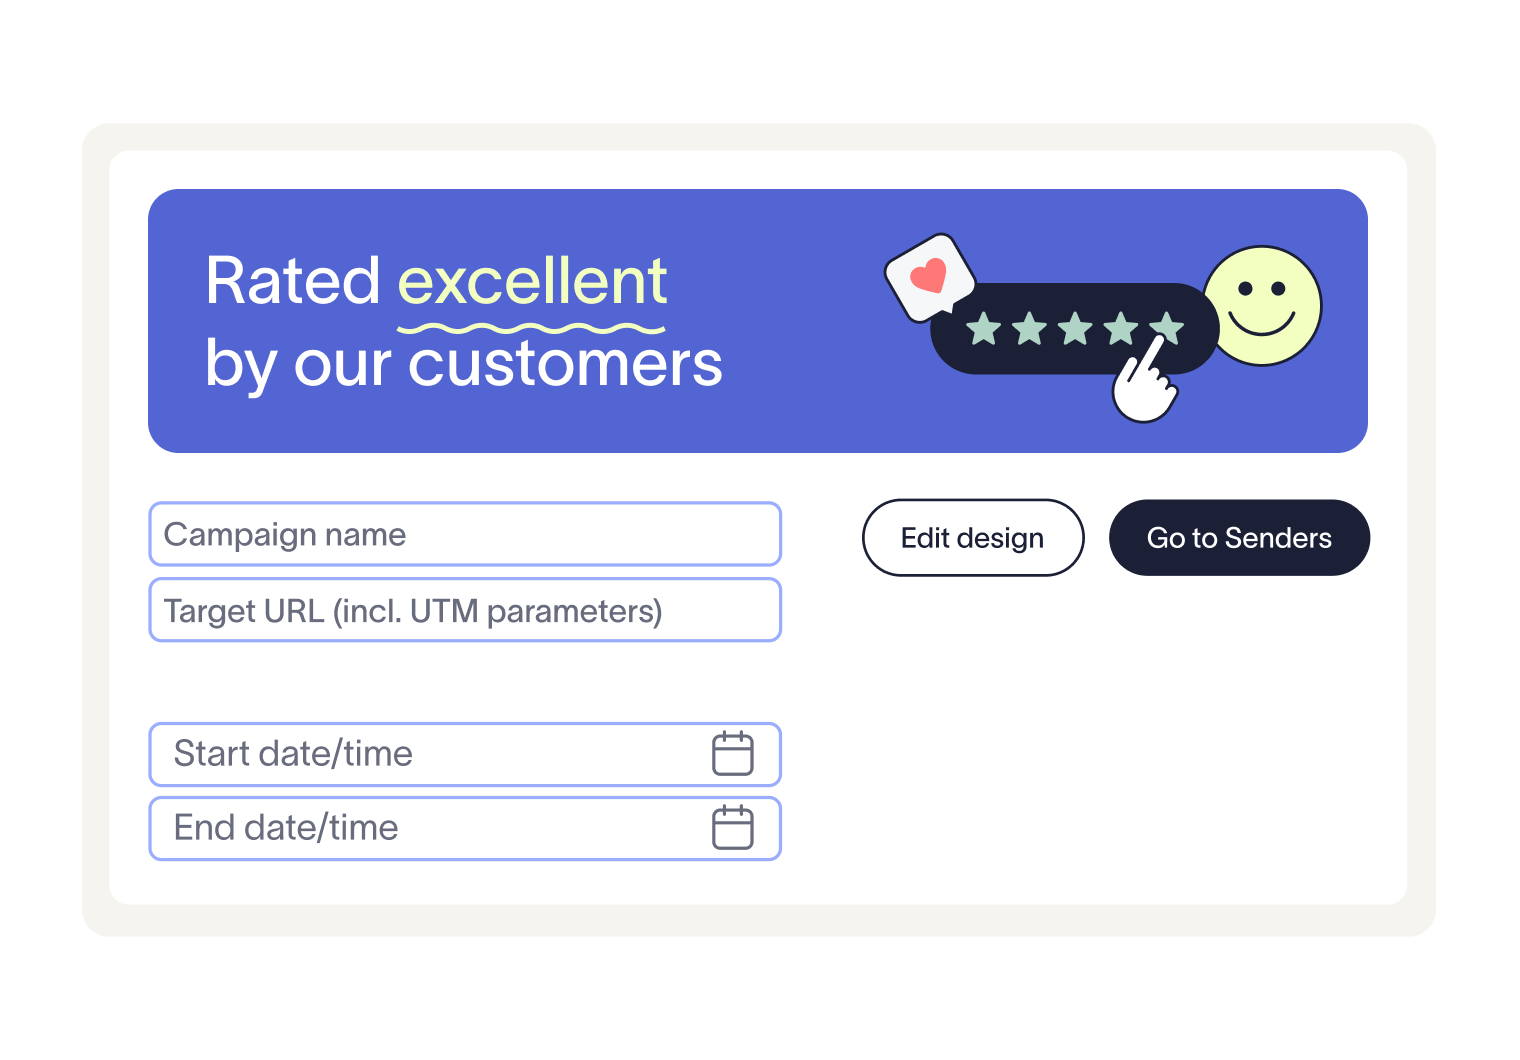
Step 2: Create a new campaign
Select Create Campaign to open the campaign setup screen.

Enter a Campaign Name and select the Enable this Campaign toggle to set the campaign as Enabled.
Step 3: Upload your banner image
Select Add Banner Image and upload your campaign asset.
Keep in mind:
Supported formats: JPG, PNG, GIF
Max size: 150KB
Recommended dimensions: up to 600 x 600 pixels
Add Alt Text to improve accessibility and fallback display.
Step 4: Add your campaign link
Enter your destination URL in the Target URL field. Generally, you’ll want to link to a landing page, event, or offer.
Add UTM parameters to your link to measure campaign engagement and ROI.
Step 5: Set campaign timing
Define when your campaign should run:
Start date and time
End date and time
Campaigns are designed for time-bound promotions, so this step is essential.
Step 6: Save and enable the campaign
Save your campaign to make it available in your Campaigns dashboard.
 At this point, the campaign is created but not yet fully applied.
Step 7: Apply campaign rules
Select Manage to configure how the campaign is applied and targeted.
 This includes:
Defining which users or groups the campaign applies to
Controlling when and where it appears
Step 8: Test across devices and email clients
Before rollout, use the Signatures Tester to preview how the campaign appears.
Check:
Banner rendering
Link functionality
Placement after the signature
Step 9: Deploy and monitor
Once active, the campaign is automatically appended to emails after the signature.
From here:
Monitor engagement via tracked links
Update or replace campaigns as needed
How to target email signature campaigns effectively
Email signature campaign targeting allows you to show different messages to different users or audiences based on attributes like role, department, or location. More precise targeting improves relevance, which typically leads to better engagement.
 You can target campaigns in several ways:
By department or role
Align campaigns with how teams communicate. For example, sales teams can promote events or demos to prospects, while customer success teams can share onboarding resources or upsell content with existing customers.By location or region
Run localized campaigns based on geography. This is useful for region-specific events, offers, or compliance messaging where content needs to vary by country or office.By customer lifecycle stage
Tailor messaging depending on whether the recipient is a prospect, new customer, or long-term client. This keeps campaigns relevant to where the relationship currently sits.By running multiple campaigns across different groups
Different user groups can carry different campaigns at the same time. This allows you to support multiple initiatives without overloading a single audience with competing messages.
How to manage campaigns without adding IT overhead
Managing email signature campaigns at scale requires centralized control, clear ownership, and minimal manual intervention. Without this, updates become inconsistent and IT teams end up handling repetitive requests.
To keep campaigns efficient and low-maintenance:
Centralize control across all signatures
Manage campaigns from a single platform rather than relying on individual users. This allows you to update banners, messaging, and rules once and apply changes instantly across the organization.Let marketing update campaigns without IT involvement
Ensure marketing teams can update their own campaign content, such as banners and links, while IT maintains control over structure and permissions. This reduces support tickets and speeds up campaign execution.Maintain consistent branding and compliance
Use controlled templates and centralized rules to keep logos, disclaimers, and formatting consistent. This avoids errors and reduces the risk of non-compliant or outdated signatures being sent.
How to optimize and improve your campaigns
Optimizing email signature campaigns involves monitoring performance, refreshing content, and adjusting messaging over time. This helps maintain engagement and relevance.
Focus on these areas:
Monitor clicks and engagement
Use trackable links, such as UTM parameters, to measure how often your banners are clicked. This helps you understand which campaigns and messages are actually driving action.Refresh banners regularly
Email signatures are seen repeatedly, so static content can lose impact over time. Updating visuals and messaging keeps campaigns relevant and prevents fatigue.Test different messaging and CTAs
Experiment with variations in wording, design, and calls to action. Even small changes can affect how recipients respond, especially in high-volume email environments.Use scheduling to keep campaigns aligned with priorities
Plan campaigns around key dates, such as events or launches. Scheduling ensures the right message appears at the right time without requiring manual updates.
Best practices checklist |
|
Common mistakes to avoid
Most email signature campaign issues come down to poor planning, lack of targeting, or inconsistent execution. Avoiding these common mistakes helps maintain campaign performance and prevents unnecessary rework.
Avoid overloading banners with too much content
Trying to include multiple messages, links, or CTAs reduces clarity. Keep each banner focused on a single objective so recipients immediately understand what action to take.
Avoid poor placement that disrupts the email flow
Banners that feel intrusive can reduce engagement or distract from the email itself. Placement should balance visibility with readability, especially in ongoing conversations.
Avoid using the same message for every audience
A generic campaign sent across all teams often underperforms. Tailor messaging based on department, role, or audience type to improve relevance.
Avoid running campaigns without defined timing
Leaving banners active indefinitely can lead to outdated promotions being sent. Always set clear start and end dates to keep messaging accurate and timely.
Avoid skipping testing before deployment
This can lead to broken links, formatting issues, or poor rendering across devices. Always preview campaigns before rolling them out.
Prevent inconsistent branding by using centralized control
Without it, signatures can vary across users and devices, weakening brand consistency and creating compliance risks.
Final thought
Email signature campaigns scale with your organization’s communication. Once set up, they run continuously across every email, making them a practical way to extend campaign reach without increasing workload.

Ready to see how this works in practice? Try creating a campaign in Exclaimer today, or book a demo to explore targeting, scheduling, and centralized control in more detail.