


How to add and change a signature in Gmail (step-by-step guide)
26 June 2025
0 min read
TL;DR
- To add a Gmail signature for desktop, you can make signature updates through your Settings
- How to create a Gmail signature on mobile depends on whether you have Android or iPhone
- To centrally design and control professional Gmail signatures, you’ll want to choose Exclaimer’s email signature manager for Google Workspace to do all the hard work for you.
Important
The following methods won’t let you control signatures in Gmail for all users. For companywide Gmail signatures, try our Google Workspace email signature solution.
Creating a Gmail signature might seem simple, but crafting a professional and consistent signature across your emails can make a big difference.
Whether you’re using Gmail for personal purposes or business communication, having a polished email signature promotes your brand and provides recipients with essential contact details.
This guide will show you how to create a Gmail signature, update it, and explore the pros, cons, and best practices for maintaining professional email signatures.
How to add a signature in Gmail (desktop & mobile)
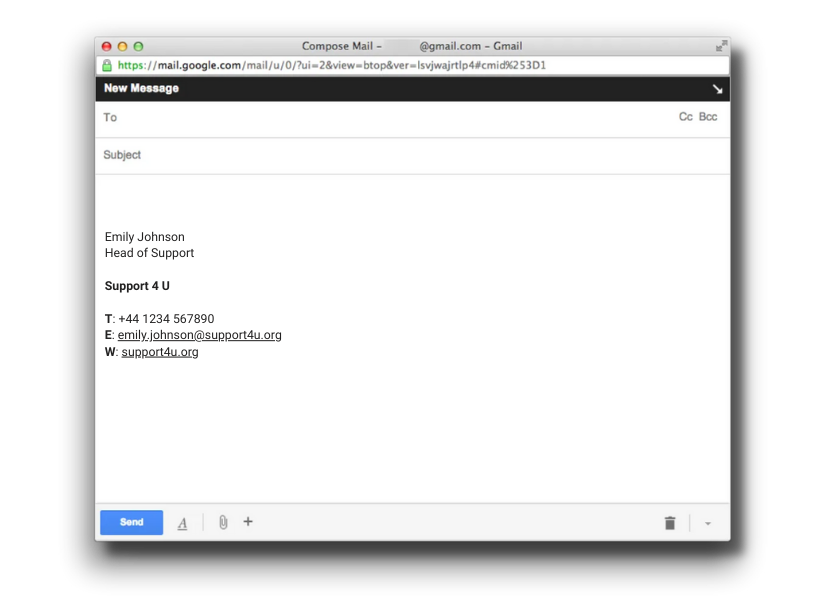
Adding a plain text email signature in Gmail is an easy way to keep your communications professional and straightforward.
Whether you're on a desktop or mobile device, follow these tips to set up your Gmail signature quickly and efficiently without any formatting or images.
Creating a Gmail signature on desktop
- Log in to Gmail.
- In the top right of the screen, click the Settings gear icon.
- Click See all settings.
- Scroll to the Signature section and go to Create new to start building your signature in Gmail.

- Give your new Gmail signature a name.

- Open the signature editor. Type out your email signature in the text box.

- Under Signature Defaults, choose whether to apply the Gmail signature to new emails, replies, or both.
- Once complete, click Save Changes.
Creating a Gmail signature on Android
Open the Gmail app on your Android device.
Tap the three horizontal lines in the top-left corner to open the menu.
Scroll down and select Settings.
Choose the Gmail account for which you want to create a signature.
Scroll to Mobile signature section and click on it.
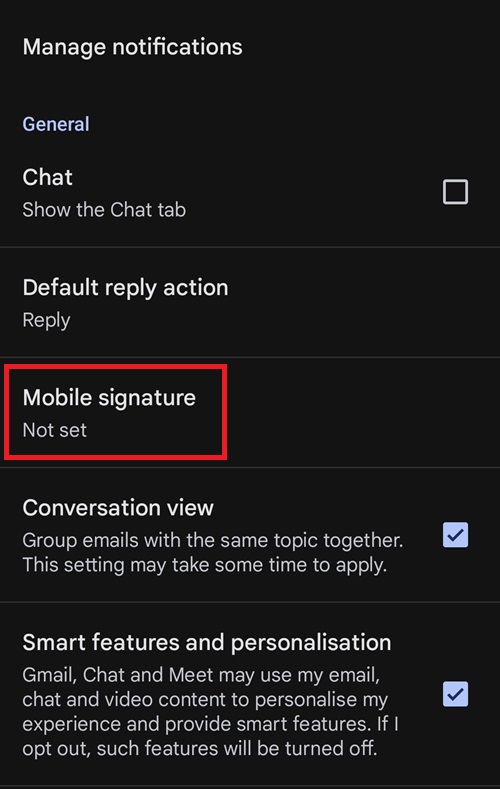
Enter your desired signature in the text box.
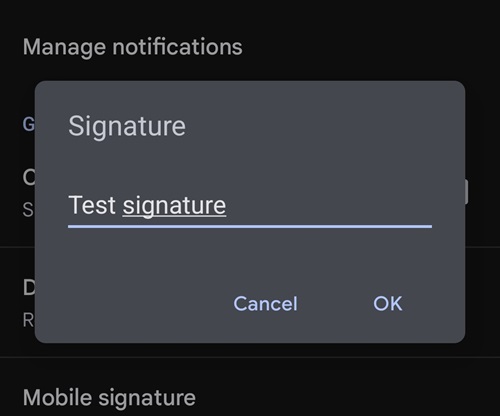
Tap OK to save your signature.
Creating a Gmail signature on iPhone and iPad
Open the Gmail app on your iPhone.
Tap the menu icon in the top-left corner.
Scroll down and select Settings.
Choose your email account and tap Signature settings under the General section.
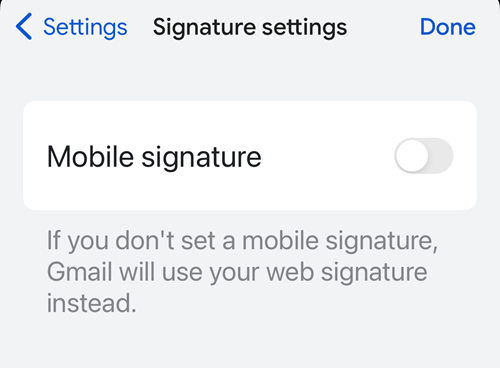
Turn on Mobile signature.
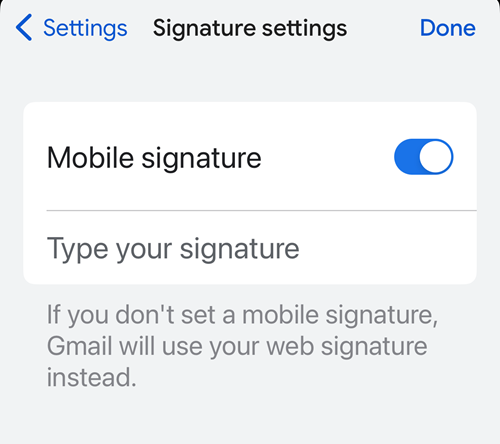
Enter your signature text in the provided box.
Tap Back to save your signature.
How to create and use multiple signatures in Gmail
Gmail allows you to create multiple signatures and switch between them for different use cases. Follow these steps:
Creating multiple signatures
Open Gmail and click the Settings gear icon.
Select See all settings.
Scroll down to the Signature section.
Click Create New and enter a name for your new signature.
Enter and format your new signature, then click Save Changes.
Repeat the process to create additional signatures as needed.
Using different signatures for different emails
To add a signature to a new email:
Click the pen icon in the toolbar at the bottom of the compose window.
Choose the desired signature from the list.
The selected signature will automatically appear in your email.
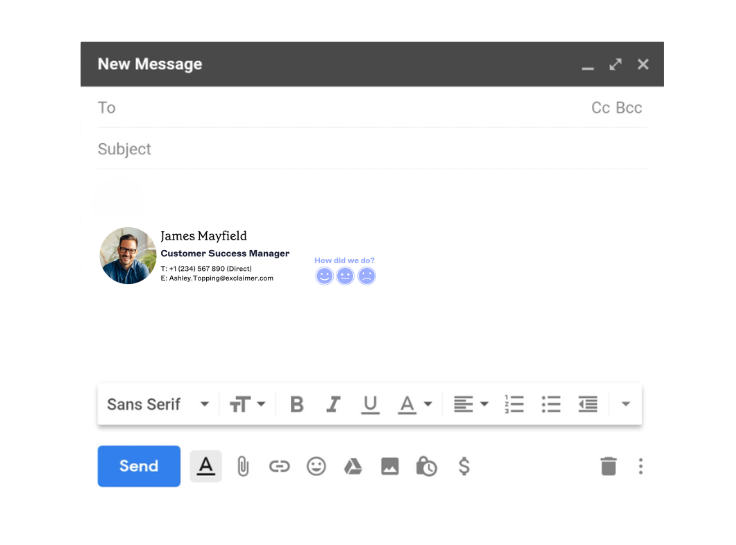
How to create a business Gmail signature
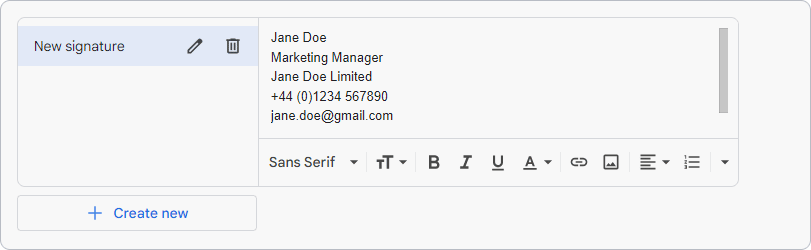
If want an email signature design that uses more than plain text, a bit more thought is needed. Here's how to create a professional Gmail signature that stands out:
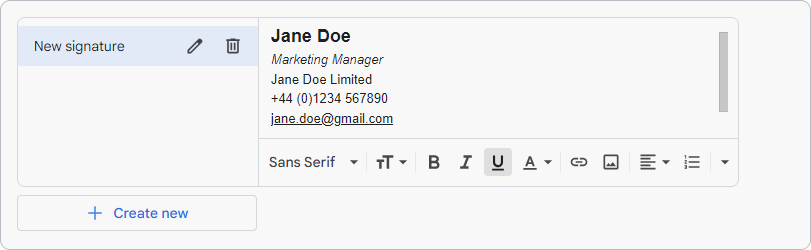
- Firstly, you need to add relevant contact information. As this is a professional Gmail signature, include your full name, job title, company name, phone number, and email address.
- You can then add additional formatting to make your signature in Gmail look more interesting. Resist using loads of different fonts as it will look messy.
- You will want to add at least one hyperlink. Examples would be your website URL, email address, or social media accounts. Highlight the signature text you want to hyperlink. Click the Link icon to do so.

- Add a website URL or email address. You can also change the display text if you wish.
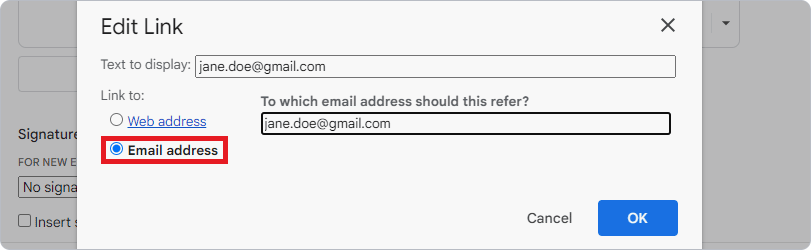
- Click OK.

- If you’re happy with your signature, click Save Changes. However, as this is a professional email signature, you should also add an image like your company logo.
- You now want to assign how your Gmail signature is applied to messages. This is done using the Signature defaults option under the signature editor.
Adding an image to your Gmail email signature
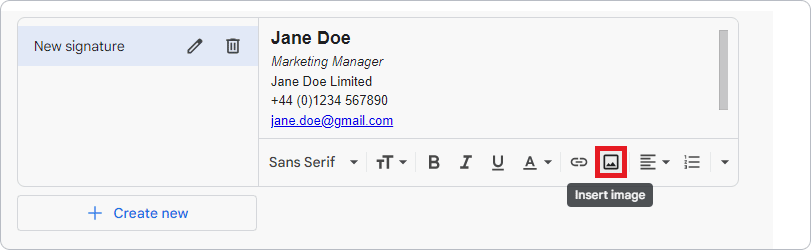
Adding images to your Gmail signature is a great way to make it more visually appealing and stand out. Here’s how to add an image to your professional email signature in Gmail:
- Click the Insert Image icon:
- To embed an image, click Upload or My Drive, find your image, and click Select:

- To host an image, click Web Address (URL) and paste the image URL into the field. A preview of your image should appear. Click Select when done:

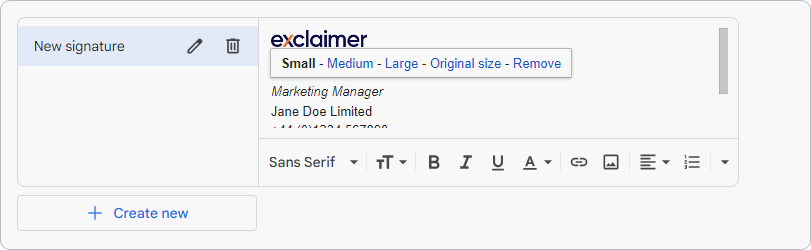
- The image will appear in your Gmail signature, which you can then resize. You can choose from Small, Medium, Large, and Original Size. You can also hyperlink the image with a specific URL:
Unfortunately, the Gmail mobile app only allows for plain text signatures. To add an image, you'll need to use Gmail on a desktop.
The same applies if you want an HTML signature in Gmail.
Tips for using images in Gmail signatures
Keep it simple: A cluttered Gmail signature with your logo can distract from its impact. Use one or two colors and limit text to focus on the logo.
Make it clickable: Enhance the effectiveness of logos in Gmail signatures by adding a hyperlink. Highlight the logo in the signature editor, click the link icon, and attach a URL to drive traffic to your site.
Follow branding guidelines: Ensure logos in Gmail signatures align with your brand's visual identity, using correct colors and fonts for consistency and reinforcement of your brand image.
Update regularly: Whenever your logo changes, update it in your Gmail signature to maintain consistency with your current branding across all email communications.
Adding HTML to a Gmail signature block
To add an HTML signature to Gmail, follow these steps:
First, design your HTML signature using a custom email signature generator or by coding it yourself.
Save your HTML file and open it in a web browser.
Right-click on the signature and select Select All.
Right-click again and select Copy to copy the HTML code.
Open your Gmail account and click on the gear icon at the top right corner of the screen.
Select Settings from the drop-down menu.
Scroll down to the Signature section.
Click on the Create new button.
In the text box, click on the Insert HTML button in the toolbar.
Paste your HTML code into the popup window and click OK.
Your HTML signature will now appear in your Gmail signature editor. If necessary, use the toolbar to make any formatting changes.
Click on the Save Changes button at the bottom of the page to save your HTML Gmail signature.
How to change a signature in Gmail (step-by-step)
If you need to modify or update your Gmail signature, follow these steps:
On desktop
Open Gmail and navigate to Settings > See all settings.
In the General tab, locate the Signature section.
Select your existing signature to make changes.
Edit the text, adjust formatting, or add/remove images and links as needed.
Don’t forget to click Save Changes to update your Gmail email signature.
On mobile (iOS & Android)
Open the Gmail app
Tap the Menu icon.
Select Settings and choose your email account.
Tap Mobile Signature and update your Gmail signature text.
Tap OK to save changes.
Learning how to change Gmail signatures is straightforward, but having to update it for every promotion or season can become tedious quickly.
Manually changing Gmail signatures takes time, but it offers flexibility. You can change the font, font size, and color, add hyperlinks, and even include clickable phone numbers. Knowing how to change Gmail signatures effectively can make your email communication more dynamic and personalized.
How to enable a signature in Gmail settings
To ensure your signature appears automatically:
Open Gmail Settings.
Under Signature Defaults, select the email account.
Choose when the signature should appear (new emails, replies, forwards).
Click Save Changes.
Troubleshooting common Gmail signature issues
Logo not appearing properly: If your logo is not displaying correctly in your signature, try resizing it and making sure it is saved as a PNG file.
Signature not showing up on replies or forwards: By default, Gmail only adds signatures to new emails. To include your signature in replies and forwards, go to the General tab of your settings and check the box next to "Insert this signature before quoted text in replies and removes from forwards.
Text formatting issues: If you experience any issues with font or text alignment in your signature, make sure that you are using the correct font type and size. You can also try copying and pasting the text from a different source, such as a plain text editor.
Multiple signatures needed? Use Gmail’s Signature Defaults to set different signatures for new emails and replies.
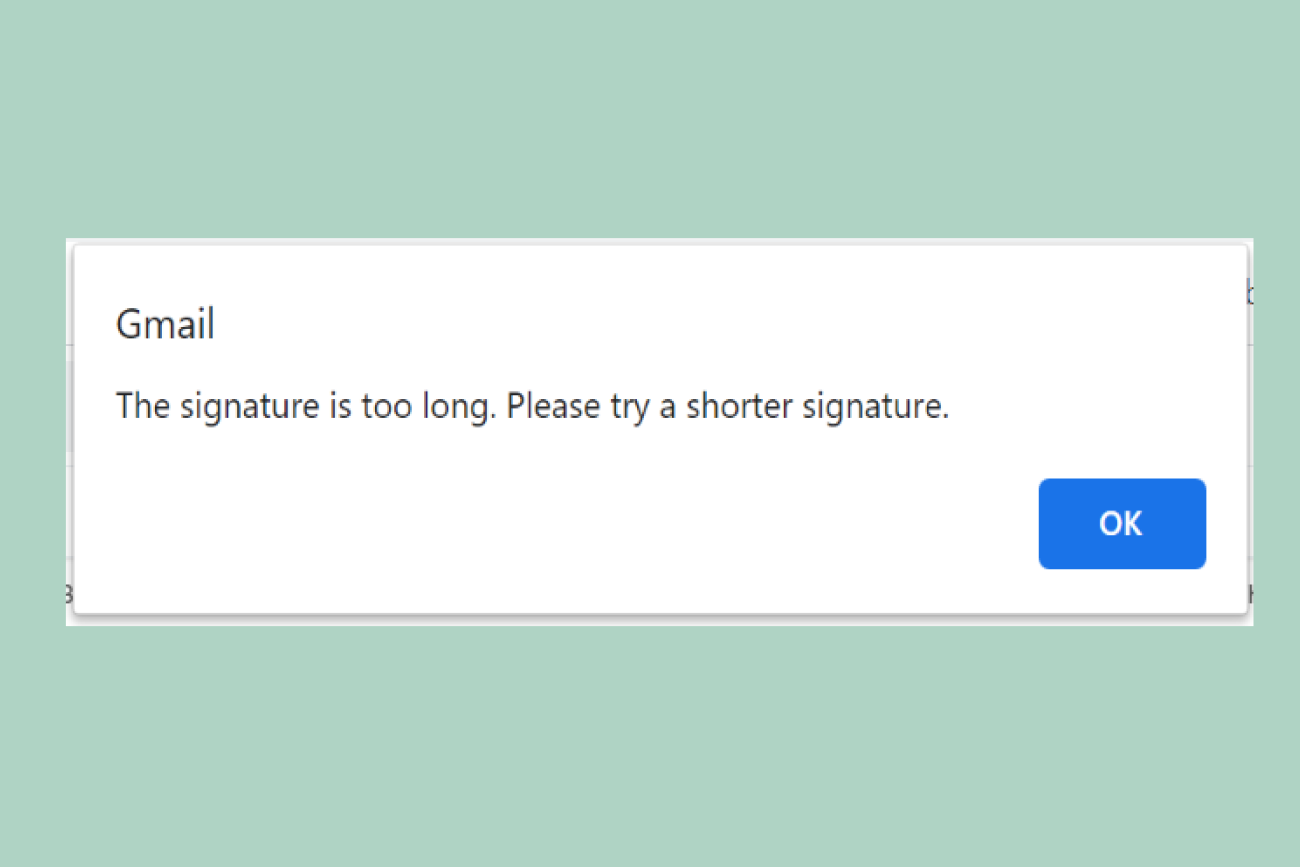
Gmail signature too long error: If the signature is longer than 10,000 characters, you'll receive an error message. Try shortening it and checking again.
Gmail mobile signature not showing: Check the Mobile signature option is enabled in Gmail. If it still doesn't work, try signing out and back into your account.
Signature overlapping with email content: This can happen if you have multiple line breaks or excessive spacing. Try reducing this to see if it helps.
Auto-correct changing formatting: Some auto-correct features may change the format of your signature. Make sure to turn off any auto-correct options that may affect the appearance of your signature.
How to manage Gmail signatures for your whole company
Managing Gmail signatures for individual users is fairly simple. However, when it comes to setting up a consistent Gmail email signature for everyone in your company, things get tricky.
Manually asking employees to create and manage their own Gmail signature template often leads to inconsistencies. Some users might forget to update their signature, while others might customize it, creating a lack of uniformity across your company emails.
If you rely on your IT department to manually update Gmail signatures for each employee, the process will be tedious and time-consuming. Plus, there’s no way to prevent employees from changing their Gmail signature after the update.
In short, managing Gmail signatures companywide without a centralized solution means you lose control over branding, consistency, and professionalism in your emails.
For businesses looking to enforce consistent email signatures in Gmail and boost brand identity, you need Exclaimer.
Using Exclaimer to manage signatures in Gmail
To centrally design and control professional Gmail signatures, you’ll want to choose Exclaimer’s email signature manager for Google Workspace to do all the hard work for you.
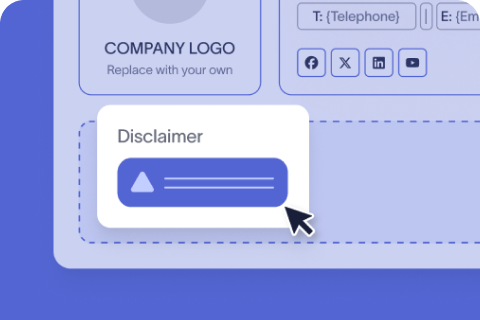
 You start by designing signatures in one central location. You use an intuitive designer to customize and create a professional email signature template. This can include contact information (name, phone number, email address, etc.) social media icons, display banners, and an email disclaimer.
Then when you click Save, the signature template is deployed to all users.
You can then go much further with what you can do with email signatures:
Set up marketing campaigns to run for a specific time period.
Create multiple signatures with tailored messaging.
Add additional elements such as one-click surveys and appointment booking links.
You can then ensure everyone has the same consistent design whenever they send an email. Even better, you save hours of time that would normally be spent doing manual signature updates.
Simplify email signature management as you grow
Want to simplify email signature management for your growing organization? Exclaimer lets you centrally manage, update, and control every email signature without manual work or formatting issues.
Start a free trial and see how easy it is to automate and scale email signatures across teams and devices.