Linn is a technology leader specializing in engineering management, product strategy, and agile delivery. As Director of Engineering Management at Exclaimer, she drives innovation and scalability while fostering high-performing teams. She excels in optimizing engineering processes and guiding teams through complex transitions.
How to connect to Exchange Online PowerShell
TL;DR
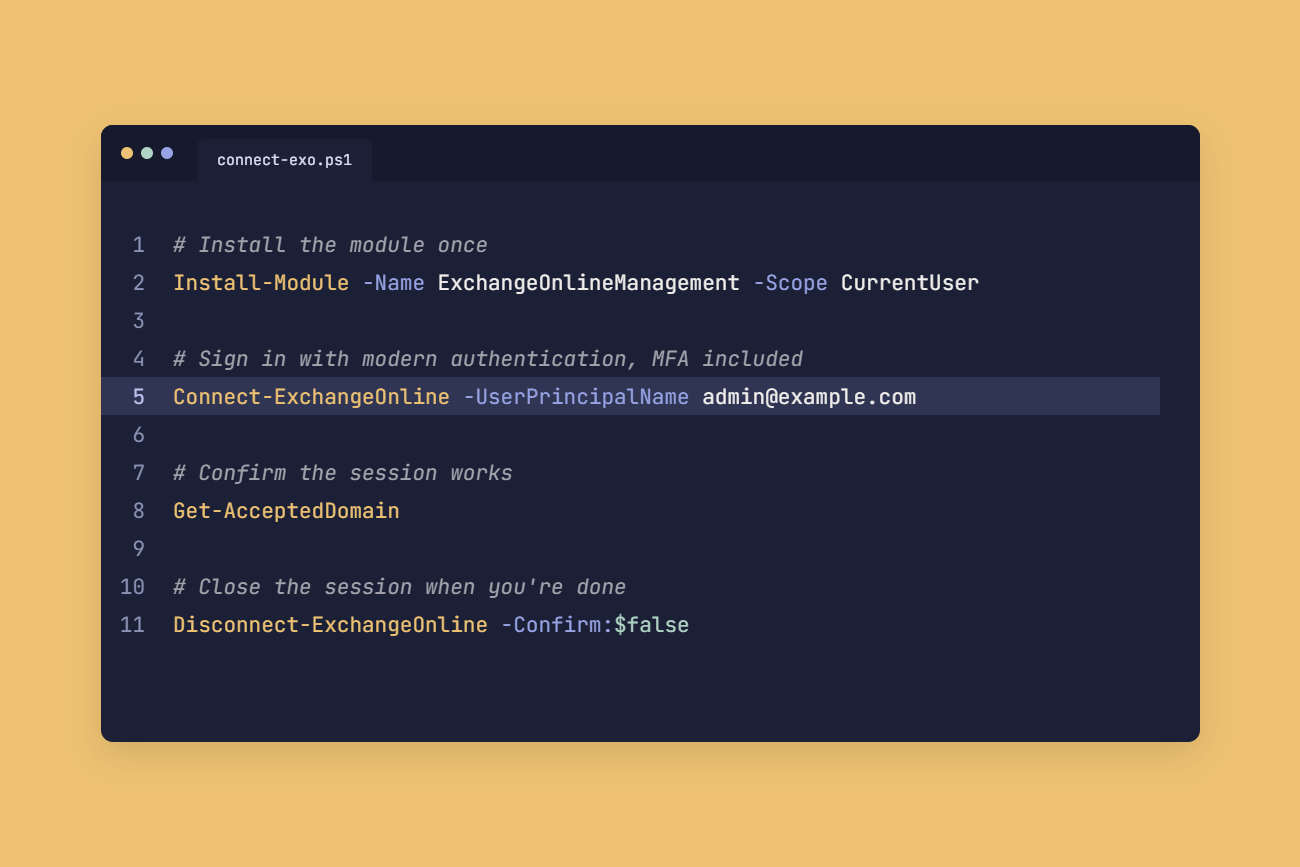
To connect to Exchange Online PowerShell, install the module with Install-Module -Name ExchangeOnlineManagement -Scope CurrentUser, then run Connect-ExchangeOnline -UserPrincipalName [email protected]. The same sign-in prompt handles multifactor authentication (MFA).
ExchangeOnlineManagement 3.10.0 and later needs PowerShell 7.6 or later in PowerShell 7, while Windows PowerShell 5.1 supports every version.
Upgrade the module to 3.10.1 or later before March 31, 2027, when Microsoft is scheduled to start enforcing stricter sign-in requirements.
Basic authentication and the old New-PSSession connection no longer work, so scripts built on them need rewriting around Connect-ExchangeOnline.
Unattended scripts sign in with a Microsoft Entra app registration and a certificate, or with a managed identity in Azure Automation.
Exchange Online PowerShell lets Exchange admins manage Microsoft 365 mailboxes and mail flow from the command line. It handles bulk changes and the settings the Exchange admin center doesn't expose.
The current method is the Exchange Online PowerShell V3 module (ExchangeOnlineManagement 3.0.0 or later), which connects over a REST API with modern authentication. Recent releases changed the sign-in flow and raised the PowerShell 7 requirement, so steps from older guides can fail.
What do you need before you connect to Exchange Online PowerShell?
You need a supported PowerShell version with the ExchangeOnlineManagement module installed, plus an admin account that's allowed to use PowerShell.
Check your PowerShell version
$PSVersionTable.PSVersion Windows PowerShell 5.1 runs every module version. In PowerShell 7, the minimum depends on the .NET version each release is built on:
Module version | Minimum PowerShell 7 | Built on |
3.10.0 and later | 7.6.0 | .NET 10 |
3.5.0 to 3.9.2 | 7.4.0 | .NET 8 |
3.0.0 to 3.4.0 | 7.2.0 | .NET 6 |
Install the Exchange Online PowerShell module
Install the module from the PowerShell Gallery. With -Scope CurrentUser, you don't need an elevated session.
Install-Module -Name ExchangeOnlineManagement -Scope CurrentUser Update it with the same scope, then confirm the version:
Update-Module -Name ExchangeOnlineManagement -Scope CurrentUser Get-Module ExchangeOnlineManagement -ListAvailable In Message Center post MC1483974, Microsoft asks admins to run 3.10.1 or later before stricter sign-in rules start rolling out on March 31, 2027. In Windows PowerShell 5.1, update PowerShellGet first, since REST connections on Windows depend on it. Import-Module ExchangeOnlineManagement is usually optional, because Connect-ExchangeOnline loads the module itself.
Set the execution policy
Windows client machines block scripts by default, while Windows Server defaults to RemoteSigned and macOS and Linux don't enforce the setting.
Set-ExecutionPolicy -ExecutionPolicy RemoteSigned -Scope CurrentUser Check your admin role and PowerShell access
Role-based access control (RBAC) in Exchange Online decides which cmdlets you can run, and the account has to be enabled for Exchange Online PowerShell access.
How do you connect to Exchange Online PowerShell with modern authentication?
Run Connect-ExchangeOnline with your user principal name and complete the sign-in prompt, including any MFA challenge.
Connect-ExchangeOnline -UserPrincipalName [email protected] Get-AcceptedDomain If Get-AcceptedDomain returns your domains, you're connected.
Which connection method should you use?
Method | Use it for | Key parameter |
Interactive sign-in | Day-to-day admin work | -UserPrincipalName |
Device code | PowerShell 7 without a browser | -Device |
Certificate (app-only) | Scheduled and unattended scripts | -CertificateThumbprint |
Managed identity | Azure Automation runbooks | -ManagedIdentity |
Partner delegation | Customer tenants you manage as a partner | -DelegatedOrganization |
Connect from a machine without a browser
In PowerShell 7 only, the -Device switch gives you a code to enter at microsoft.com/devicelogin on another device.
Connect-ExchangeOnline -Device Connect to a customer tenant as a partner
Partners using the Cloud Solution Provider program or granular delegated admin privileges (GDAP) add the customer's tenant:
Connect-ExchangeOnline -UserPrincipalName [email protected] -DelegatedOrganization <customer>.onmicrosoft.com Connect to Security & Compliance PowerShell
Connect-IPPSSession ships in the same module and opens Security & Compliance PowerShell. It isn't available in PowerShell 7 on macOS or Linux.
Connect-IPPSSession -UserPrincipalName [email protected] How do you connect without a sign-in prompt for unattended scripts?
Unattended scripts use app-only authentication, where a Microsoft Entra app registration signs in with a certificate instead of a user account.
Set it up once with Microsoft's app-only authentication steps:
Register a single-tenant app in Microsoft Entra ID.
Add the Exchange.ManageAsApp application permission for Office 365 Exchange Online and grant admin consent.
Create a certificate and upload its public .cer file under Certificates & secrets.
Assign the app a Microsoft Entra role, such as Exchange Recipient Administrator.
Use a certificate from a Cryptographic Service Provider (CSP), because app-only authentication doesn't support the Cryptography Next Generation (CNG) certificates Windows creates by default. Microsoft's example adds -KeySpec KeyExchange for this. Run it in an elevated session:
$cert = New-SelfSignedCertificate -DnsName "example.com" -CertStoreLocation "cert:\CurrentUser\My" -NotAfter (Get-Date).AddYears(1) -KeySpec KeyExchange $cert | Export-PfxCertificate -FilePath .\exo-automation.pfx -Password (Get-Credential).Password $cert | Export-Certificate -FilePath .\exo-automation.cer Then connect:
Connect-ExchangeOnline -CertificateThumbprint "<thumbprint>" -AppId "<application-id>" -Organization "<tenant>.onmicrosoft.com" -CertificateThumbprint works only on Windows, with the certificate in the current user's store. On macOS and Linux, pass a certificate object with -Certificate, or a .pfx file with -CertificateFilePath and -CertificatePassword. -Organization takes the tenant's primary .onmicrosoft.com domain.
Use a managed identity in Azure Automation
Azure Automation runbooks can use a managed identity instead, once it has the permissions in Microsoft's managed identity guide:
Connect-ExchangeOnline -ManagedIdentity -Organization "<tenant>.onmicrosoft.com"
When do you need Connect-MgGraph instead of Connect-ExchangeOnline?
Use Connect-MgGraph, from the Microsoft Graph PowerShell SDK, for directory work like user properties and licenses. Mailboxes and mail flow stay with Connect-ExchangeOnline.
Install the SDK and request only the scopes a script needs:
Install-Module Microsoft.Graph -Scope CurrentUser Connect-MgGraph -Scopes "User.Read.All" Scripts still calling MSOnline or AzureAD cmdlets need rewriting, since Microsoft ended support for both modules on March 30, 2025. Email signature scripts are the hard case, because Microsoft Graph has no documented API for Outlook email signatures. Its User Configuration API is still in beta, and Microsoft doesn't support beta APIs in production.
Which Exchange Online cmdlets should you learn first?
Start with Get-EXOMailbox, the REST-based version of Get-Mailbox, which returns a minimum set of properties unless you ask for more.
Where Get-Mailbox returns at least 230 properties per mailbox, Get-EXOMailbox lets you request named groups of properties with -PropertySets or individual ones with -Properties.
Get-EXOMailbox -ResultSize Unlimited -PropertySets Archive Filter with Where-Object and export to CSV
Exchange cmdlets generally run faster with server-side -Filter queries, but Microsoft's filtering guidance for the module says the Get-EXO* cmdlets currently perform better with client-side filtering. This exports mailboxes with SMTP forwarding set:
Get-EXOMailbox -ResultSize Unlimited -Properties ForwardingSmtpAddress |

    Where-Object { $_.ForwardingSmtpAddress } |

    Select-Object DisplayName, PrimarySmtpAddress, ForwardingSmtpAddress |

    Export-Csv -Path .\forwarding.csv -NoTypeInformation
-NoTypeInformation is only needed in Windows PowerShell 5.1.
Filter with Where-Object and export to CSV
Exchange cmdlets generally run faster with server-side -Filter queries, but Get-EXO* cmdlets actually perform better with client-side filtering. This exports mailboxes with SMTP forwarding set:
Get-EXOMailbox -ResultSize Unlimited -Properties ForwardingSmtpAddress | Where-Object { $_.ForwardingSmtpAddress } | Select-Object DisplayName, PrimarySmtpAddress, ForwardingSmtpAddress | Export-Csv -Path .\forwarding.csv -NoTypeInformation -NoTypeInformation is only needed in Windows PowerShell 5.1.
How do you fix common Exchange Online PowerShell connection errors?
Most of the errors below come from the PowerShell host or a mismatch between the module and its dependencies.
"A window handle must be configured"
Web Account Manager (WAM), the Windows sign-in broker the module has used since 3.7.0, needs a parent window for its prompt. In hosts like PowerShell ISE, sign-in can fail without one. Run the command from a regular PowerShell console, or add -DisableWAM (3.7.2 and later):
Connect-ExchangeOnline -UserPrincipalName [email protected] -DisableWAM Update to 3.10.1 before disabling WAM. MC1483974 says the 2027 sign-in change is particularly relevant to PowerShell 7 with WAM disabled.
"The term 'Connect-ExchangeOnline' is not recognized"
The module isn't installed for the PowerShell edition you're running. Windows PowerShell 5.1 and PowerShell 7 keep current-user modules in separate folders, so install it from the window you're using:
Install-Module -Name ExchangeOnlineManagement -Scope CurrentUser Import-Module ExchangeOnlineManagement "The term 'Update-ModuleManifest' is not recognized"
REST connections on Windows need PowerShellGet and PackageManagement, and one is missing or a preview build. Check what's installed, then update and reopen the window:
Get-InstalledModule PackageManagement -AllVersions Get-InstalledModule PowerShellGet -AllVersions "Could not load file or assembly 'System.IdentityModel.Tokens.Jwt'"
Another module loaded in the same session is conflicting with the Exchange Online module. Open a new window and connect to Exchange Online before importing anything else.
Connect-ExchangeOnline fails in PowerShell 7 after a module update
Version 3.10.0 and later need PowerShell 7.6 or later. Update PowerShell 7, or connect from Windows PowerShell 5.1 instead.
An old New-PSSession script won't connect
REST connections replaced remote PowerShell sessions in October 2023, so swap the New-PSSession and Import-PSSession lines for Connect-ExchangeOnline. Cmdlet names don't change, though Invoke-Command won't run over REST.
Can you manage email signatures with Exchange Online PowerShell?
Exchange Online PowerShell can set email signatures in Outlook on the web and the new Outlook, once roaming signatures are turned off for the organization.
Roaming signatures store email signatures in the mailbox so they follow users between Outlook clients. While the feature is on, Set-MailboxMessageConfiguration ignores its email signature parameters, so postpone it first:
Set-OrganizationConfig -PostponeRoamingSignaturesUntilLater $true Set-MailboxMessageConfiguration -Identity [email protected] -SignatureHtml "<p>Priya Raman<br>Finance Manager</p>" -AutoAddSignature $true Classic Outlook for Windows and other email clients don't read Set-MailboxMessageConfiguration settings. Because the HTML is static, every new hire or job title change also means rerunning the script. Any mailbox the script misses after a logo update keeps an off-brand email signature.
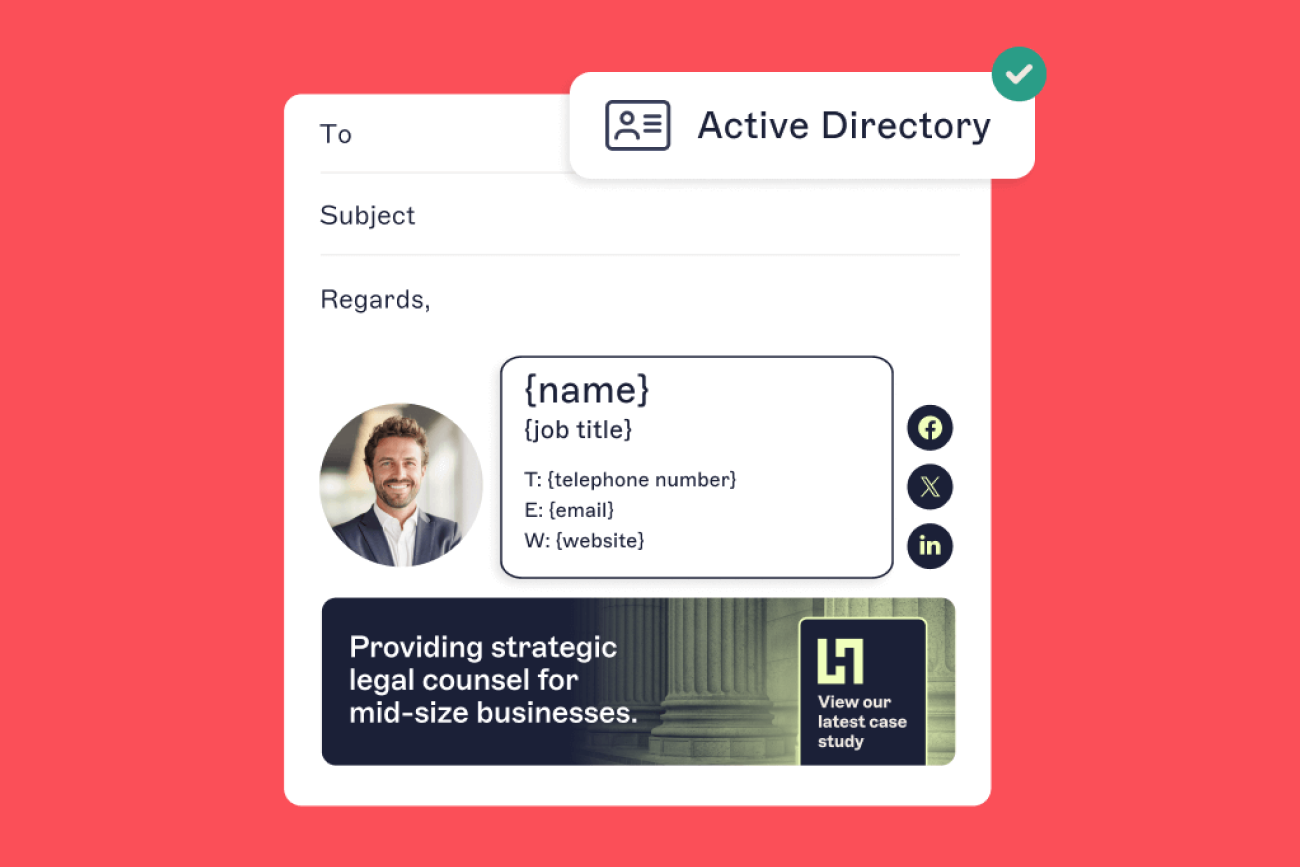
Exclaimer's cloud solution applies email signatures server-side, after a message leaves the sender's device. The result doesn't depend on the Outlook client or phone it came from. Setup and updates happen in a web portal, with contact details synced from Microsoft Entra ID. Signature Rules can assign email signatures by Active Directory group or by user attribute, and you can script the directory attributes your email signature rules use with Microsoft Graph PowerShell.
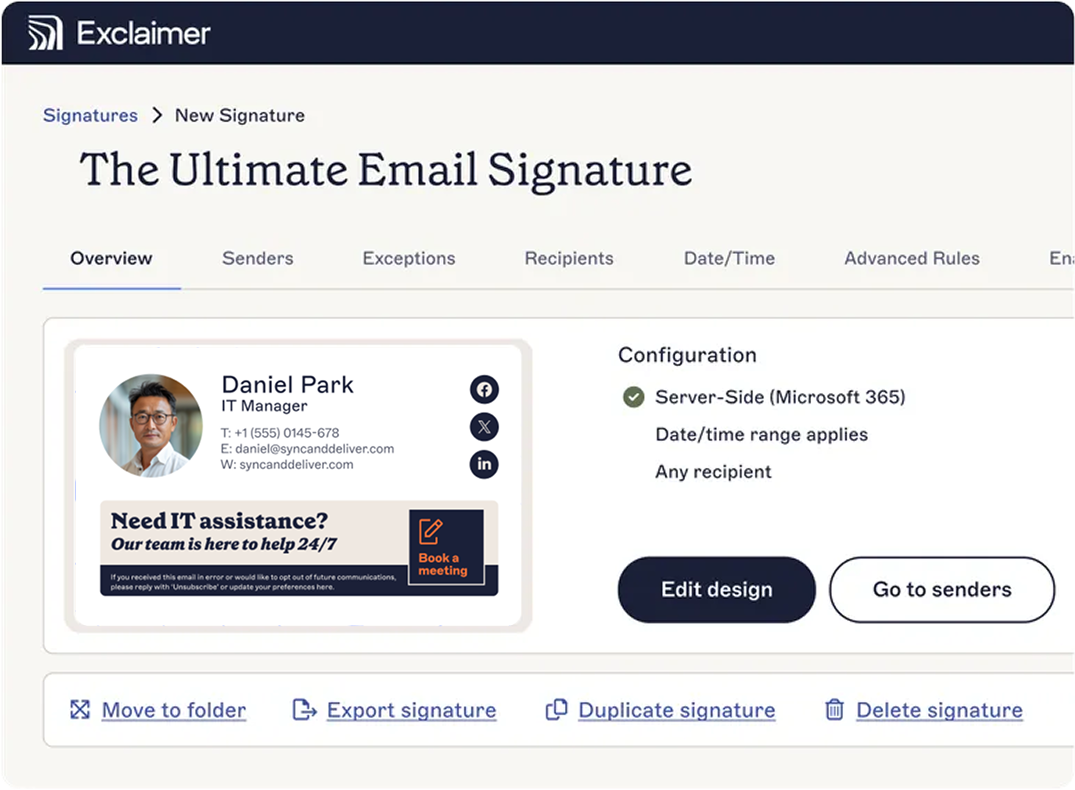 If you're maintaining email signature HTML mailbox by mailbox, see how Exclaimer manages email signatures at scale.