Linn is a technology leader specializing in engineering management, product strategy, and agile delivery. As Director of Engineering Management at Exclaimer, she drives innovation and scalability while fostering high-performing teams. She excels in optimizing engineering processes and guiding teams through complex transitions.
How to manage email signature assignments at scale with PowerShell
TL;DR
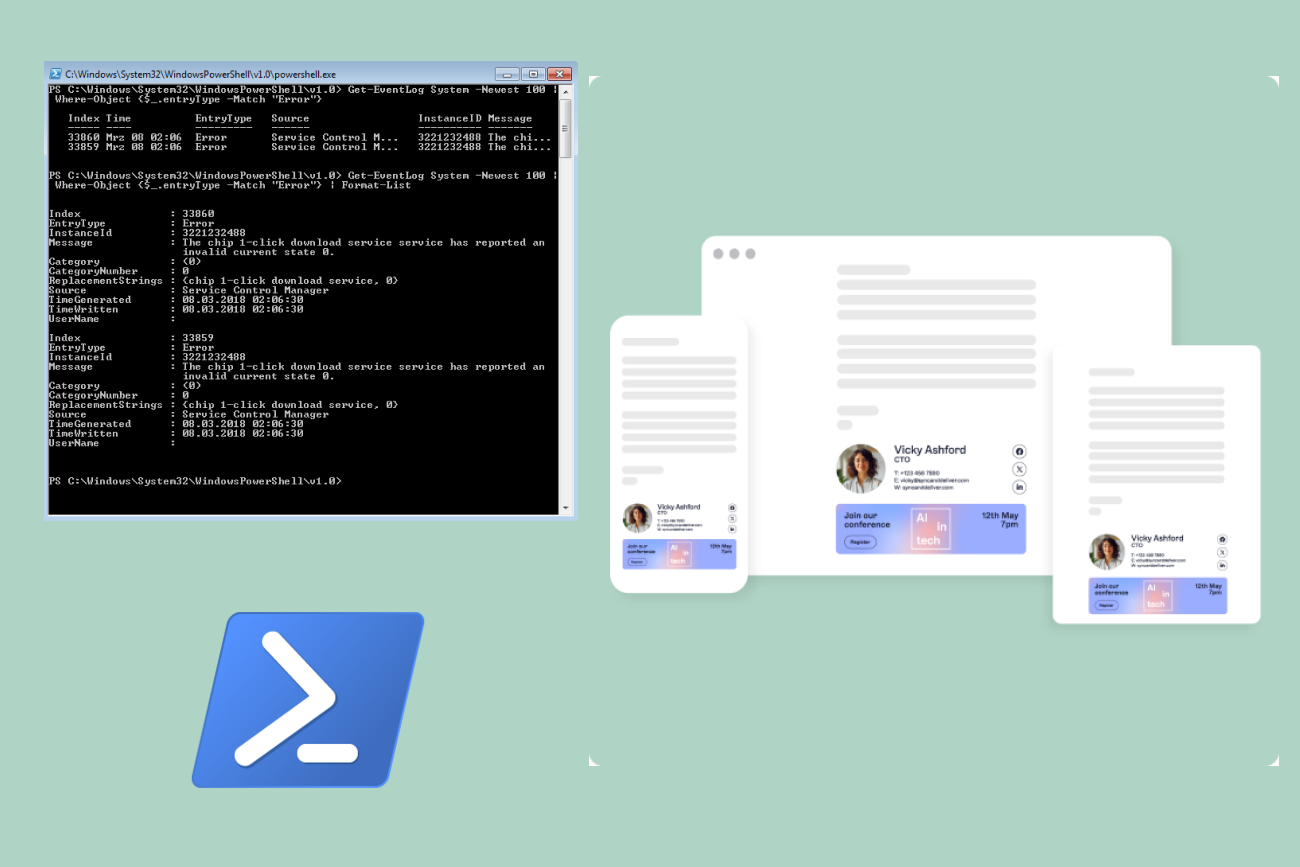
You don't assign Exclaimer email signatures through an API. You manage the directory Exclaimer reads: the user attributes and group memberships its rules target.
Use the Microsoft Graph PowerShell SDK for attributes (
Update-MgUser) and Exchange Online PowerShell for mail-enabled group membership (Add-DistributionGroupMember).The four common jobs: set a department's attribute, bulk-update after a restructure, report each user's targeting data, and audit for users who match no rule.
Run safely: let the SDK handle throttling, build a dry-run instead of relying on -WhatIf for Graph writes, and test on a subset before the full run.
Request read scopes for reporting, and the write scope only when a script actually changes data.
If you manage email signatures for thousands of users, the admin portal isn't where you want to make every change. Clicking through rules is fine for setup. It's slow and error-prone when a reorg moves hundreds of people between departments overnight, or when you need to prove that every user has the right email signature. That's PowerShell's job.
Most organizations haven't made the shift. According to Exclaimer's State of Business Email 2025 research, 80% still rely on manual methods or user self-service to manage email signatures. At scale, doing this by hand stops holding up.
You don't script Exclaimer directly. Its cloud solution reads your directory (group membership and user attributes) and applies signature rules based on what it finds, so to manage assignments at scale, you manage the directory it reads. You do that with the same Microsoft Graph PowerShell SDK used for Microsoft 365 administration. No proprietary API, and no new system to learn.
This guide covers when to reach for PowerShell over the portal, how Exclaimer's targeting maps to directory objects, and four production-ready scripts: setting the attributes that drive a department's signature, bulk-updating those attributes after a restructure, reporting each user's targeting inputs, and finding users who match no rule.
When to use PowerShell vs. the Exclaimer portal
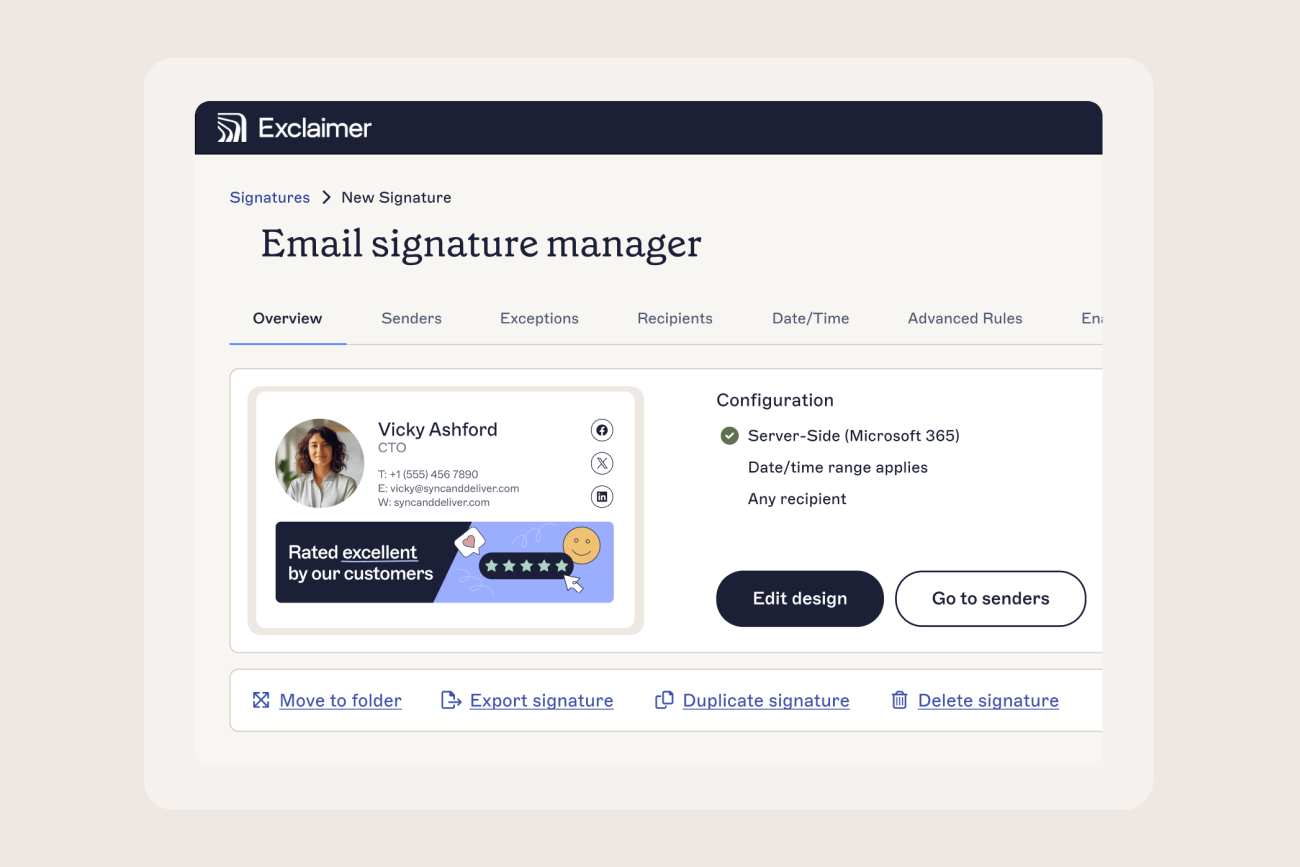
The Exclaimer portal and PowerShell aren't competing tools. Knowing which to reach for saves a lot of clicking.
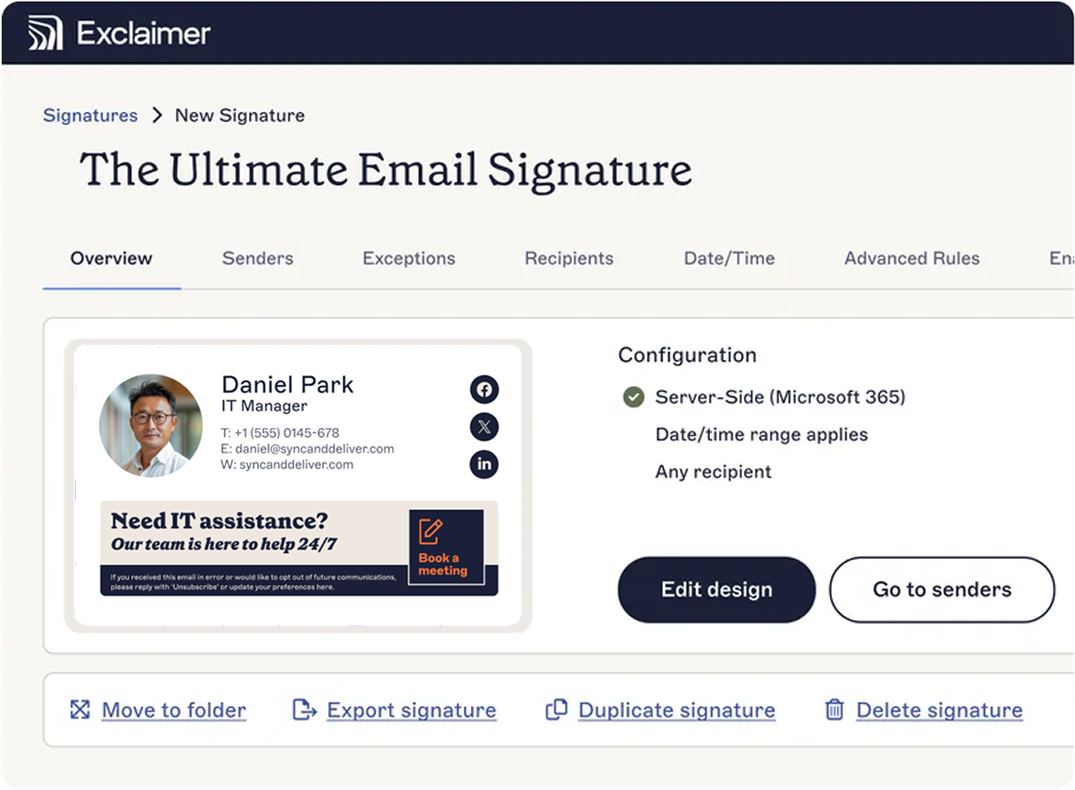
Reach for the portal to:
- Design email signature templates
Build and order targeting rules
Make one-off changes and confirm targeting works
Reach for PowerShell to:
Onboard or offboard users in bulk
Update attributes after a reorganization
Audit that everyone has the data their signature needs
Make any repetitive directory change across many users
It's telling that only 18% of organizations use centralized signature management, per the same State of Business Email 2025 research, despite 35% naming it a top-two IT time drain. Much of that gap is repetitive directory work.
Tip
Build and design in the portal. Change and audit at scale in PowerShell.
Hybrid environments, where on-premises Active Directory syncs up to Microsoft Entra ID (formerly Azure AD), follow the same approach, though the attributes originate on-premises rather than in the cloud.
How Exclaimer targeting maps to directory objects
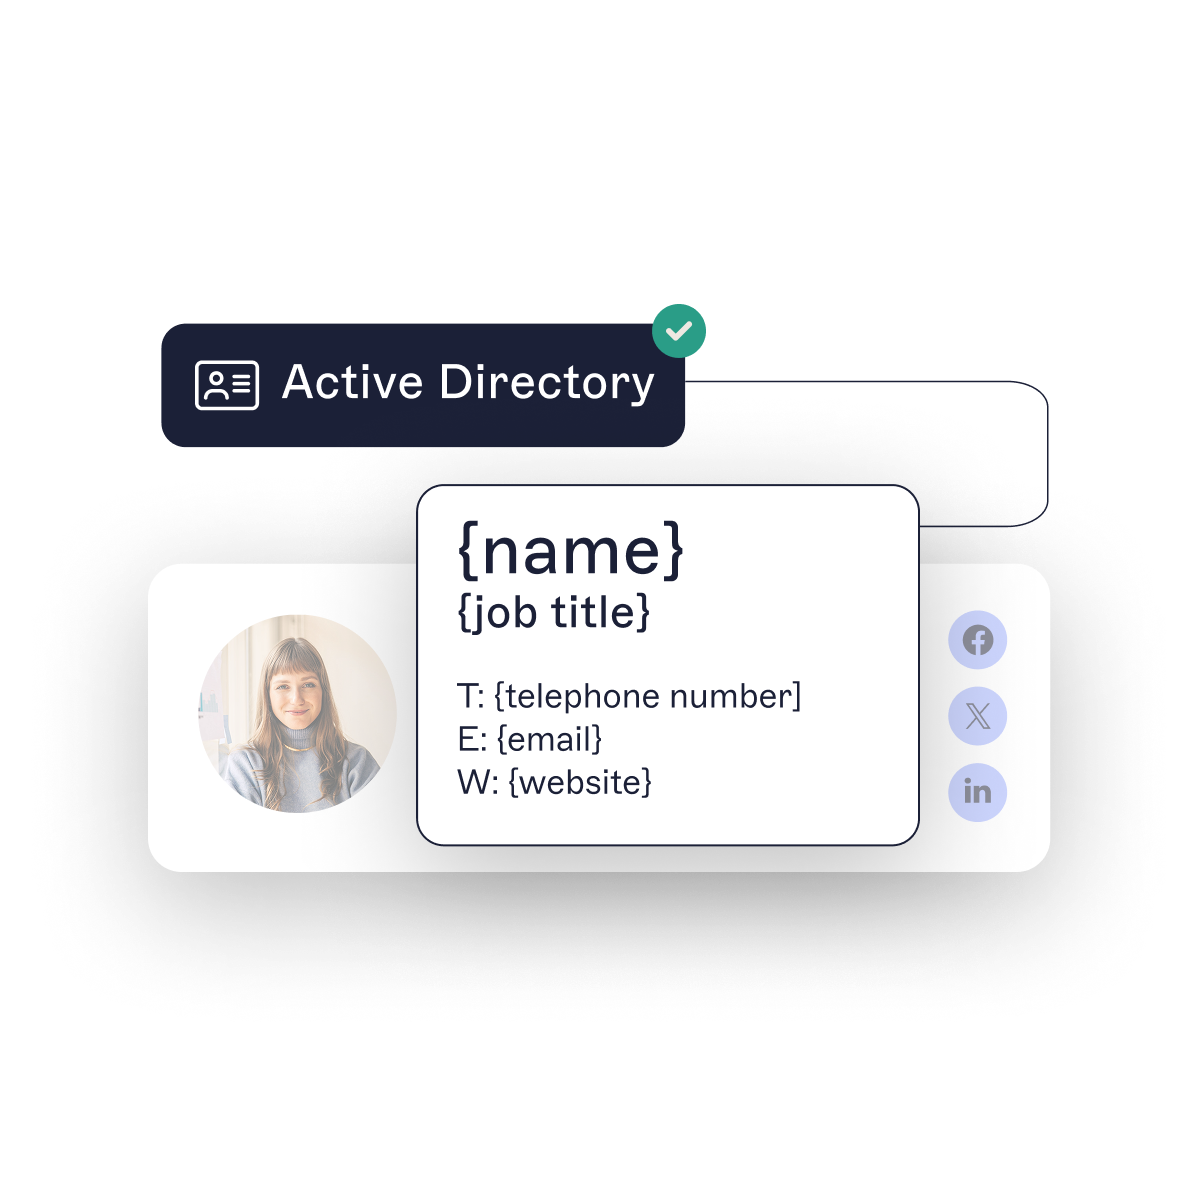
Exclaimer decides which email signature a user gets by reading two things from your directory: the groups they belong to and the attributes on their account. Change either, and you change which rule applies. Both are directory objects you can manage at scale, which is what makes PowerShell useful here.
Attribute-based rules read a field straight from each user's directory record. A rule can target everyone whose department is Sales, or whose officeLocation is London. Set that attribute on a user and they match the rule; change it and they move to a different one, with no group to maintain. This guide works primarily through attributes, because they're the lever the Microsoft Graph PowerShell SDK manages directly.
Group-based rules target mail-enabled security groups and distribution groups, where membership decides who's included. Managing that membership means Exchange Online PowerShell rather than the Graph SDK, so the scripts here work with groups only where that's the clearest option, and flag it when they do.
An assignment, then, isn't a stored setting you edit through an Exclaimer API. It's the result of directory state evaluated against your rules. It reads group membership and attributes in read-only mode, so once your directory change has synced, the matching rule takes effect for that user. Managing assignments in bulk means managing the directory, and the scripts that follow do exactly that.
For the full model of how group and attribute targeting works, including how to structure groups and write attribute-based rules, see how to assign email signatures by Active Directory group.
The Microsoft Graph PowerShell cmdlets you'll use
The scripts in this guide use the Microsoft Graph PowerShell SDK, the current tooling for directory and identity administration since the older Azure AD and MSOnline modules were retired.
If you haven't made that migration yet, our guide to Microsoft 365 email signatures after the Graph move covers why it matters.
Install the SDK once:
Install-Module Microsoft.Graph -Scope CurrentUserThen connect with only the permissions each task needs. Reading user data needs a read scope; writing attributes needs a write scope:
# Read-only: for the reporting and audit scripts
Connect-MgGraph -Scopes "User.Read.All"

# Read-write: for the scripts that set attributes
Connect-MgGraph -Scopes "User.ReadWrite.All"
Request the write scope only when a script actually changes data. Scoping down this way reduces the risk if a script or credential is ever misused.
You'll use a small set of cmdlets across the four scripts:
Get-MgUserretrieves users and their attributes, with -Filter for server-side queries and -All to page through large tenants.Update-MgUserwrites attributes like department and officeLocation.
The mail-enabled targeting groups are Exchange objects, so everything about their membership, reading it as well as changing it, runs through Exchange Online PowerShell: Connect-ExchangeOnline, then Get-DistributionGroupMember, Add-DistributionGroupMember, and Remove-DistributionGroupMember. Graph handles user attributes; Exchange Online handles group membership.
Tip
The scripts that follow never touch Exclaimer. They read and write your Microsoft 365 directory (user attributes and group membership), which is what Exclaimer's rules evaluate. Test them as you would any script that changes directory data.
Script #1: Assign a department's signature by setting an attribute
The simplest bulk assignment is setting an attribute that a rule already targets. If Exclaimer has an attribute-based rule for department equals Sales, setting that attribute across a group of users is what assigns them the sales email signature. The rule has to exist first: the script sets the attribute, and the rule does the assigning.
This script reads user principal names from a CSV and sets each user's department:
# Connect with write permission to user attributes
Connect-MgGraph -Scopes "User.ReadWrite.All"

# CSV with a single column: UserPrincipalName
$users = Import-Csv -Path "C:\scripts\sales-users.csv"

foreach ($user in $users) {
    try {
        Update-MgUser -UserId $user.UserPrincipalName -BodyParameter @{
            department = "Sales"
        }
        Write-Host "Updated: $($user.UserPrincipalName)"
    }
    catch {
        Write-Warning "Failed: $($user.UserPrincipalName) - $($_.Exception.Message)"
    }
}
The try/catch matters here: without it, one bad UPN in a list of hundreds halts the whole run. Wrapping each update means a single failure is logged and skipped while the rest continue. Once the directory change syncs, Exclaimer's rule applies the sales signature to everyone the script updated.
Script #2: Bulk-update assignments after a restructure
A reorganization is where per-user management breaks down. People move between teams in large numbers, and every one of those moves may change which email signature they should get. Because targeting reads from the directory, you handle a reorg by updating the directory in bulk, from a mapping of who goes where.
This script takes a CSV with two columns, UserPrincipalName and NewDepartment, and updates each user's department:
# Connect with write permission to user attributes
Connect-MgGraph -Scopes "User.ReadWrite.All"

# CSV columns: UserPrincipalName, NewDepartment
$moves = Import-Csv -Path "C:\scripts\restructure.csv"

foreach ($move in $moves) {
    try {
        Update-MgUser -UserId $move.UserPrincipalName -BodyParameter @{
            department = $move.NewDepartment
        }
        Write-Host "Moved $($move.UserPrincipalName) to $($move.NewDepartment)"
    }
    catch {
        Write-Warning "Failed: $($move.UserPrincipalName) - $($_.Exception.Message)"
    }
}
Driving the update from a CSV gives you a reviewable record: you can check the mapping before you run it and keep it as a log afterward.
If your targeting uses mail-enabled groups rather than attributes, the same reorg means moving people between groups, which runs through Exchange Online PowerShell:
# Connect to Exchange Online (separate module and session)
Connect-ExchangeOnline

# Move a user from the old department's group to the new one.
# Remove-* cmdlets prompt for confirmation by default, which is fine for a one-off move.
Remove-DistributionGroupMember -Identity "SIG-Dept-Support" -Member "[email protected]"
Add-DistributionGroupMember -Identity "SIG-Dept-Sales" -Member "[email protected]"
For a real reorg you'd wrap that group move in the same CSV loop and try/catch pattern as above, adding -Confirm:$false to the removal so it doesn't pause on every user, once you've validated the mapping. Whichever mechanism a rule uses, the principle is the same: change the directory, and any rule targeting that value picks the user up. Make sure a rule exists for every department in your mapping, or those users will match nothing.
Script #3: Report the targeting data behind each user's signature
You can't read Exclaimer's assignment decisions through an API, but you don't need to. Because assignments are driven by directory state, you can report the inputs each user brings to the rules, starting with the attributes most rules target: department and office.
This script exports those attributes for every user to a CSV:
# Read-only connection
Connect-MgGraph -Scopes "User.Read.All"

# Pull all users with the attributes that drive targeting
$users = Get-MgUser -All -Property DisplayName, UserPrincipalName, Department, OfficeLocation |
    Select-Object DisplayName, UserPrincipalName, Department, OfficeLocation

$users | Export-Csv -Path "C:\scripts\signature-targeting-report.csv" -NoTypeInformation
Write-Host "Exported $($users.Count) users"
The -Property parameter matters here. Get-MgUser returns a limited default set of fields, so Department and OfficeLocation have to be requested explicitly or they come back empty.
This reports directory state, not Exclaimer's record of what it applied. It shows what each user should match given your rules, which is what you need to spot missing or inconsistent attributes before they affect live email signatures. For targeting that also uses groups, extend the report by pulling each targeting group's membership with Get-DistributionGroupMember in Exchange Online and matching users back to their groups.
Script #4: Find users who match no rule
The users who slip through are the ones the rules miss: a new hire whose department was never set, or someone whose office is blank after a move. Their email goes out with the wrong default email signature, or none, and it's usually a recipient who notices first.
This script finds enabled users whose targeting attributes are empty, so you can fix the data before it reaches live email:
# Read-only connection
Connect-MgGraph -Scopes "User.Read.All"

# Find enabled users missing a department or office
$gaps = Get-MgUser -All -Filter "accountEnabled eq true" `
    -Property DisplayName, UserPrincipalName, Department, OfficeLocation |
    Where-Object { -not $_.Department -or -not $_.OfficeLocation } |
    Select-Object DisplayName, UserPrincipalName, Department, OfficeLocation

$gaps | Export-Csv -Path "C:\scripts\targeting-gaps.csv" -NoTypeInformation
Write-Host "Found $($gaps.Count) users with missing targeting attributes"
Note the split between server-side and client-side filtering. accountEnabled eq true runs as a server-side -Filter, narrowing the set before it's returned. The empty-attribute test runs client-side in Where-Object, because a server-side blank test would require advanced query parameters. Narrowing to enabled accounts first keeps that client-side pass smaller, but this is still a full read of the directory, so run it as a scheduled audit rather than an interactive query. Match the attributes you check to the ones your rules target: if you only target on department, drop the office check so you don't flag gaps that don't matter.
This catches the most common gap, a missing attribute. A subtler one is a user whose attribute is populated but matches no rule, for example a department of "Revenue" when your rules only cover "Sales." Widen the check to compare attribute values against your rule set so those users surface too.
Error handling and logging for production scripts
A script you run across your whole directory has to survive its own failures and leave a record of what it did. Two patterns get you there: catching errors per item, and logging every outcome.
Catch errors per item
Wrap each operation in try/catch, as the scripts above do. In a loop over thousands of users, one bad entry, a mistyped UPN or a user deleted between export and run, would otherwise throw and halt the whole batch. Catching per-iteration records the failure and lets the loop continue. The errors worth catching are the non-transient ones: an invalid user, insufficient permissions, a malformed value. A retry won't fix these, so you log them and handle them afterward.
Let the SDK handle throttling
You don't need a manual retry loop for rate limiting. When Graph returns a 429, the SDK's retry handler waits the interval Graph specifies and retries automatically. The visible effect is that a long run may appear to pause for a few seconds before continuing; that freeze is the retry handler honoring the wait, not a hang.
Your job is to avoid provoking throttling, which mostly means keeping call volume down: pull the users and attributes you need in one paged query with -All and -Property rather than calling Graph once per user in a loop, and don't wrap SDK cmdlets in tight parallel loops. One exception to the automatic handling: requests sent in a $batch may not be retried for you, so if you batch, you take retry handling back on yourself.
Log every outcome
For a bulk run, "it finished" isn't enough. Capture the result of each operation and write it to a timestamped file:
$logPath = "C:\scripts\logs\run-$(Get-Date -Format 'yyyyMMdd-HHmmss').csv"

$results = foreach ($user in $users) {
    $status = "Success"
    $detail = ""
    try {
        Update-MgUser -UserId $user.UserPrincipalName -BodyParameter @{ department = "Sales" }
    }
    catch {
        $status = "Failed"
        $detail = $_.Exception.Message
    }
    [PSCustomObject]@{
        Timestamp = Get-Date -Format "o"
        User      = $user.UserPrincipalName
        Status    = $status
        Detail    = $detail
    }
}

$results | Export-Csv -Path $logPath -NoTypeInformation
Collecting the loop's output into $results and exporting once avoids the += array-rebuild that slows large runs. The tradeoff is that a mid-run crash loses the log, so for very long jobs you may prefer to append each row as it happens. Either way, the timestamped CSV is what you audit, diff against the next run, or use to re-run only the failures.
Testing safely before you run at scale
A script that changes an attribute on every user in a department needs testing before it touches production. Three habits make bulk changes safe: preview what a run would do, try it on a subset, then verify the result.
Preview the change without making it
For the Exchange Online group cmdlets, -WhatIf does this for you. Append it and the cmdlet reports what it would change without changing anything:
Add-DistributionGroupMember -Identity "SIG-Dept-Sales" -Member "[email protected]" -WhatIfThe Graph SDK's write cmdlets don't reliably support -WhatIf, so don't depend on it for Update-MgUser. Build the preview into the script instead, with a flag that logs the intended change rather than making it:
$DryRun = $true   # set to $false to apply the changes

$users = Import-Csv -Path "C:\scripts\sales-users.csv"

foreach ($user in $users) {
    if ($DryRun) {
        Write-Host "WOULD SET department=Sales for $($user.UserPrincipalName)"
        continue
    }
    Update-MgUser -UserId $user.UserPrincipalName -BodyParameter @{ department = "Sales" }
}
Run it with $DryRun = $true to list every intended change, then flip it to $false to apply. In a full script you'd promote this to param([switch]$DryRun) as the first line so you can pass -DryRun on the command line. The same pattern drops into any of the write scripts in this guide.
Try it on a subset
Before running against thousands of users, run against five. Point the script at a short CSV of test accounts, or a single pilot group, and confirm the change lands the way you expect. A mistake caught on five users is a non-event; the same mistake on five thousand is an incident.
Verify the result
After a run, confirm it did what you intended. Use the reporting script from earlier to export the affected users' attributes and check they hold the values you set. To confirm the signature outcome, Exclaimer's Signature Tester shows which signature each affected user resolves to, once the directory has synced.