Dave is a marketing expert with 15 years experience in the tech and SaaS world. He specializes in educating IT and channel audiences, with a focus on security, privacy, compliance, and marketing technology. With a talent for storytelling and a deep understanding of the industry, Dave transforms complex IT topics into clear, engaging, and impactful narratives.
How to create rules in Gmail
TL;DR
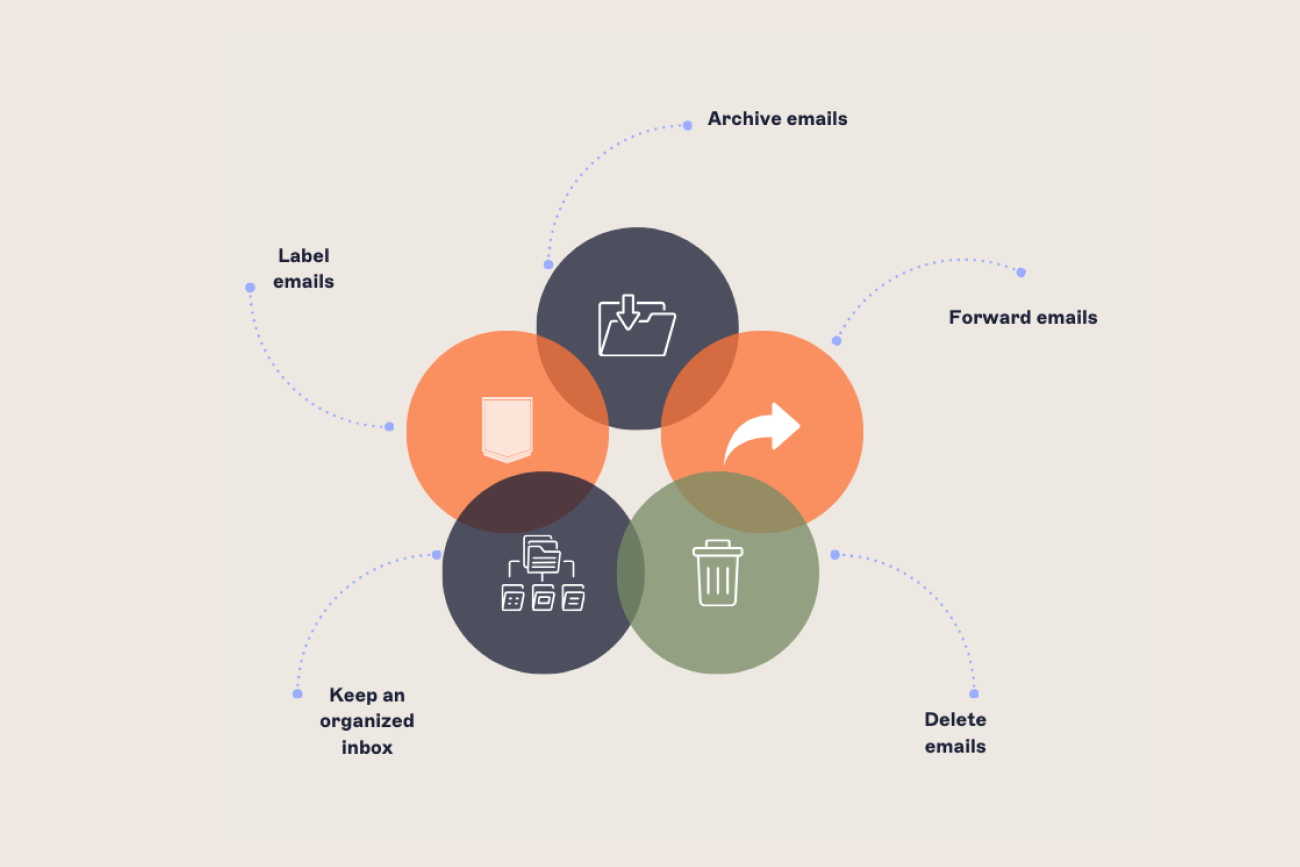
Gmail rules (Google calls them filters) automatically label, archive, forward, or delete incoming email based on criteria you set
Create a rule from the search bar, the Gmail settings menu, an existing email, or the mobile app
Gmail caps accounts at 1,000 filters, a limit Google documents in its API reference rather than the consumer Help Center
Common uses include auto-archiving newsletters, routing invoices to a finance label, and forwarding mail while you're away
The same "set it once" logic that solves this for one inbox doesn't scale to something like Gmail email signatures, which need managing across an entire organization
Gmail rules are automated instructions that tell Gmail what to do with incoming email that matches criteria you set. You create one from the search bar, the settings menu, or an existing email, then choose the action, like applying a label or forwarding the message, that runs automatically from then on.
This guide covers all four ways to create a rule, how to manage the ones you've already got, and where the same "set it once" logic stops being enough once it's not just your own inbox anymore.
What are Gmail rules?
Gmail rules, also known as filters, are automated actions that organize and manage incoming emails based on specific criteria: applying a label, archiving, forwarding, or deleting a message automatically.
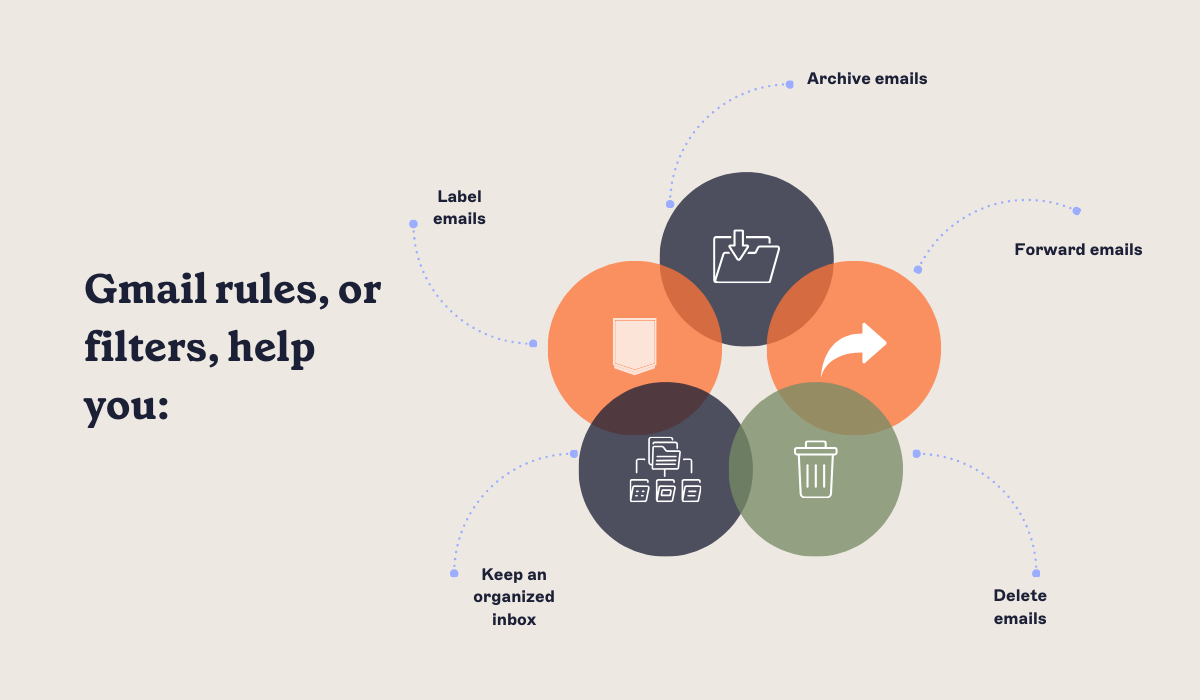 A rule can also combine several conditions at once. For example, you can create a rule to tag all emails from your boss as "Urgent" or forward messages with certain keywords to another email address, keeping your inbox organized. Google's own instructions for setting these up are at Gmail Help: create rules to filter your emails, and the steps below walk through the same process with a bit more context.
Why should you create Gmail rules?
Creating Gmail rules has several benefits, including:
Time-saving: With Gmail rules in place, you no longer have to manually perform repetitive actions on your emails, saving you time and effort.
Improved organization: Gmail rules can automatically label, archive, or delete your Gmail emails, making it easier to find and manage your inbox.
Customization: You have full control over the rules you create, allowing you to tailor them to fit your specific email needs.
Enhanced productivity: By automating tasks, Gmail rules can help you stay focused on important emails and reduce distractions.
What types of Gmail rules are available?
Gmail offers various rules to help you manage your inbox effectively. Here are some of the most common types.
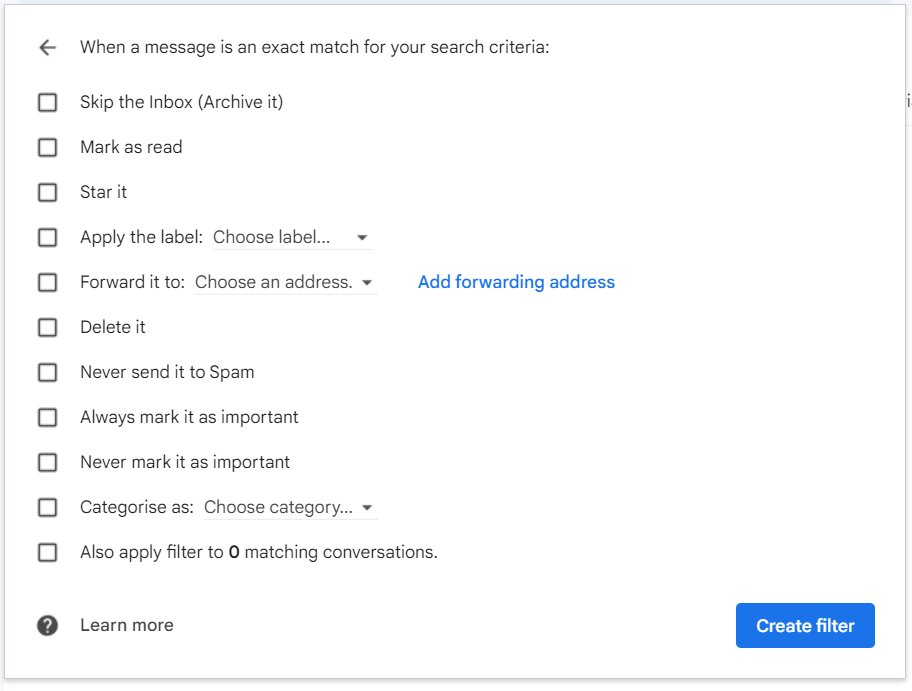
Skip the inbox: You can use Gmail rules to automatically skip the inbox and archive certain emails. This is useful for managing automated notifications or newsletters that you may not need in your main inbox.
Delete or mark as spam: Gmail rules can be set up to delete or mark unwanted or spam emails as such, helping you keep your inbox clean.
Apply a label: As mentioned earlier, Gmail rules can be set up to apply labels to incoming emails based on specific criteria. Labels are a great way to organize and categorize your emails.
Forward it: If you need certain emails forwarded to another email address, Gmail rules can do that automatically. This is useful when delegating tasks or keeping others in the loop.
Mark as read or starred: Gmail rules can also mark emails as read or star important ones, so you don't miss any crucial messages.
Mark important or never mark as important: Gmail rules can be set to automatically mark emails as important or never mark them as such, which helps in prioritizing your inbox and avoiding distractions.
Categorize as: Gmail rules can also be used to categorize emails as "Promotions," "Forums," or "Social" based on specific criteria, making it easier to manage and filter different types of emails.
How to create rules in Gmail
Follow these steps, depending on how you prefer to work in Gmail.
Create rules in Gmail using the Gmail settings menu
Open Gmail and click on the gear icon in the top-right corner.
Select See all settings from the dropdown menu.
Go to the Filters and Blocked Addresses tab.
Click on Create a new filter.
Fill in the criteria for your filter such as the sender's email or specific keywords.
Click Create filter to open the action options.
Choose the actions you want Gmail to perform (e.g., apply label, mark as read).
Click Create filter again to save your rule.
Create rules in Gmail using the search bar
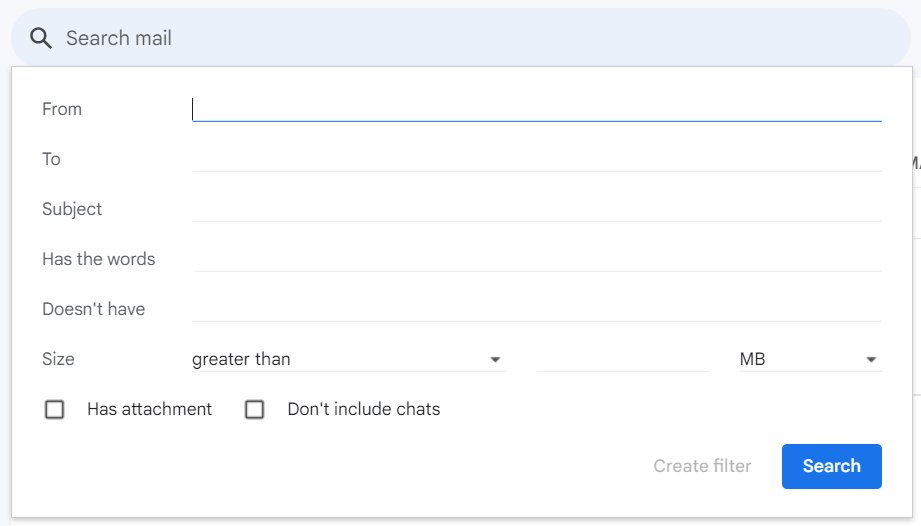
Open Gmail and click on the search bar at the top.
Click on Show search options.
Type in your filter criteria:
From: Find emails from specific senders
To: Find emails sent to specific recipients
Subject: Search for emails with certain words in the subject line
Has the words: Find emails containing specific words
Doesn't have: Find emails that don't contain specific words
Size: Search for emails larger or smaller than a specific size
Date within: Find emails sent within a certain time period
Search: Look for emails in a specific folder or area of your account
Has attachment: Only include emails with attachments
Don't include chats: Exclude chat conversations from the search
Click on Search.
Click Create filter at the bottom of the search box.
Choose the actions you want Gmail to perform (e.g., apply label, mark as read).
Click Create filter again to save your Gmail rule.
Create rules in Gmail from an existing email
Open the email you want to create a rule for.
Click on the More icon (three vertical dots) in the top-right corner.
Select Filter messages like these from the dropdown menu.
Fill in any criteria if needed, and click on Create filter.
Choose the actions you want Gmail to perform (e.g., apply label, mark as read).
Click Create filter again to save your rule.
Create a rule in Gmail using the Gmail mobile app
Open the Gmail app on your mobile device.
Tap the menu icon (three horizontal lines) in the top-left corner.
Scroll down and select Settings.
Choose the email account you want to create a rule for.
Tap Filters and Blocked Addresses.
Tap Create a new filter.
Enter the criteria for your filter and tap Continue.
Select the actions you want Gmail to perform and tap Create.
How to manage rules in Gmail
Once you've created rules in Gmail, you may need to update or delete them in the future.
Here's how:
Update an existing rule: To make changes to an existing rule:
Go back to the Filters and Blocked Addresses tab in your Gmail settings menu.
Click on the edit link next to the rule you want to update.
Make any necessary changes.
Click Save.
Delete a rule: To remove a rule from your Gmail account:
Go back to the Filters and Blocked Addresses tab in your Gmail settings menu.
Find the rule you want to delete.
Click on the delete link next to it.
Confirm the deletion when prompted.
Tips for creating effective Gmail rules
Be specific: When creating a Gmail rule, make sure to include as much detail as possible, such as particular senders, subject lines, or keywords. This helps the right emails get filtered correctly.
Test your Gmail rules: Before relying on a new rule, it's always a good idea to test it out first. Send yourself some test emails and see if the rule is working as intended.
Consider using "OR" or "AND" statements: You can use these operators in your filter criteria to create more complex rules. For example, you can create a rule that labels all emails from your boss OR with the word "urgent" in the subject line.
Avoid creating too many rules: While it may be tempting to create a rule for every possible scenario, having too many rules can make your inbox management more complicated. Stick to only essential Gmail rules that will significantly improve your email organization and productivity.
Once the basics are in place, a few more advanced patterns can squeeze out even more time.
Using the power of Gmail rules can really improve your Gmail email management, saving time and increasing productivity. Here are some of the most effective rules and tips to make the most out of your Gmail experience:
Auto-archiving newsletters: Create a Gmail rule to automatically archive newsletters and promotional emails. Use search criteria like "subject includes 'unsubscribe'" or "label:promotions" to archive emails you don't need to see in your main inbox but might want to read later.
Organizing project emails: Apply specific labels to emails related to different projects. For instance, you can set a rule to label all emails from a specific domain or those containing certain keywords with a project name. This helps you quickly find all related communications in one place.
Forward important emails: Set up Gmail rules to forward crucial emails to another account or team member. This is particularly useful for delegating tasks or keeping backup copies of essential communications with multiple people.
Auto-reply with vacation responders: Use rules to set up auto-replies for specific contacts or emails when you're unavailable. Customize the message to inform the sender that you'll get back to them soon while keeping them updated on anything urgent.
Filter by keywords: Use Gmail rules to filter emails containing certain keywords. For example, filter emails with "invoice" or "payment" to go directly to your finance-related label. This keeps important financial documents categorized and easy to find.
Highlight VIP contacts: Star or mark emails from VIP contacts as important automatically. You can set up rules to identify emails from your boss, key clients, or family members and highlight them so they stand out in your inbox.
Combining Gmail rules for efficiency: Combine multiple Gmail rules for greater efficiency. For instance, you can create a rule that labels, archives, and forwards emails from a particular sender in one go. This cuts manual effort and keeps things better organized.
Using exclusions: Enhance your rules by setting up exclusions. For example, create a rule to archive promotional emails but exclude those containing specific keywords like "important offer" so you don't miss critical updates.
Improve your email management with Gmail rules
By automating tasks, organizing emails, and reducing clutter in your inbox, you can focus on essential communications and stay on top of your email game. With the tips and steps provided in this guide, you now have all the tools to create effective Gmail rules tailored to your specific needs.
That's the case for a single rule you set up and remember. It's a different story once forwarding rules, in particular, sit forgotten in mailboxes across a company.
"The rule that matters most from a security standpoint is usually the one nobody remembers setting up. A forwarding filter from someone who left two years ago doesn't show up until a security review turns it up, and by then nobody can say who created it or why. It's an accountability gap that gets wider as headcount grows, whatever the team's effort level."

It tracks with what Exclaimer's Build vs Buy 2025 research found: 91% of IT and security leaders say maintaining tools they've built in-house cuts into their team's productivity, and 50% say it keeps them from focusing on more strategic work. A forgotten forwarding rule is a small, individual version of the same pattern: a manual, unmonitored fix that quietly becomes someone's job to track down later.
Why is email signature management harder than a Gmail rule?
Once you've set up your Gmail rules, it's worth taking the time to look at your Gmail email signature. The instinct is the same: set it once and let it run. The problem isn't.
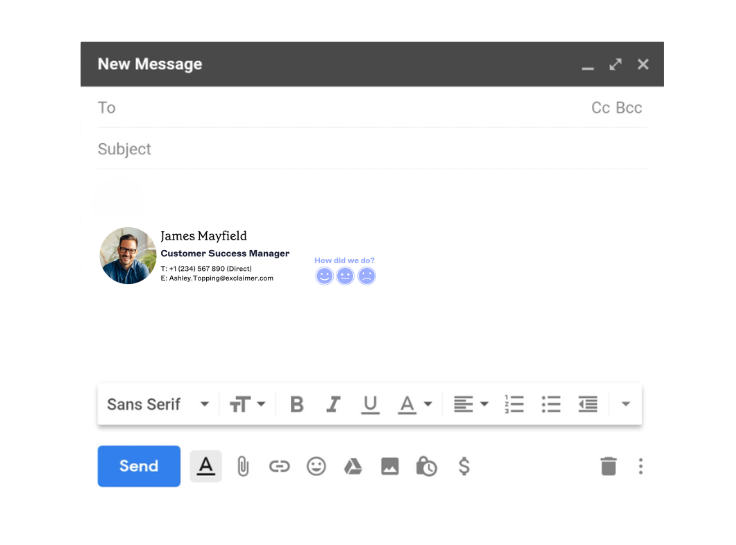
A personal filter is a five-minute task because only one person and one inbox are involved. Email signature management doesn't stay that simple once it's the same manual update repeated across every employee, every rebrand, and every new hire, with no single person able to enforce consistency.
Key takeaway
Exclaimer's own State of Business Email 2025 research found that 35% of IT teams name email signature management as one of their two most time-consuming tasks, despite it being exactly the kind of low-value, repetitive admin work that pulls IT away from higher-value projects.
What changes when this is solved properly, regardless of which platform or vendor handles it:
One email signature template updated in one place, applied to everyone automatically
The same result whether someone sends from a laptop, phone, or browser
IT keeps control of the brand and legal elements while other teams can request changes without filing a ticket
New hires and leavers are handled automatically, not signature-by-signature
A dedicated email signature management platform delivers exactly that: centralizing the update instead of multiplying it. Exclaimer has been doing this for longer than anyone else in the category, in the market since 2001, and today more than 80,000 organizations worldwide use it to solve this same problem.
To learn more about how Exclaimer can streamline your email signature management in Google Workspace, see how to set up a Google Workspace email signature step by step, or take a look at our interactive product tour and see Exclaimer in action.