Dave is a marketing expert with 15 years experience in the tech and SaaS world. He specializes in educating IT and channel audiences, with a focus on security, privacy, compliance, and marketing technology. With a talent for storytelling and a deep understanding of the industry, Dave transforms complex IT topics into clear, engaging, and impactful narratives.
How to build dynamic email signatures with Entra ID attributes
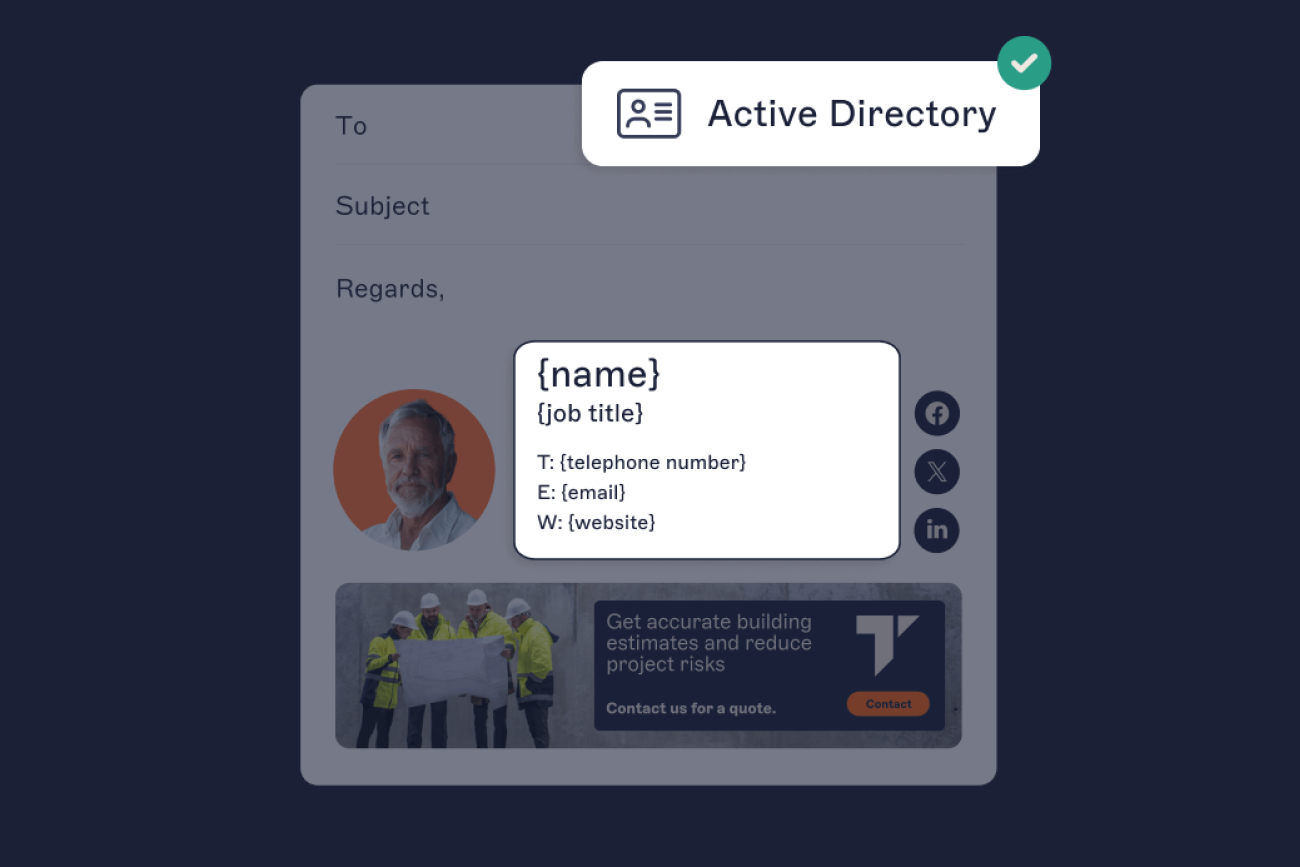
TL;DR
Entra ID attributes (name, title, department, phone, office) can feed signature fields directly, so each signature personalizes itself from the directory instead of being edited per person.
Standard attributes are pre-mapped: drop them into a template as {Fields} in the Signature Designer, with no manual mapping to configure.
For data the standard fields don't cover, like pronouns or a regional office, use custom attributes: Exchange's 15 Custom Attributes, up to 100 on-premises attributes via Entra Connect, or the User Data Editor.
Handle blank attributes with conditional visibility, showing a field only when it's not empty or swapping in a fallback, since there's no "default value" box.
Changes appear on the next sync, not instantly. Microsoft 365 data syncs automatically twice a day, at 00:00 and 12:00 UTC, and an Owner or Admin can run a manual sync to push an urgent update through.
In Exclaimer's State of Business Email research, 92% of IT leaders said consistent, well-managed signatures build trust and professionalism. Keeping them that way by hand is where it falls apart: a job title goes stale after a promotion, or someone changes office and their address stays wrong for months.
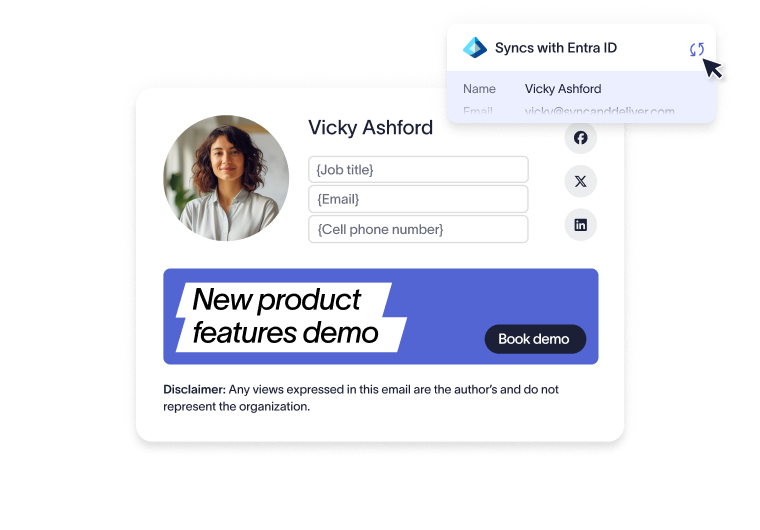
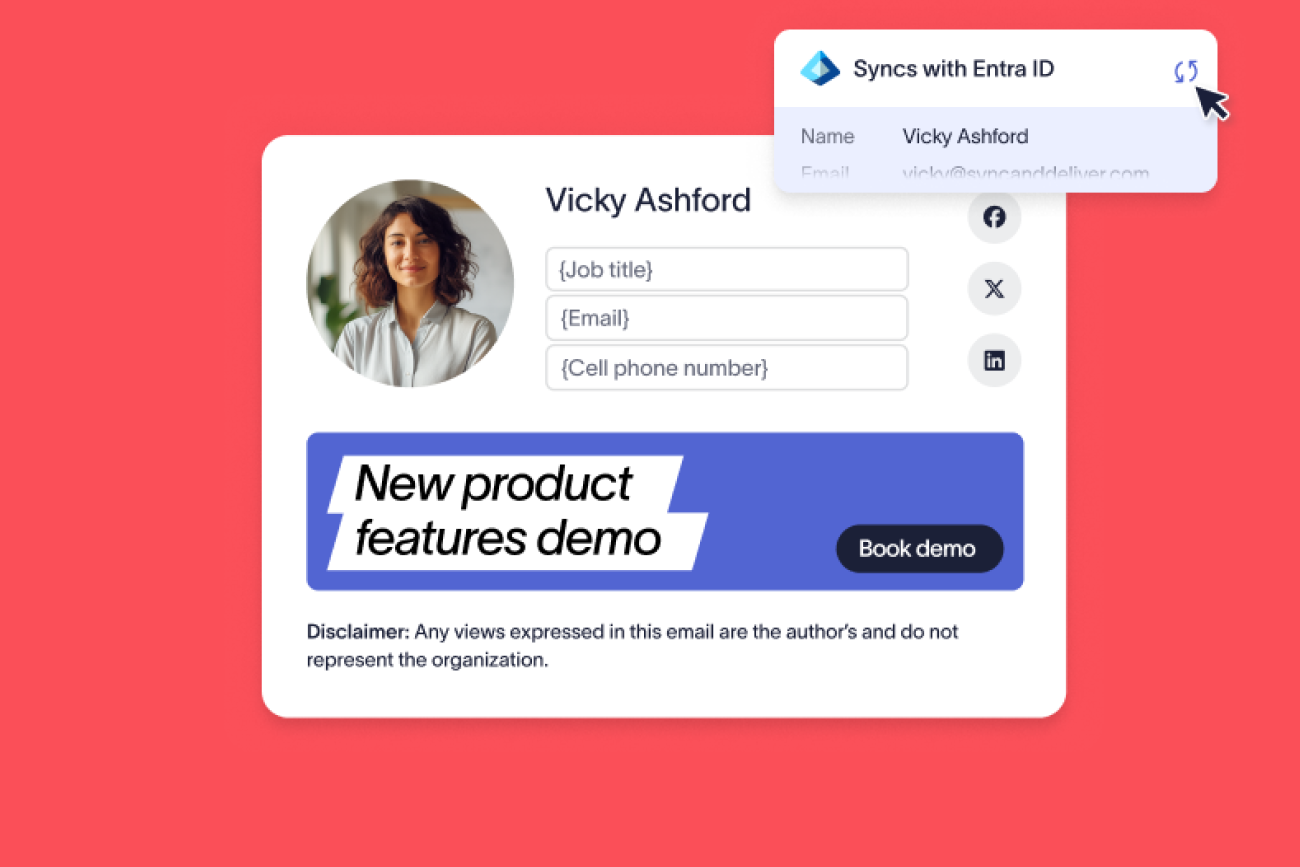
Entra ID attributes fix this. The profile data already on each user account (name, title, department, phone, office) can feed straight into their signature, so it reflects the directory instead of a copy someone made once and forgot. Point a template field at an attribute, and it fills in for each person and refreshes from the directory instead of from someone's memory.
What Entra ID attributes are and which ones matter for email signatures
An attribute is a single field on a user's Entra ID (formerly Azure AD) account, like their job title or office location. Entra ID holds dozens per user, and each one is data a signature can pull in automatically. The ones worth using are the contact and identity fields that belong in a sign-off.
Exclaimer's attribute names mirror Microsoft's own schema, so what you see in Entra ID is what you reference in a template. These are the standard fields most signatures are built from:
Attribute | What it holds | Example use |
|---|---|---|
| Full name as shown in the directory | The name line |
| Role or position | Under the name |
| Team or function | Alongside the title, or for targeting |
| Primary email address | Contact block |
| Office or desk number | Contact block |
| Mobile number | Contact block |
| Office or building | Address line |
| Organization name | Branding line |
| Country | Regional address or disclaimer routing |
Exclaimer reads 16 standard attributes in all. This table gives the full list, with the name you see in Microsoft 365, the LDAP name, and the Exclaimer field to use in a template.
Microsoft 365 display name | LDAP name | Exclaimer field |
|---|---|---|
City |
| {City} |
Company |
| {CompanyName} |
Country or region |
| {Country} |
Department |
| {Department} |
Display name |
| {DisplayName} |
Username / Email |
| {Email} |
Fax number |
| {Fax} |
First name |
| {FirstName} |
Job title |
| {JobTitle} |
Last name |
| {LastName} |
Mobile phone |
| {Mobile} |
Office |
| {Office} |
Zip or postal code |
| {PostCode} or {ZipCode} |
State or province |
| {State} |
Street address |
| {Street} |
Office phone |
| {Telephone} |
{Email} does more than insert the address. In server-side email signatures, it also carries {Recipient}, {Recipients}, and {Subject} from the outgoing email. In client-side email signatures, it carries {Recipient} and {Recipients} when the Outlook Add-in is in use and the recipient rule feature is enabled. For custom attributes, {CustomAttribute1} to {CustomAttribute15} map to extensionAttribute1 to extensionAttribute15.
The list comes from Exclaimer's knowledge base article on synced Entra ID attributes, updated January 30, 2026.
Not every field suits every signature. A customer-facing team might show a booking link and mobile number; an internal team might need neither. Choose the fields that match how each team actually signs off.
How Exclaimer reads and applies Entra ID attributes as dynamic fields
Exclaimer's cloud solution connects to Entra ID through the Microsoft Graph API and reads your user attributes in read-only mode, never writing back to your directory. Its Directory Sync pulls those attributes into a central store, so the fields in a template resolve to each sender's own data when their signature is applied. For the Graph connection itself, and the move off the older Azure AD modules, see Microsoft 365 email signatures after the Graph move.
Exclaimer requests these Microsoft Graph permissions. User.Read (delegated) confirms that the signed-in user is a Microsoft 365 admin. Directory.Read.All (application) lets Exclaimer's data service read directory data, which it stores in a cache. User.Read.All (application) reads user photos. Once an admin grants consent during onboarding, Exclaimer doesn't use account credentials for ongoing sync. The full list is in Exclaimer's application permissions article.
The standard fields are already mapped for you. You don't configure a link between jobTitle in Entra ID and a job title field in the template; that link exists as soon as the directory is connected.
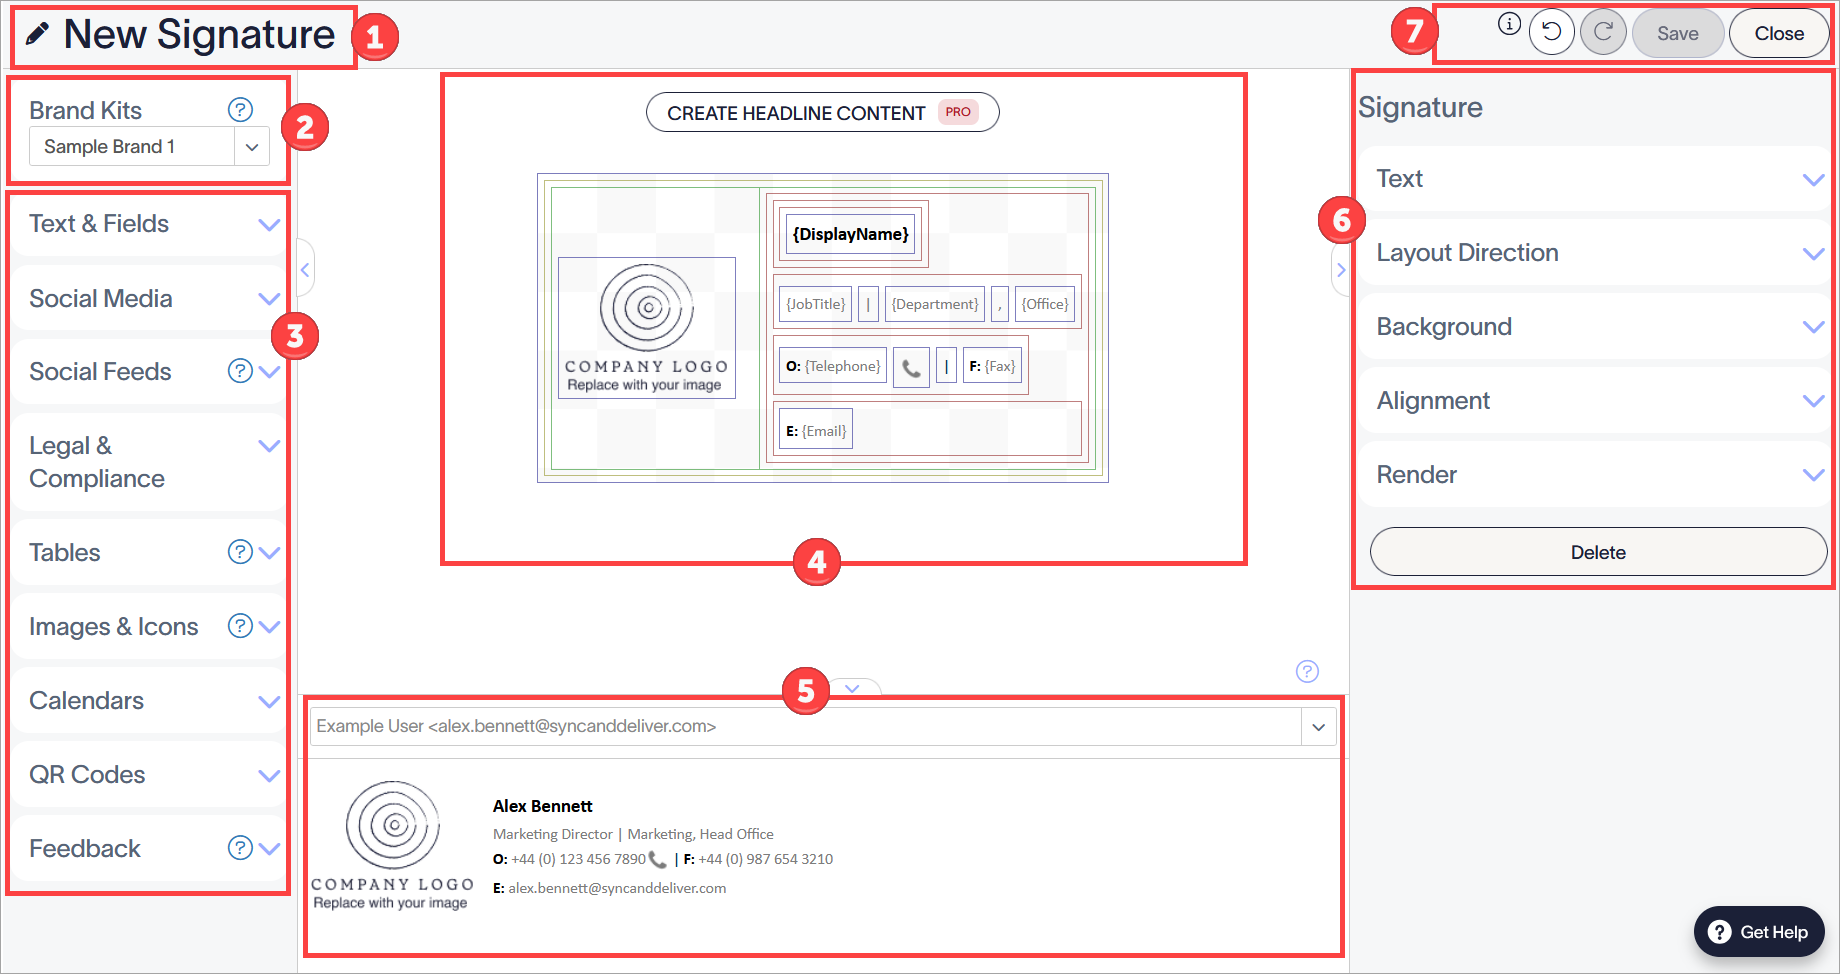
In the Signature Designer, attributes appear as {Fields} you drop into a template, grouped into elements such as Contact, Address, and Personal, with an All Fields element for adding several at once. When a signature is applied, each field is replaced with that sender's attribute value.
This is what makes the personalization self-maintaining. Because signatures read from the directory rather than from a stored copy, updating someone's title once, in Entra ID, flows into every signature that uses that field. The same directory data also drives who gets which signature, covered in how to assign email signatures by Active Directory group.
How do you add attribute fields to a signature template?
Standard attributes are ready to use as soon as your directory is connected, so adding them is a matter of placing fields in the template. There are two ways to do it in the Signature Designer.
The main method uses a {Fields} element, which adds a block of one or more fields at once:
Open your signature in the Signature Designer.
From the Toolbox, expand the Text & Fields section.
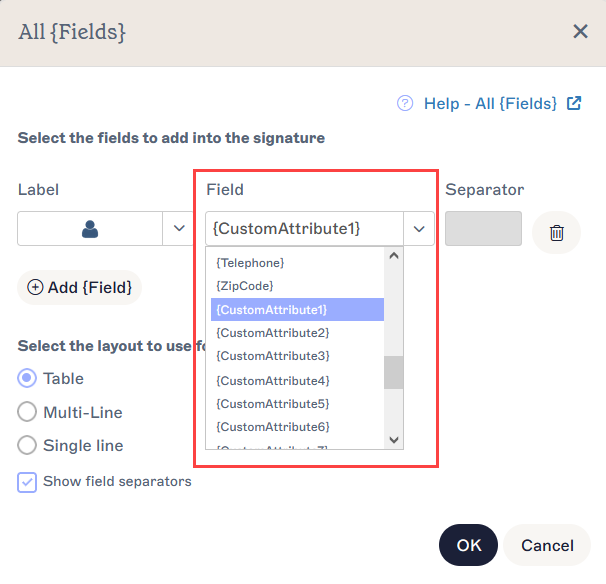
Drag a {Fields} element onto the canvas. Contact, Address, and Personal each come with a default set of fields for that category, which you can adjust; All Fields starts empty so you can build your own set.
In the element window, choose each attribute from the Field dropdown. Select Add {Field} to add more, up to 10 per element, or the bin icon to remove one.
Select Save Changes.
For a single field inside a line of text, such as a name mid-sentence, there's a quicker route: in a Text element, type the { character where you want the field, then choose the attribute from the dropdown that appears.
Either way, the field shows as a placeholder in the designer, not real data. To see how it resolves, use the Preview pane and enter a sender's email address; the fields fill with that person's attributes, so you can check the result before publishing.
Custom data, like pronouns or a regional office, needs to be enabled and synced first before it appears in the Field dropdown.
How do you add custom attributes like pronouns to a signature?
The standard fields cover most signatures, but not data like pronouns, a language preference, a regional office address, or an industry-specific field like a vehicle license plate. For those, Exclaimer uses custom attributes: extra fields you populate yourself and then add to a template.
There are two sources, depending on your environment:
Cloud-only (Entra ID): Exchange Online's Custom Attributes 1 through 15, which map to the extensionAttribute1–extensionAttribute15 schema fields. You store your data in one of these per user.
Hybrid (on-premises AD): Up to 100 single-value attributes synced from your local directory through Entra Connect's Directory Extensions feature.
You can also populate custom data without touching the directory schema, by uploading a CSV of user data (the User Details Upload feature) or by letting employees fill in their own fields through the User Details Editor. This suits exactly the fields IT shouldn't have to own: employees can set their own pronouns, working hours, or certifications without raising a ticket. Self-service and CSV upload are available depending on your plan.
Custom attributes are off by default, so before any of this data reaches a signature, enable it:
In Sender Management, enable additional attributes (you'll need the Owner or Admin role).
Choose the source: the 15 Exchange Online custom attributes, or additional attributes from your local AD via Entra Connect.
Save, then run a manual data synchronization.
Once synced, your custom fields appear in the Field dropdown in the Signature Designer, alongside the standard ones, ready to drop into a template.
There are two limits to keep in mind though. Only single-value attributes sync, so multi-value fields like proxy addresses can't be used. And an attribute has to hold data to sync at all, which is where handling blanks comes in.
What happens when an attribute is blank?
Not every user has every attribute filled in. Some fields will be blank, either because no one set them or because empty values don't always carry over on sync. Left unmanaged, a blank field can leave a gap where the data should be, or a label with nothing after it.
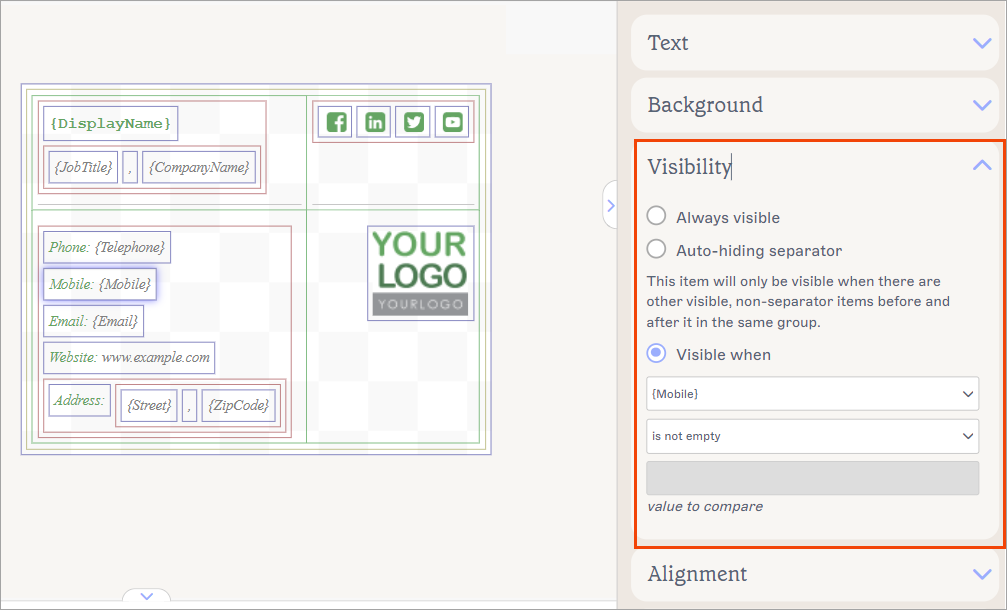
Conditional visibility is how you handle this. It shows or hides an element based on whether an attribute has data, set in the Visibility section of the Properties pane.
To hide a field when it's empty, select the field, expand Visibility, choose "Visible when," and set the condition to "is not empty." The field then appears only for senders who have that data and drops out for everyone else. Separators help too: a pipe or comma between two fields hides automatically when the field beside it is blank.
When you want a fallback rather than nothing, use the same feature with two elements in the same spot and opposite conditions:
One element contains the mobile number and is visible when the mobile field is not empty.
A second holds the fallback, visible when the mobile field is empty.
A sender with a mobile number gets it; a sender without one gets the fallback in its place. The same approach handles regional variations, like a different registered-office line depending on a sender's country.
Note that Exclaimer has no single "default value" box where you type a fallback for an attribute. You build fallbacks from visibility conditions instead, so the alternate can be anything, another field, static text, or a whole block, not just a substitute string.
How quickly attribute changes appear in signatures
A change in the directory doesn't reach signatures the instant you make it. Exclaimer's Directory Sync pulls Microsoft 365 user data automatically twice a day, at 00:00 and 12:00 UTC, so an edit in Entra ID, like a new job title, appears on the next sync rather than in real time.
Step | Timing |
|---|---|
A change made in Microsoft 365 reaches Entra ID | Up to 2 hours |
Exclaimer's automatic sync of Microsoft 365 data | Twice a day, at 00:00 and 12:00 UTC |
Duration of an automatic sync | Allow up to 90 minutes |
A manual sync, started by an Owner or Admin | Up to 3 hours to complete |
Entra Connect sync in hybrid environments | Every 30 minutes by default |
The timings come from Exclaimer's knowledge base article on synchronizing user data, updated August 19, 2026.
You don't have to wait for the schedule, though. From Sender Management, an Owner or Admin can run a manual synchronization at any time to pull the latest data on demand. A sync can take up to around three hours to finish, so it isn't instant either, but it's how you push an urgent change through without waiting.
If you run a manual sync for a single mail-enabled security group, Exclaimer removes user data for people outside that group from its database. To keep everyone, select Synchronize all users and groups
There is one caveat though. After editing data in Entra ID, allow a couple of hours before forcing a sync, to let the change register in Microsoft 365 first.
Hybrid environments add a hop. A change in on-premises Active Directory syncs to Entra ID through Entra Connect first, on its own schedule (30 minutes by default), and only then does Exclaimer pick it up. So an on-prem edit can take the Entra Connect cycle plus the Exclaimer sync before it shows. If a change isn't appearing, confirm it's reached Entra ID before you start troubleshooting Exclaimer.
If an update still hasn't appeared after a manual sync, check that the attribute actually holds the new value in the directory.
Why isn't an attribute showing up in the signature?
When signature data renders wrong or not at all, the cause is usually in the directory, not the template. These are the common ones:
The attribute is multi-value. Only single-value attributes sync to Exclaimer, so a multi-value field can't be used in a template. If a field you expect isn't available, check whether it holds multiple values in the directory.
The attribute is empty. A field with no data won't sync and won't render. That's usually correct, but worth ruling out when one user is missing data others have: confirm their attribute is actually populated.
Custom attributes weren't enabled. Custom and extension attributes are off by default. If your custom fields don't appear in the Field dropdown after you've populated them, confirm you've enabled additional attributes in Sender Management and run a manual sync.
Display name isn't in the format you want. Exclaimer renders displayName exactly as stored, so names coming through as "Surname, First" or in inconsistent casing are a source-data issue. Fix it at the source, not the template, and every signature follows.
Phone numbers look inconsistent. Same principle, and a common one: the signature shows what the attribute holds. If numbers arrive with mismatched spacing or an unwanted country-code prefix, normalize them in the directory rather than trying to correct them in the template.
On-premises attributes aren't reaching Exclaimer. In hybrid setups, an on-prem attribute has to sync to Entra ID before Exclaimer sees it, and custom attributes must be included in your Entra Connect Directory Extensions scope. If an on-prem field is missing, verify it's in the sync scope.
The field's visibility rule hides it. If data is present but doesn't show, open the field in the Signature Designer and check the Visibility section of the Properties pane.
A group-scoped sync removed the user. A manual sync limited to one group deletes user data for everyone outside that group. Run a sync for all users and groups to restore it.
Where to start
Most attribute problems start in the directory, so check the data before the template. Take a sample of senders from different teams, confirm that their title, phone number, and office are filled in and formatted the way you want them to read, and fix any gaps in Entra ID. Then add the fields to a template and use the Preview pane to confirm each sender resolves correctly before you publish.
Exclaimer handles the rest. Directory Sync reads those attributes and updates every email signature on its next sync as the directory changes. You can try it free for 14 days.